Two-Way JIRA Integration
This integration synchronizes Daktela tickets with JIRA tasks, including comments, other Daktela activity information, assignees, and custom fields. Changes made in Daktela are reflected in JIRA, and vice versa, ensuring both systems stay aligned for efficient task and ticket management.
How to Set It Up
In your Daktela, go to Settings - Integrations and look for Jira Integration.

Jira Integration
Open the configuration and link it with your attlasian Jira space.
Field | Description |
|---|---|
Title | Select a title for this integration |
Instance URL | Fill in your atlassian instance in this format: https://'yourcompany'.atlassian.net |
API key | Go to https://id.atlassian.com/manage-profile/security/api-tokens and create API key with set expiration. Insert the API key in this field. For security reasons, the token cannot be viewed after closing the creation dialog. If needed, please create a new token. You should securely store the token, treating it with the same level of confidentiality as you would for any password. |
Fill in your e-mail associated with your JIRA account. |
After linking your Daktela with Jira, you will need to map several fields according to your preferences.
Project | Select the JIRA project you want to sync. Within one mapping, you can only sync a single project. If you need to sync a different project as well, you can later add another JIRA integration later using the 'Add new' button. |
Issue type | Select the Issue type you want to sync within the project. You can sync only one issue type per mapping. If you need to sync another issue type, you can add an additional JIRA integration using the 'Add new' button. |
Stage closed | Select the JIRA status that corresponds to the 'closed' stage of a ticket in Daktela. |
Stage waiting | Select the JIRA status that corresponds to the 'waiting' stage of a ticket in Daktela. |
Stage open | Select the JIRA status that corresponds to the 'opened' stage of a ticket in Daktela. |
Stage archived | Select the JIRA status that corresponds to the 'archived' stage of a ticket in Daktela. |
Priority high | Select the JIRA priority that corresponds to the 'high' priority of a ticket in Daktela. |
Priority medium | Select the JIRA priority that corresponds to the 'medium' priority of a ticket in Daktela. |
Priority low | Select the JIRA priority that corresponds to the 'low' priority of a ticket in Daktela. |
Synchronize activity and comments | Synchronises ticket comments and metadata about other types of activities from the Daktela ticket to the JIRA task. If two-way synchronisation is enabled, comments created in the JIRA task will also be synchronised to the Daktela ticket. |
Assign jira user | Select which JIRA field should be populated with the user from the Daktela ticket. If two-way synchronisation is enabled, the user from this JIRA field will also be synchronised back to the Daktela ticket. WARNING: The user in JIRA must have their email address publicly visible, otherwise this synchronisation will not work correctly. |
Activate webhook ENABLE FOR 2-WAY SYNC | If you want the JIRA integration to work both ways (i.e. from JIRA to Daktela as well), enable this webhook. You will then need to provide the webhook token and the Daktela ticket category for creating new tickets. |
Webhook token | At the address 'yourcompany'.atlassian.net/plugins/servlet/webhooks, you need to create a new JIRA webhook. Enter the webhook URL mentioned a few fields above. In the webhook settings, enable all permissions in the section 'Events related to Jira Software' for tasks and comments (check all checkboxes). Then, display the 'secret' and enter it into this field. Don't forget to save the webhook in JIRA. |
Webhook ticket category | Select the Daktela category where tickets will be created if a task is created in JIRA. |
Ticket categories: Select ticket category | Select ticket categories that should be synchronised to JIRA. For each selected category, a field will be displayed with a selection of custom fields available in the category's form. Select the field where the JIRA issue ID will be stored. Only custom fields of type Text or URL are shown. We recommend setting these fields to read-only in the category form. |
Jira custom fields: Select field | Select JIRA fields that should be synchronized. For every JIRA field, a field will be displayed with a selection of Daktela custom fiedl and some system fields. Pair them to synchronize them with this integration. |
After completing the settings, click the Activate button to make the integration active.

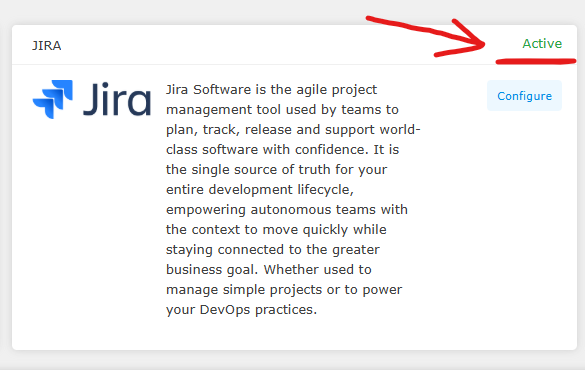
Once activated, you can close the window — the integration will now appear as active.

Integration is active
You can synchronise more than one project with Daktela. Simply click the Add New button and repeat the steps listed above
