Skip table of contents

Shoptet

Shoptet is a Czech ready-made e-shop solution with simple and intuitive administration. Shoptet offers wide variety of functions without any necessity of installation or complex configuration.

Log in to your Shoptet as an admin user and follow the instructions below:

Integration Limits

The Shoptet integration can't be used to synchronise customers including their orders.

Based on the hashes found in these instructions, Customers and Orders are synchronised from Shoptet to Daktela. Currently, a new contact is created in Daktela for each Customer and each Order. The name of the contact in Daktela created from Shoptet Orders is the order number and the contact can also contain the order URL. E.g. when customer Jane has 3 orders, there will be 4 contacts in Daktela – 1 from Customers and 3 from Orders.

If you want to keep your list of Customers and Orders up to date in Daktela, we recommend turning the integration off after the initial synchronisation, then merge the contacts in Daktela and add new URLs with orders to them manually.

You must always synchronise both Customers and Orders.


Customers

Customers

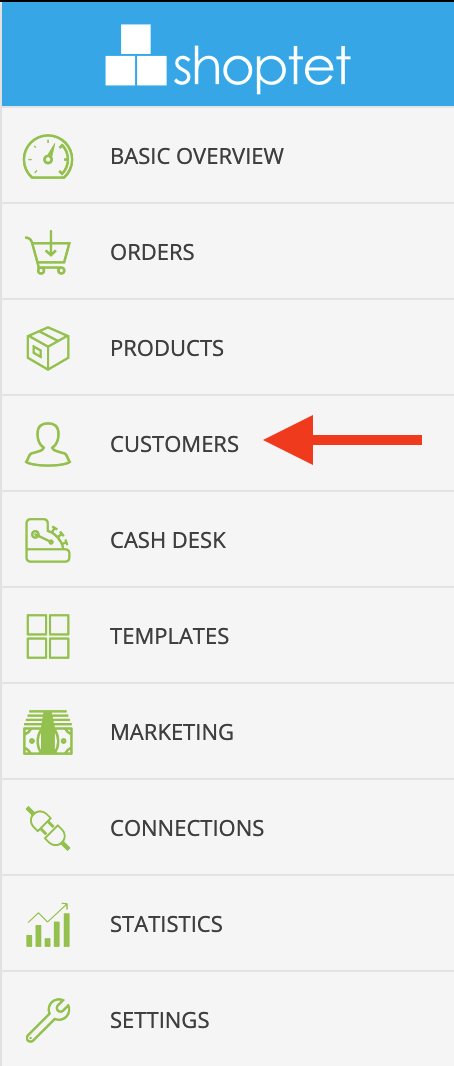
  • Step 1.1: Click Customers. 

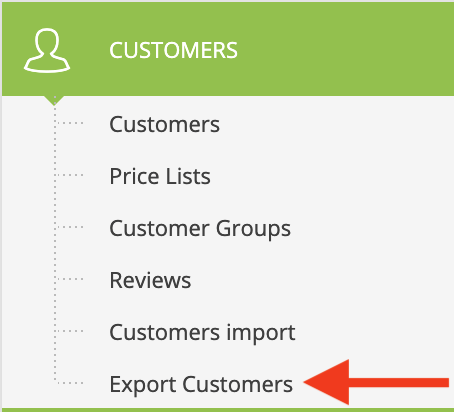
  • Step 1.2: Click Export Customers

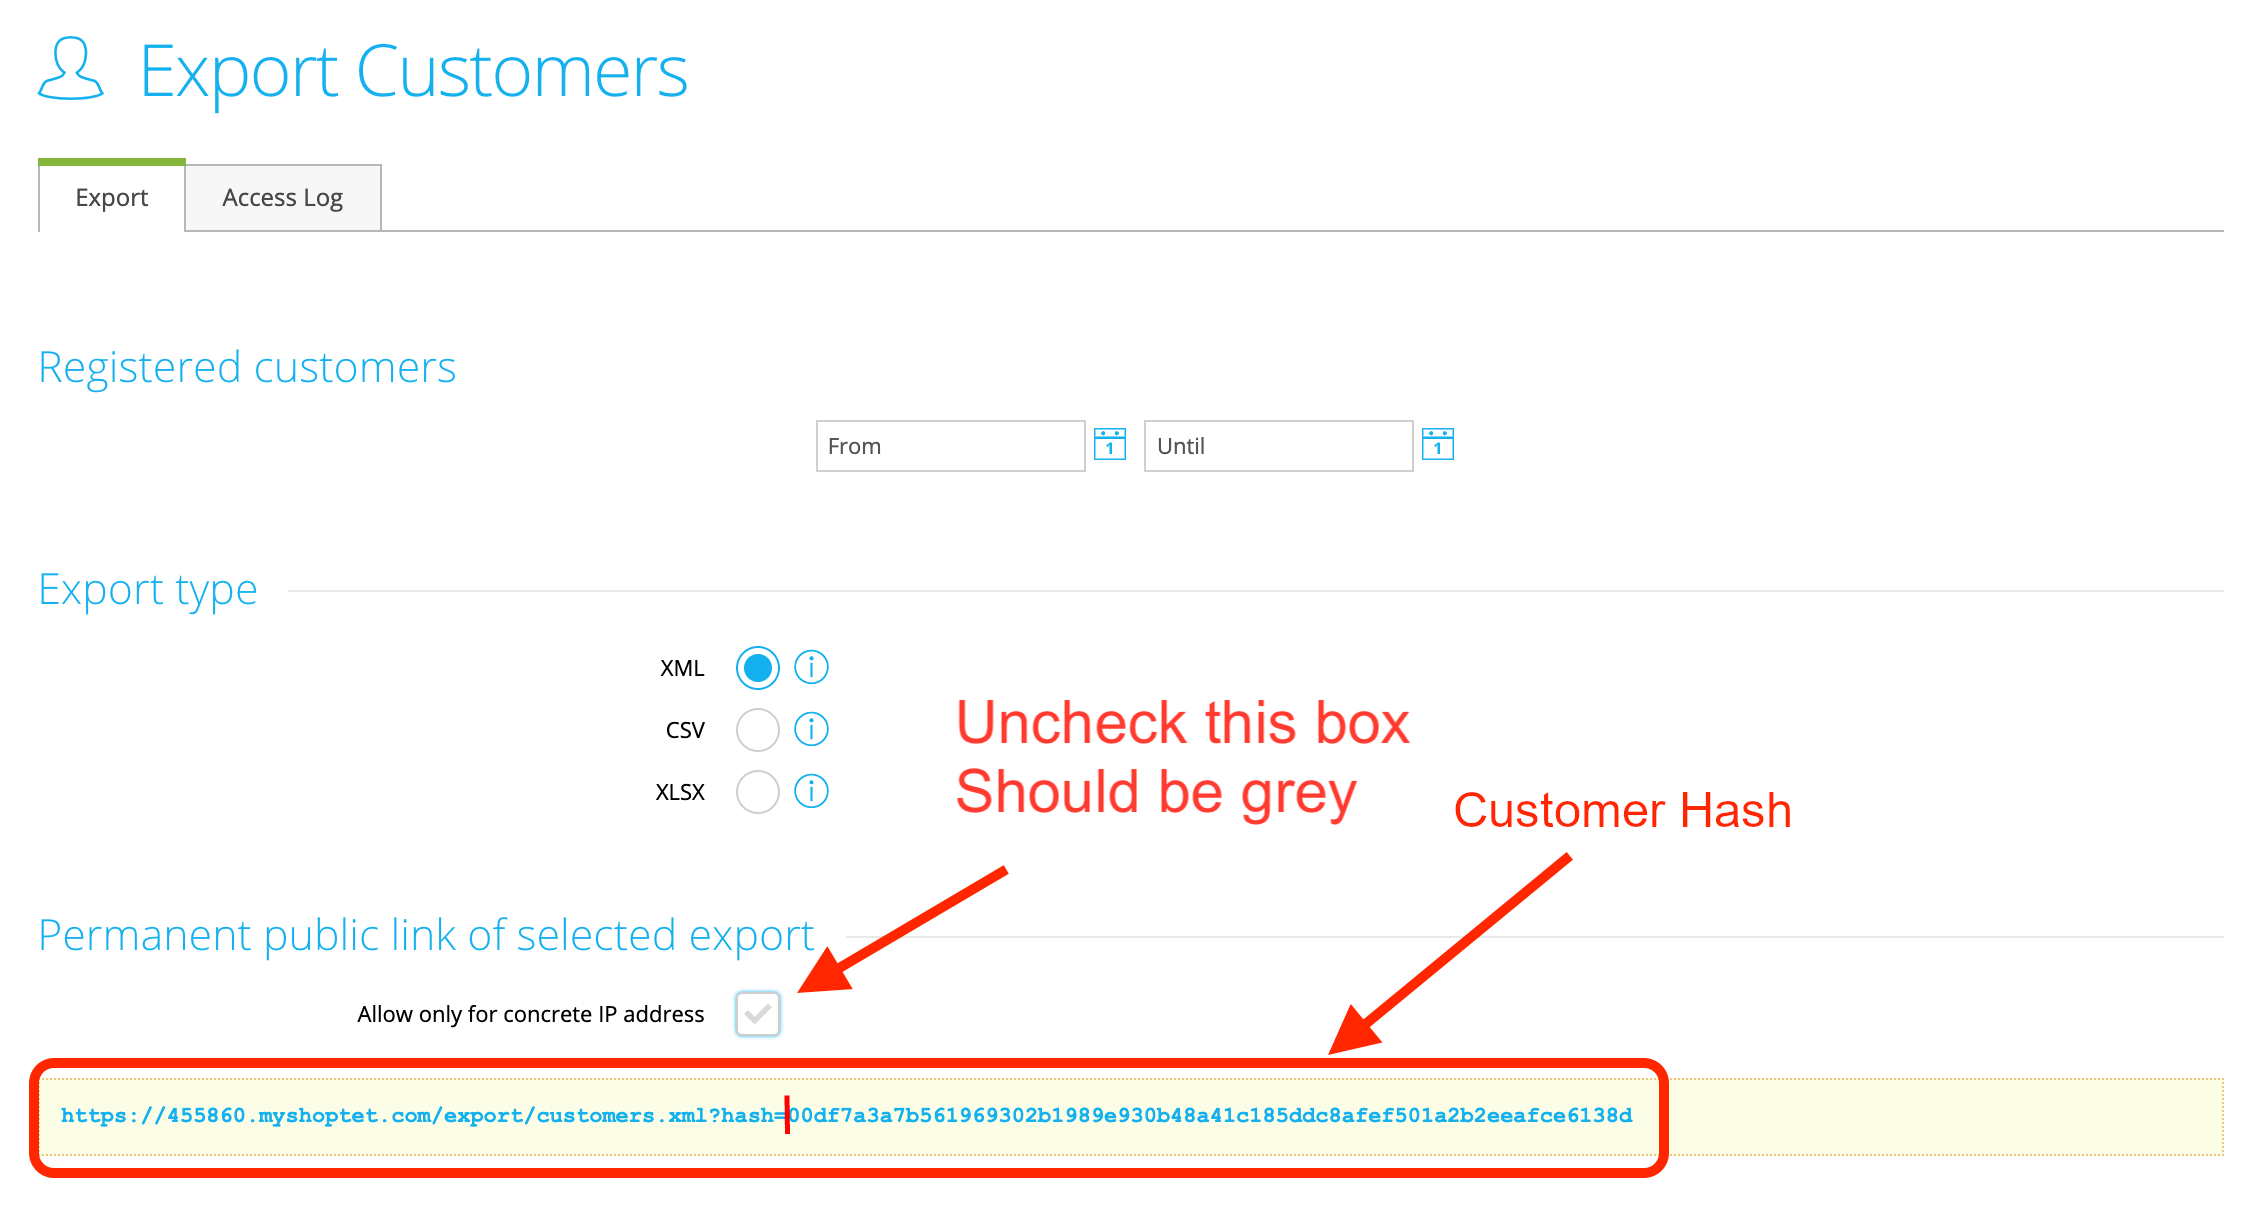
  • Step 1.3: Uncheck box Allow only for concrete IP adress. Copy the Customer Hash into the Hash field of the  Daktela integration.


Orders

Orders

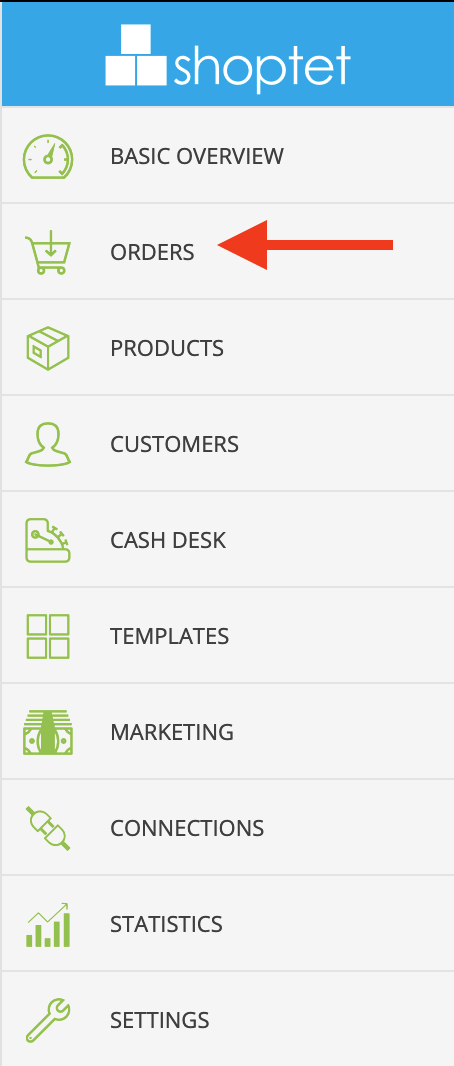
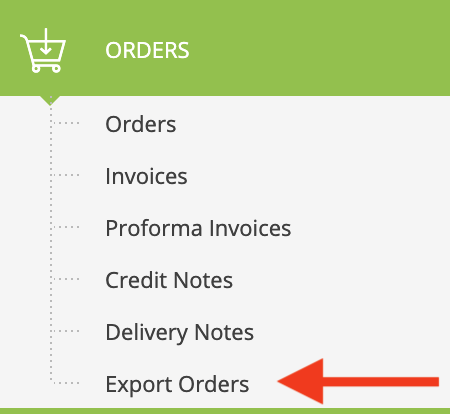
  • Step 2.1: Click Orders.

  • Step 2.2: Click Export Orders.

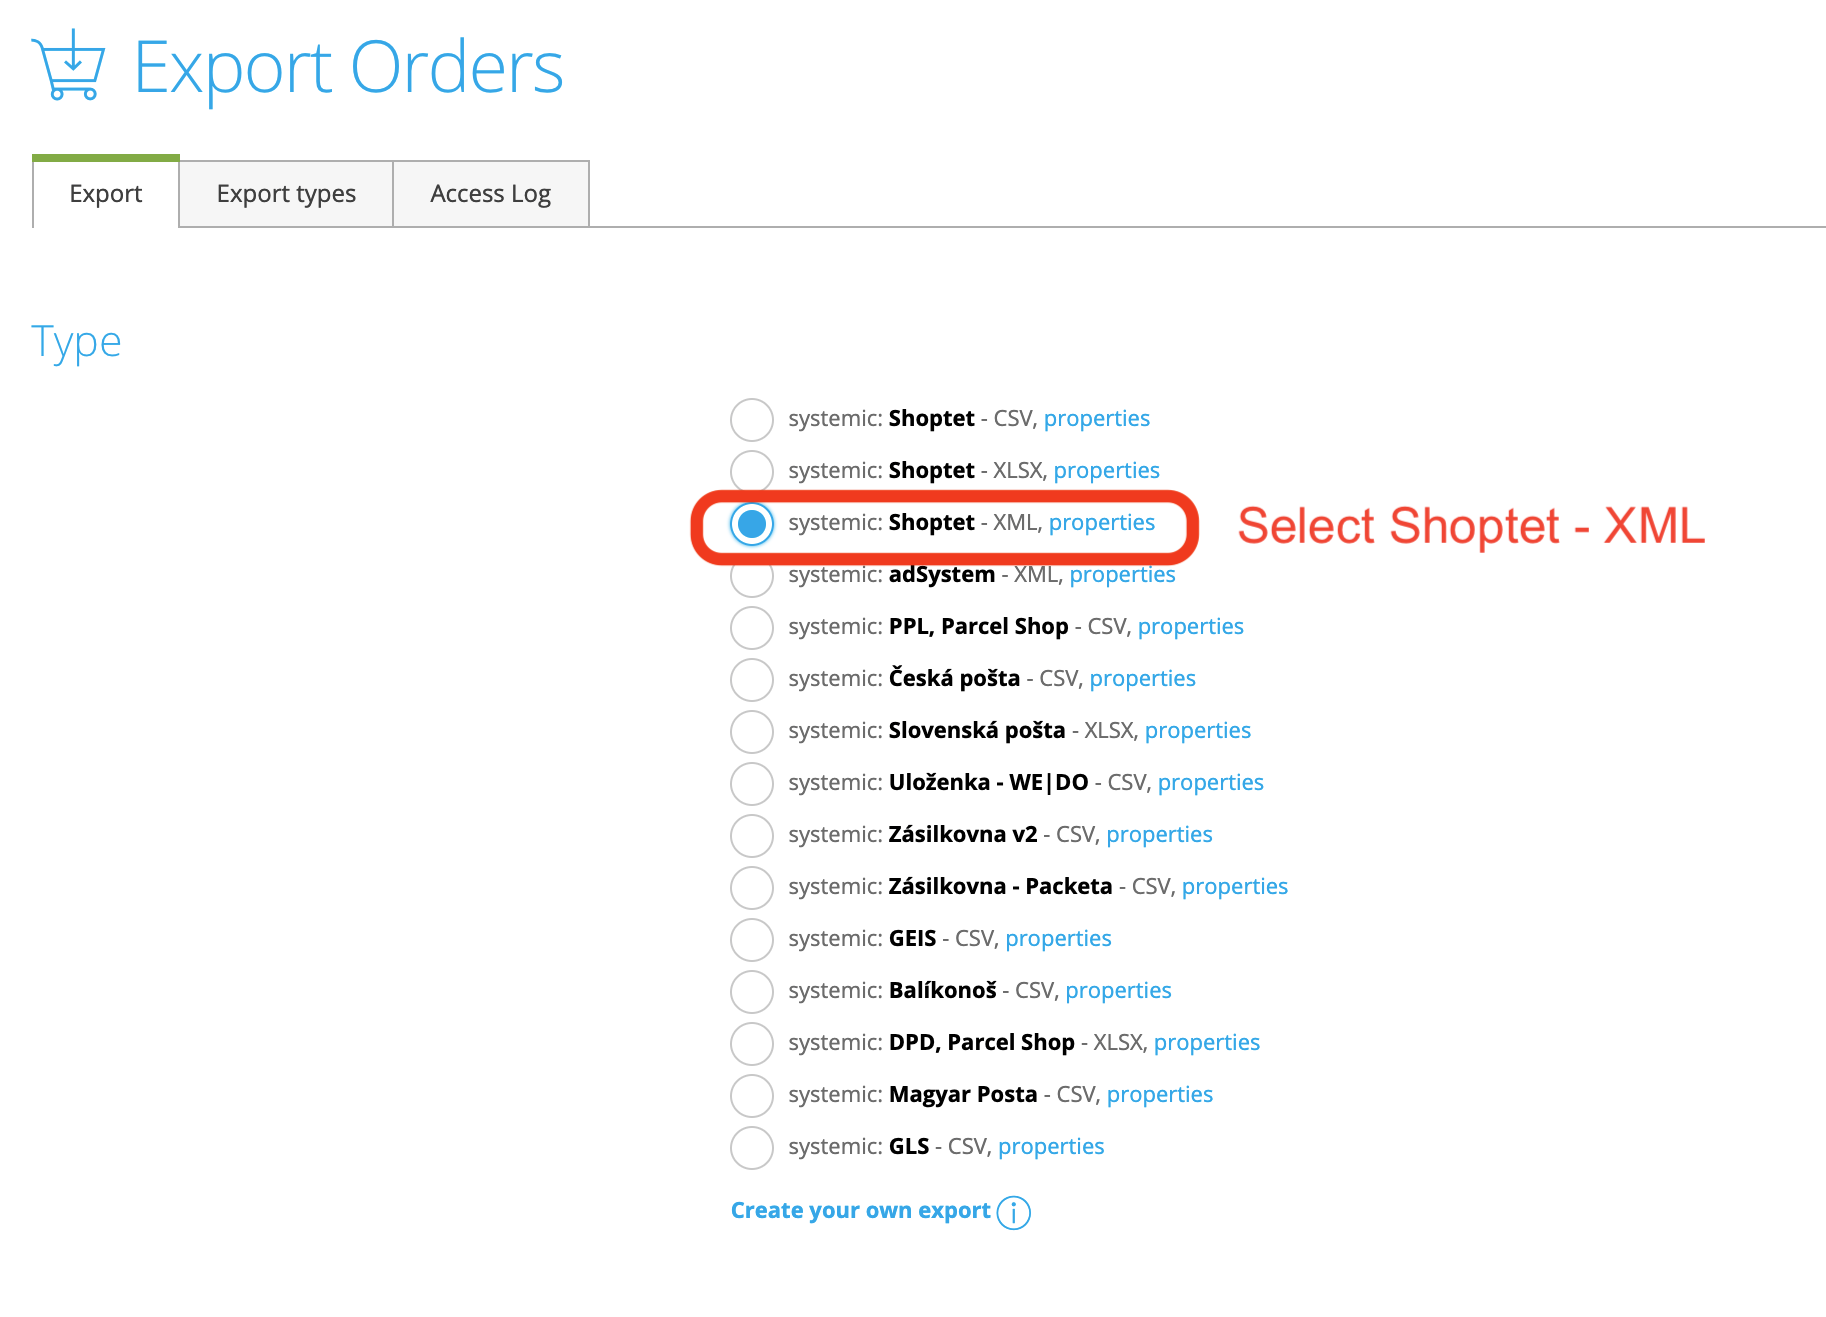
  • Step 2.3: Select Shoptet - XML Format. 


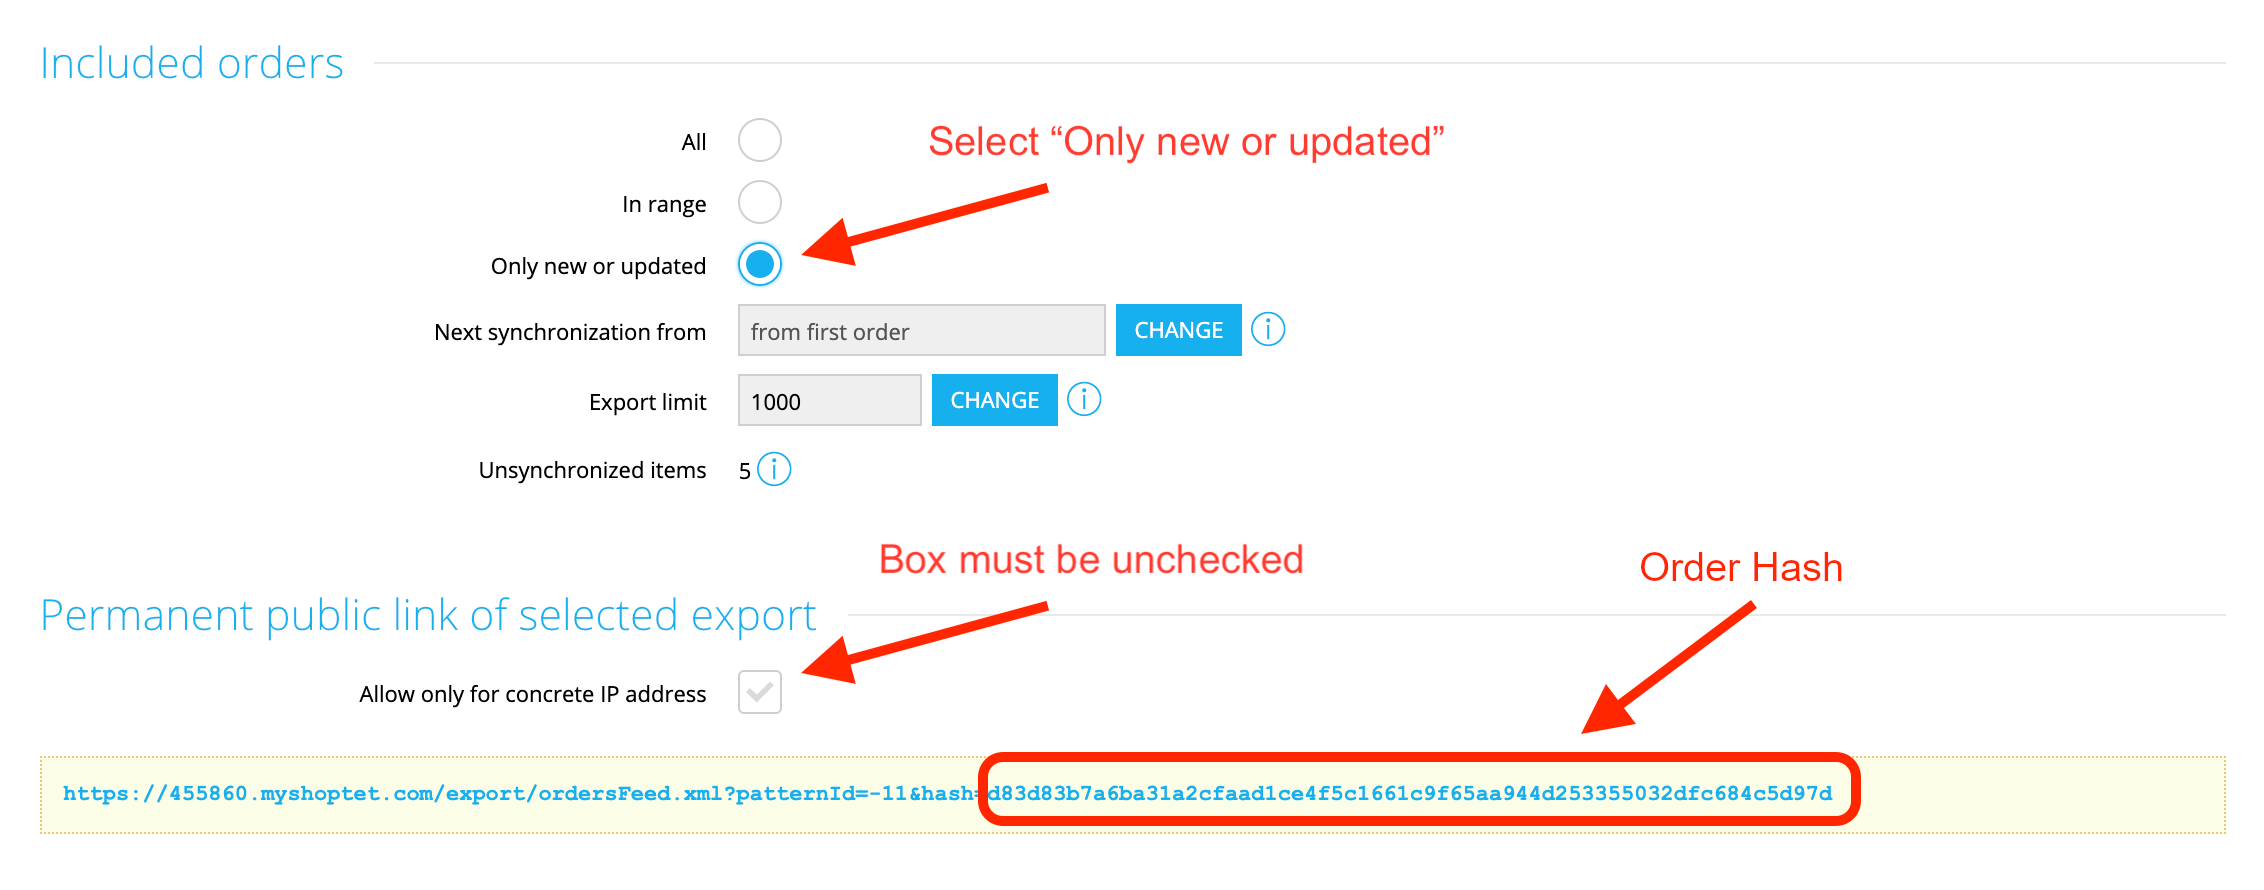
  • Step 2.4:  Uncheck box Allow only for concrete IP adress. Copy part of the URL into the Orders hash field of the Daktela integration.

  • Step 2.5: Select Only new or updated. Uncheck box Allow only for concrete IP adress. Copy part of the URL after "hash=" into the Orders feed hash field of the Daktela integration.


Set up the Daktela Integration

Set up the Daktela Integration

In Daktela, go to Manage → Integrations and click Configure under Shoptet.

Select into which CRM Database you want to synchronise your data.

Set the Instance URI integration configuration to the base URL of your Shoptet installation (e.g. https://1234.myshoptet.com)

Enter part of the Customer URL after "hash=" from step 1.3  into the Hash field.

Enter part of the Order URL after "hash=" from step 2.4 into the Orders hash field.

Enter part of the Order feed URL after "hash=" from step 2.5 into the Orders feed hash field.

Enter part of the Order URL between "patternID" and "&" from step 2.4 into the Orders pattern field.

Click Authorise.

Map Your CRM Fields

A list of your Daktela CRM fields will open. Select the Shoptet field you want to synchronise with each field in Daktela.

Click Activate.

How to get authorisation data.

How to get authorisation data.

  1. Go to the URL of your Shoptet installation's admin section (e.g., https://1234.myshoptet.com/admin).

  2. Log in as the administrator user.

  3. Go to the Connections Shoptet Addons section in the left menu.

  4. Here, search for the Daktela CC addon under Shop administration.

  5. Set the Eshop name integration configuration to the name of your Shoptet. It should be part of your Shoptet URL, e.g., (1234.myshoptet.com.)

  6. Shoptet ID can be found in the top right corner under your name if you are logged into the admin page.


JavaScript errors detected

Please note, these errors can depend on your browser setup.

If this problem persists, please contact our support.