Setting of External XML Address Book on Yealink Phones
To ensure functionality is at first necessary to prepare PBX settings and at the same time make sure that phones have access to secured script on the PBX. If this has not happened yet, please contact us.
If you have the URL address which is necessary to configure to the phone, follow the instructions.
At first, it is necessary to log in the same segment of LAN site as phones, which means that we need to find out IP address of the phone. IP address could be obtained by clicking on the button OK on phone panel - see picture 1.

Picture 1 - finding out IP address of the phone
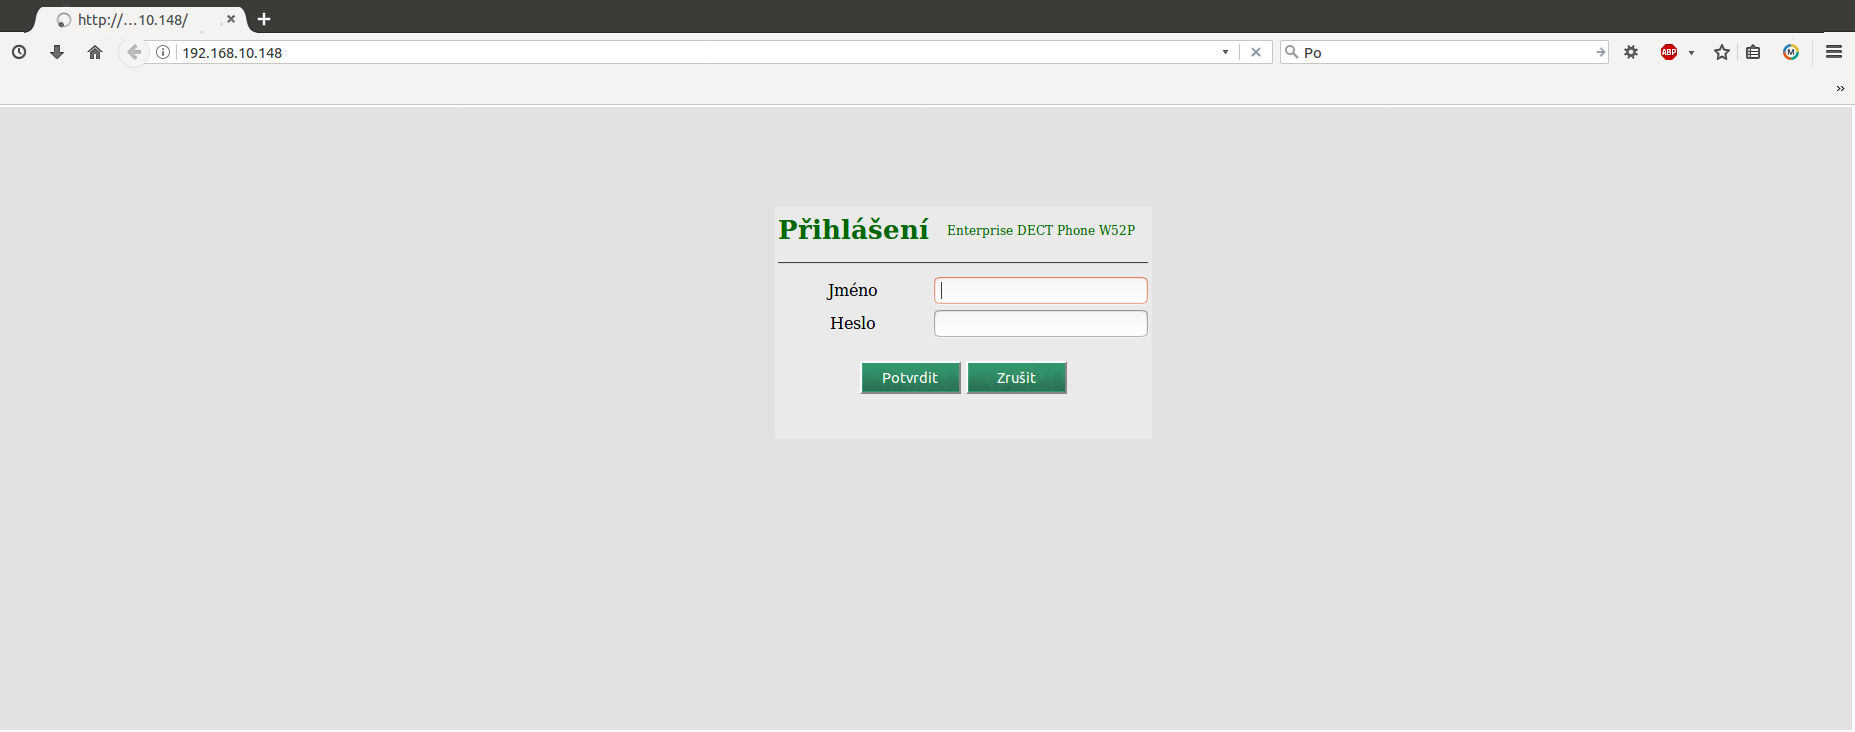
Enter this IP address to the browser's URL line. See picture 2.
After that will be displayed log in screen of the phone's graphical menu and you will be called to enter username and password. In basic settings is set this login:
Username: admin
Password: admin
If login is unsuccessful, please contact your network/phones manager or your provider.
Picture 2 - phone's graphical menu
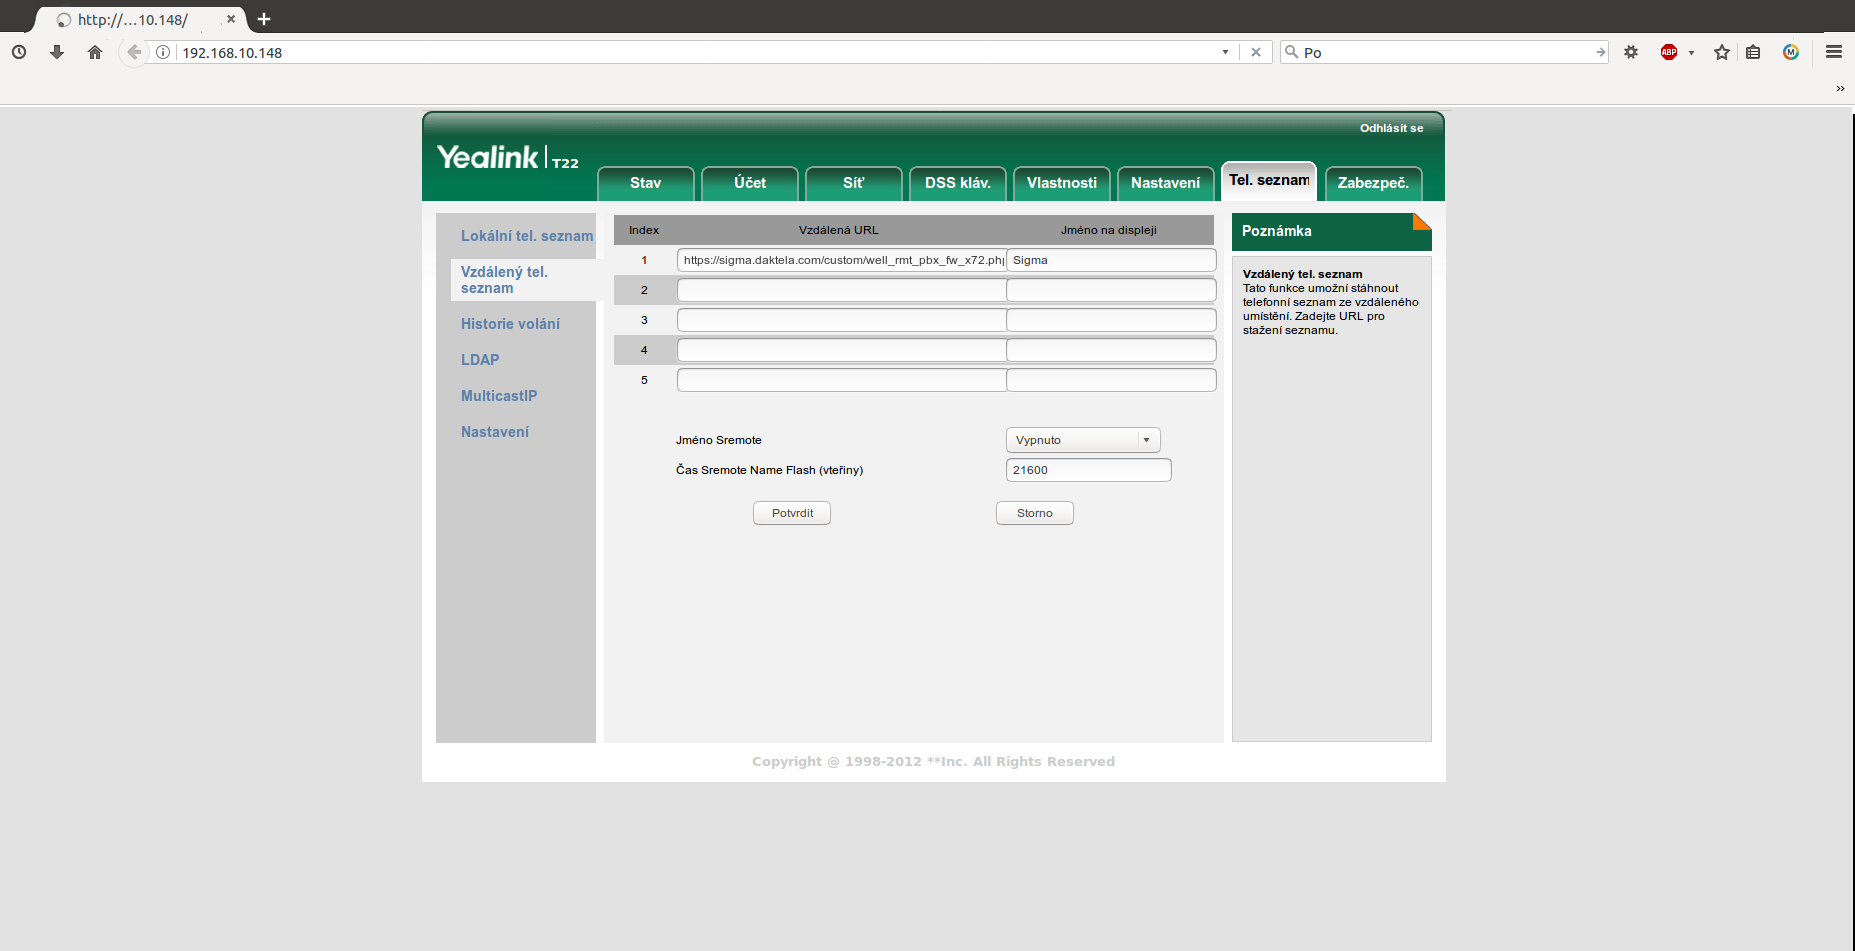
Once when you are logged in phone's web interface, it is necessary to click on the phonebook card and then on remote phonebook card.
To the section Remote URL is necessary to add URL address (https://nameofyourPBX.daktela.com/custom/well_rmt_pbx_fw_x72.php) to the script, which provides correct functionality of this address book on you phone and it is also possible to name this address book. To the URL field add name of your PBX - see picture 3.
Picture 3 - adding link to XML phonebook
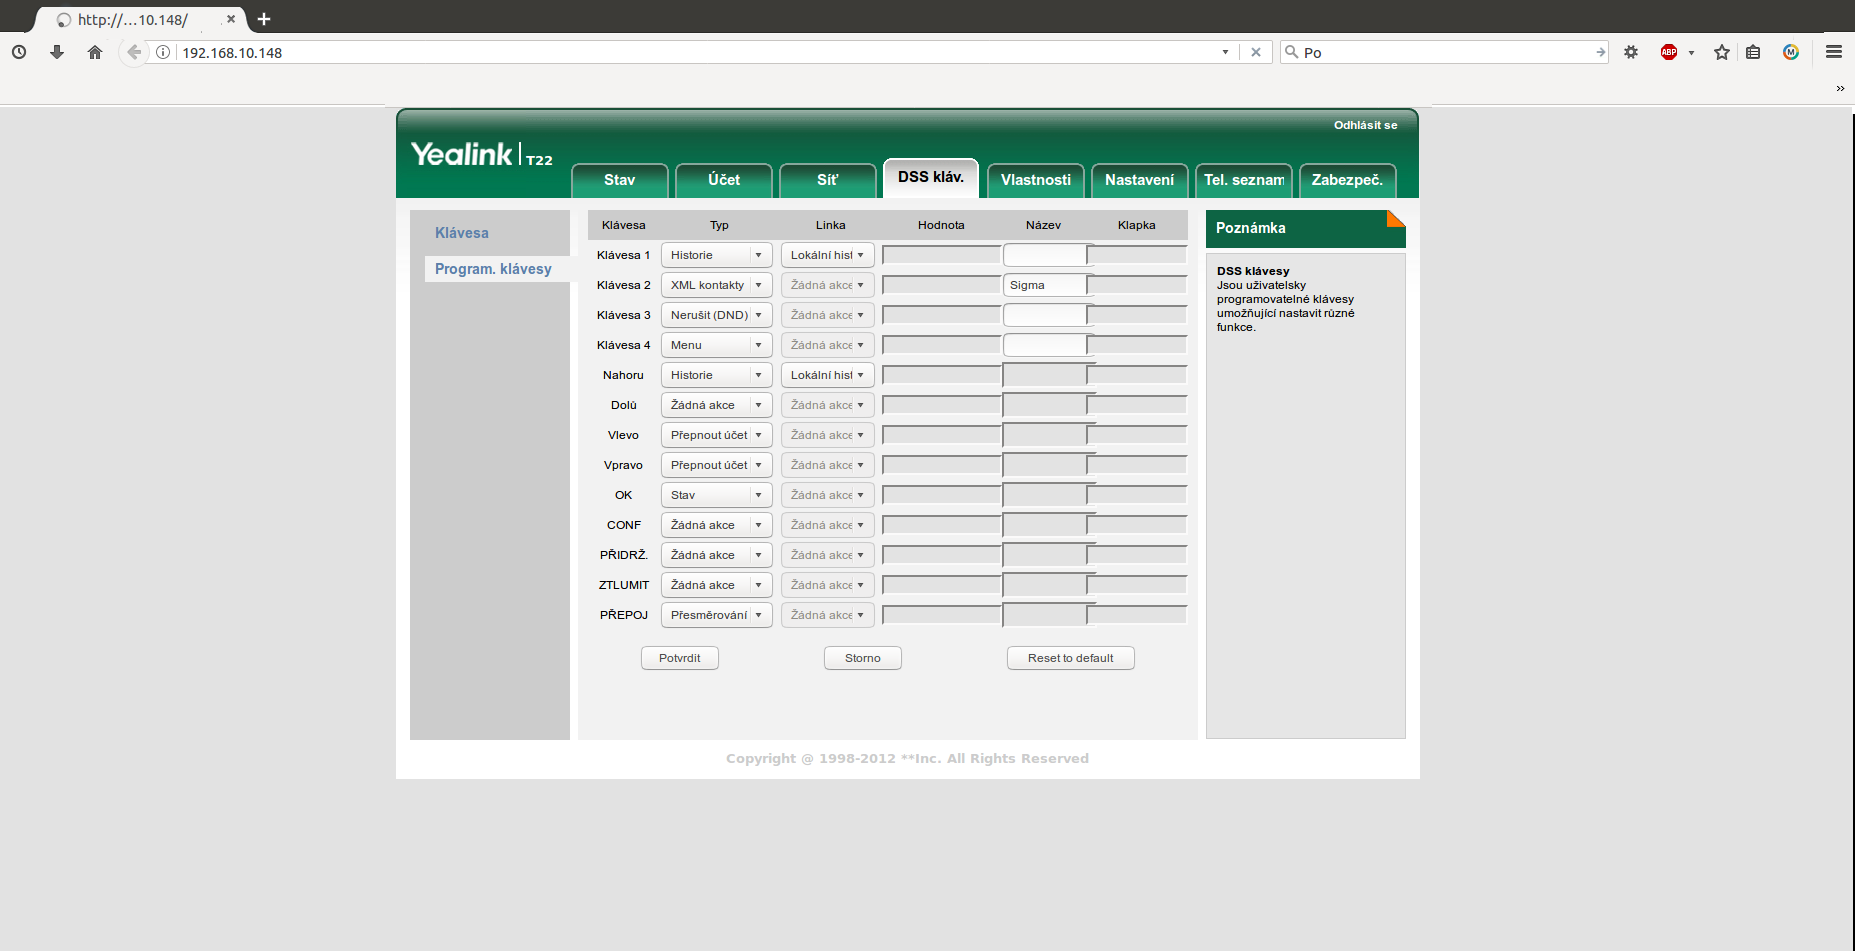
After that is necessary to set programmable button on your phone using which will be possible to accede the XML phonebook. Go on the DSS keys card and click on the button Programmable keys. Here you can use e.g. key number 2 where is originally set local phonebook. Click on the rollout menu and choose XML contacts type. Then is necessary to name button shortcutem at your discretion. See picture 4.
Picture 4 - creating shortcut for accessing XML phonebook
After creating shortcut will be change recognized on phone's display. See picture 5.
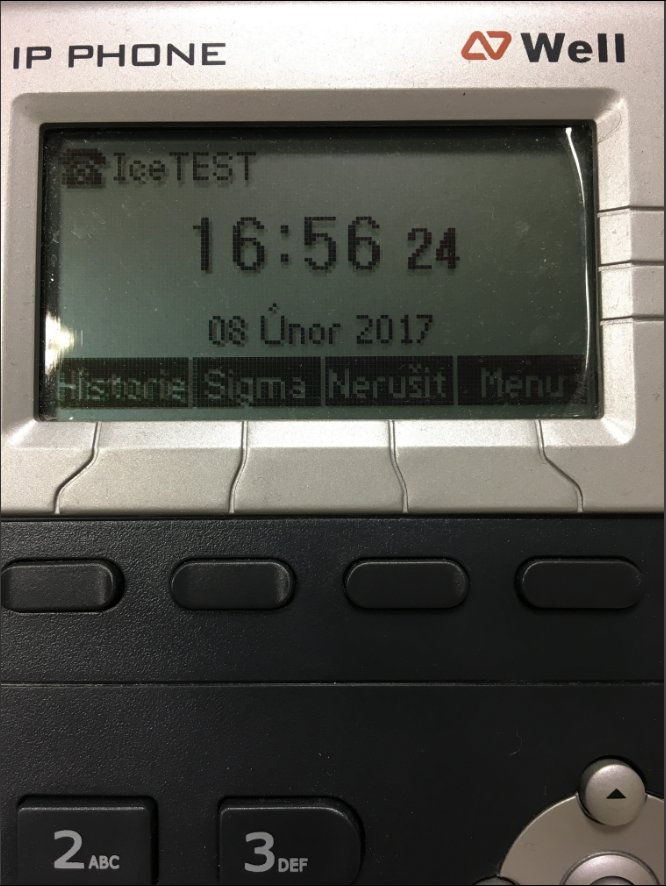
Picture 5 - shortcut on display for accessing XML phonebook
After clicking on the button will be displayed submenu. After configurating is at first necessary to do upgrage of the XML phonebook (by clicking on the button Update) because of contacting PBX and downloading current configuration of SIP devices. This has to be done on each phone even after doing changes on the PBX in section SIP devices. See picture 6.
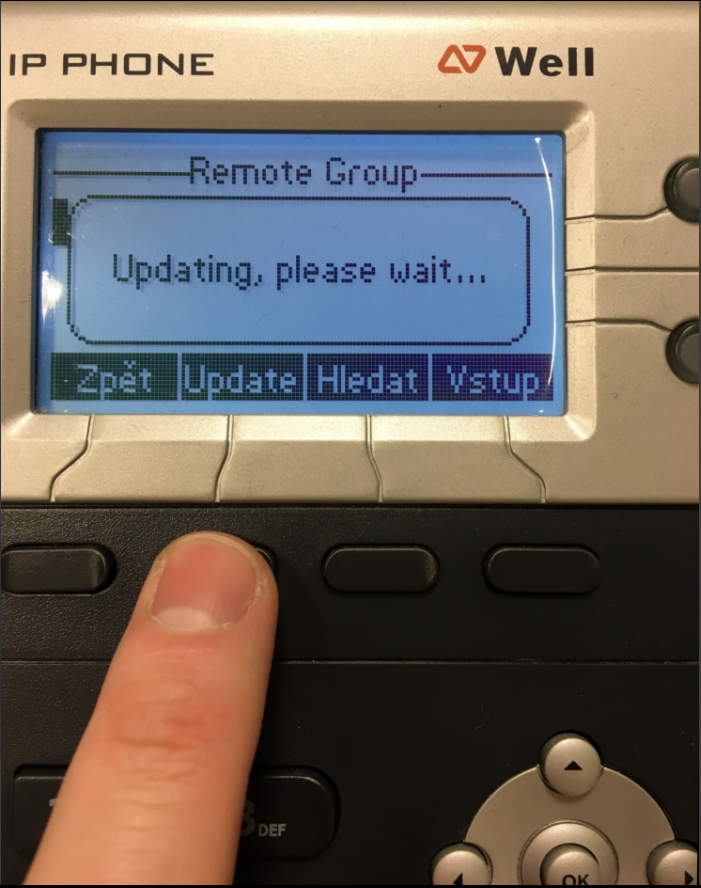
Picture 6 - updating remote group
After updating is possible to open the remote group using enter button. See picture 7.
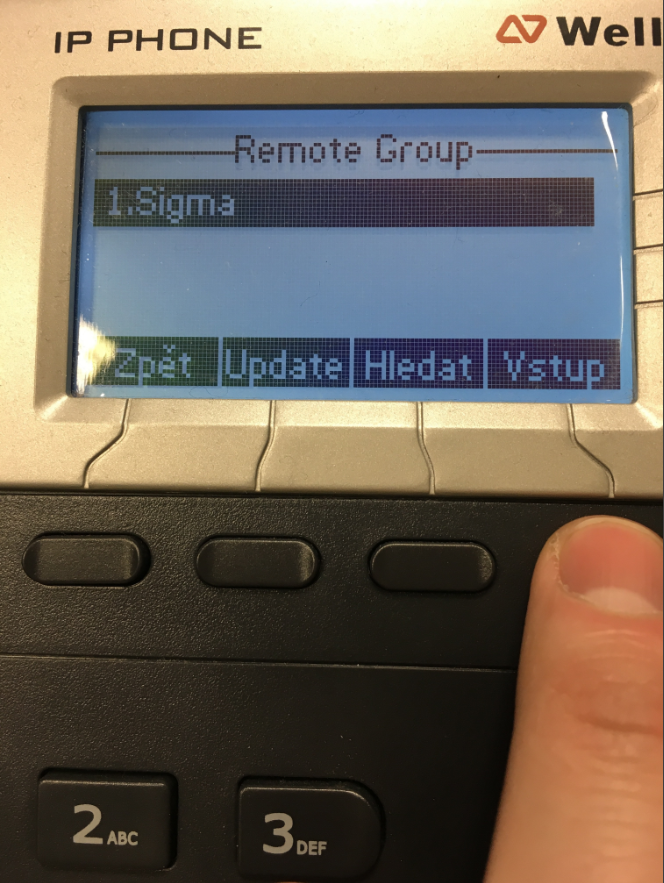
Picture 7 - entering remote group
After entering remote group is possible to find your desired contact using navigation arrows and by clicking on the dial button will be contact dialed. See picture 8.
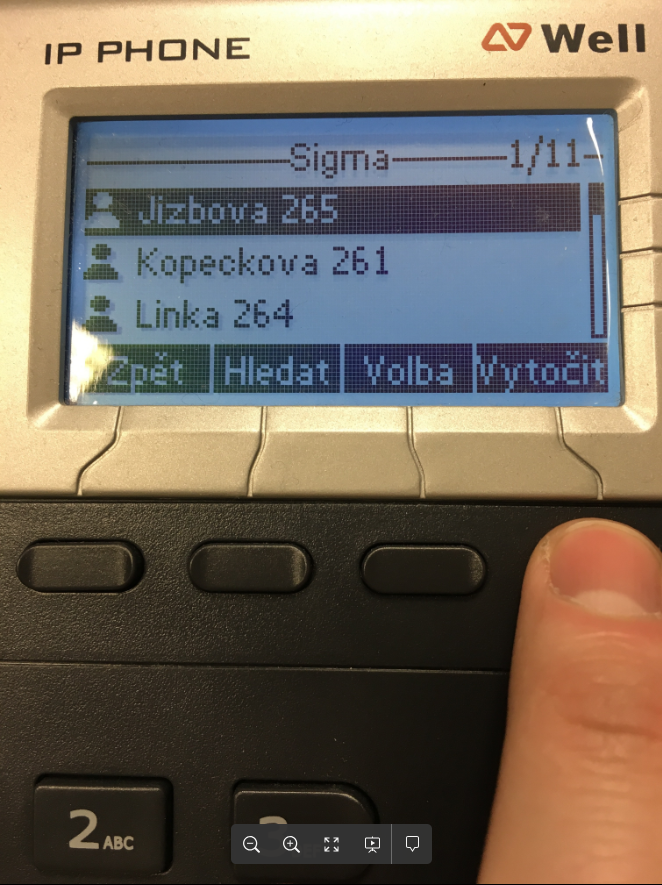
Picture 8 - searching contact in remote group and its dialing