My Profile
Set up your personal settings, select your language and check your browser is configured correctly.
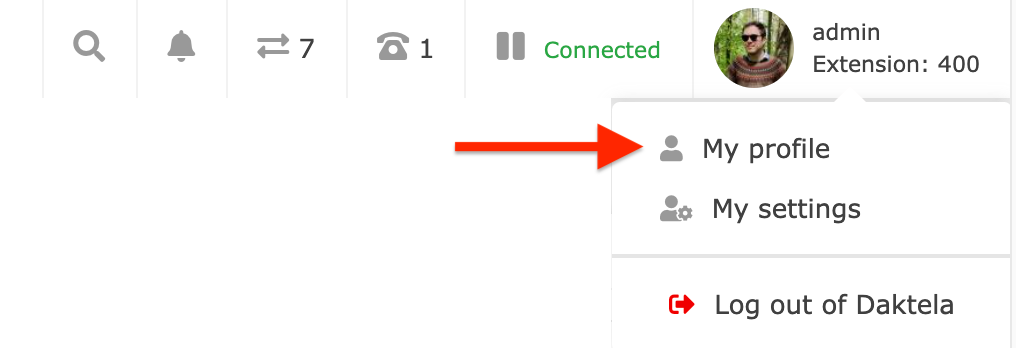
Click your profile picture or user name in the top right corner of the screen and then click My profile.
General User Settings

Edit your user name. Make sure to remember it or to use a password manager as you will need it to log in to Daktela! You will see your user name in the My Profile button in the top right corner.
Select your emoji. It will be displayed next to your name in Daktela, e.g. in Tickets.
Enter an email address for notifications.
Enter an alias. This is the name customers will see e.g. in web chats.
Select a profile picture to upload or drag and drop a picture into the grey area around the Select files button. Click the Delete button to remove the picture.
Select a time zone for your daktela account. You can choose Automatic for synchronise with you pc time or select a specific country.
Change your password. Enter your old password first and then type in your new password. Make sure to remember it or to use a password manager as you will need it to log in to Daktela!
Set up your Agent Greetings – recordings that you can use during your phone calls.
Set up your Agent Templates – templates that you can use e.g. in your emails, web chats etc.
Agent Greetings
Record and manage recordings that you can play back during calls – either automatically after you answer or manually.
Click the Agent Greetings tab.
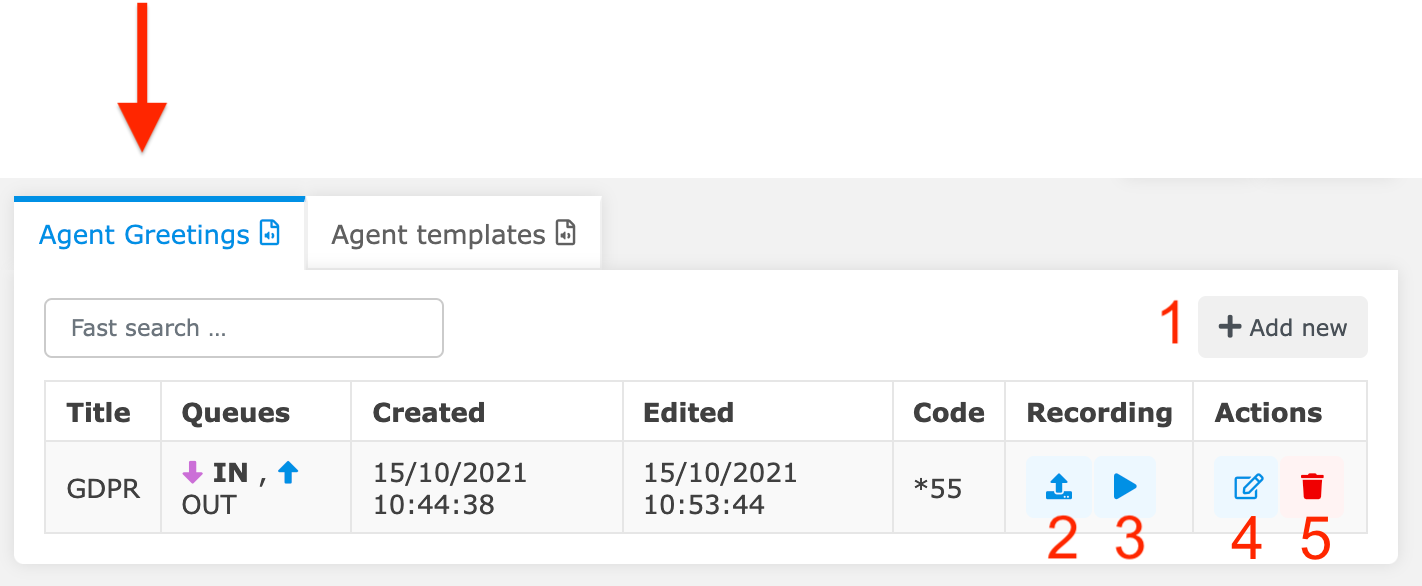
Create a new greeting.
Set up a new recording.
Play back recording.
Edit greeting.
Delete greeting.
Create / Edit Greeting
When you create a new greeting or edit an existing one, the only difference is that the fields will already contain data when editing.
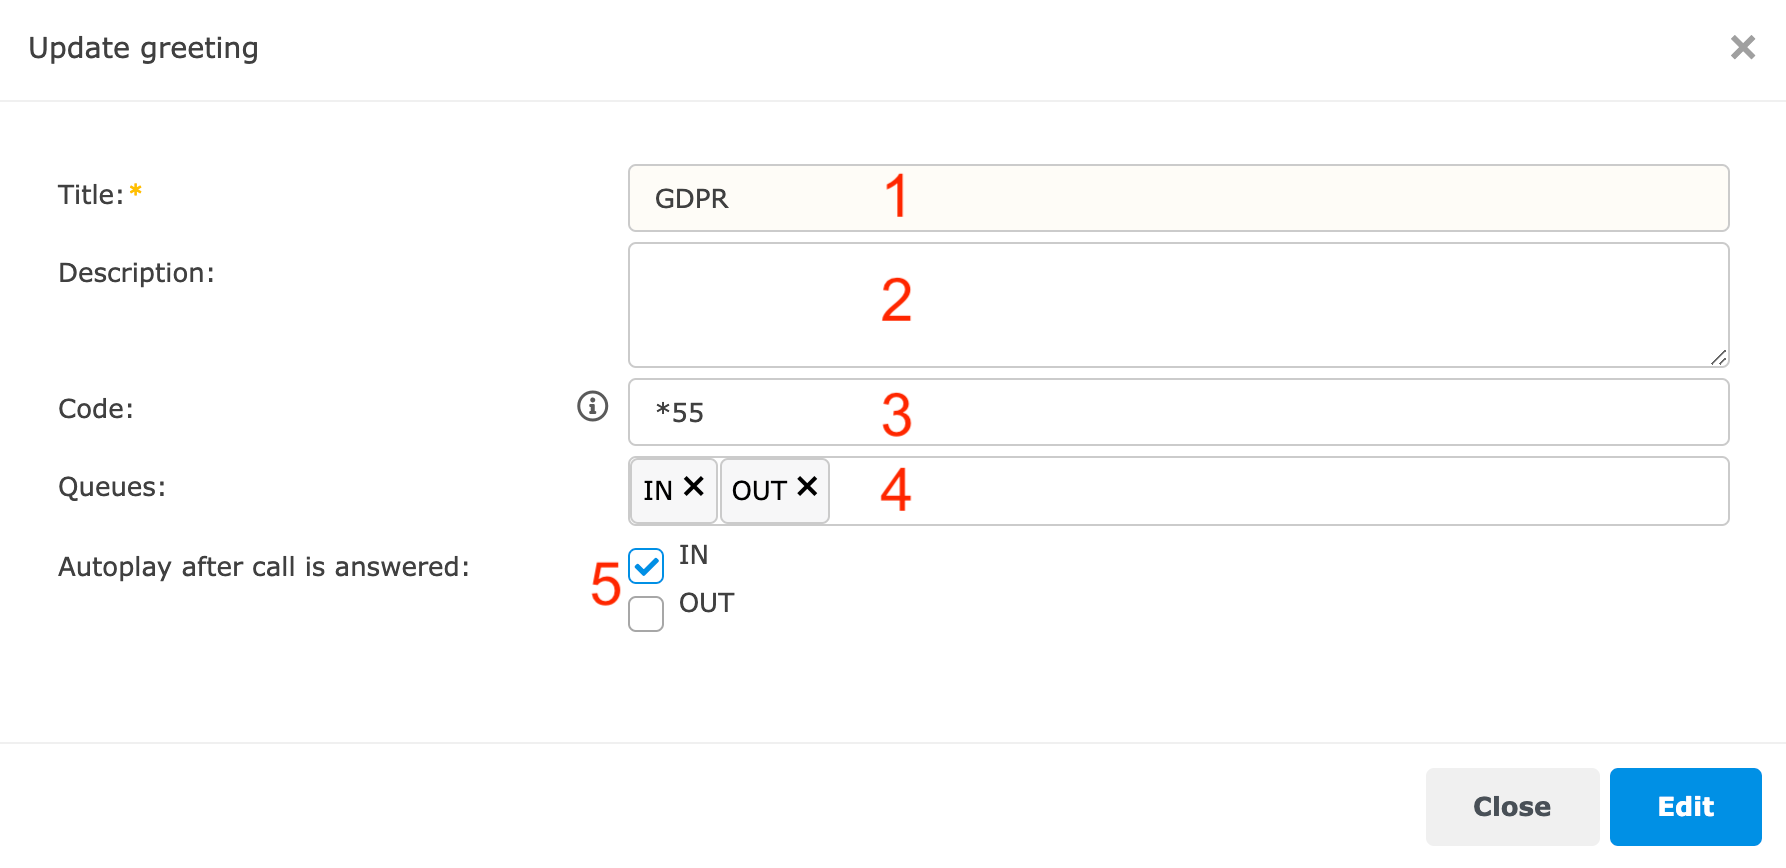
Enter a greeting title.
Enter a greeting description.
Enter a code that you can dial from your phone to play back the greeting. Ask your supervisor what codes you can use.
Select queues where to use the greeting.
Check to automatically play the greeting after the call is answered.
When done editing, click Create/Edit.
Next, set up a new recording for your greetings.
Set up a Recording
Click the Add recording button to start. If your greeting already had a recording, you will need to confirm that you would like to overwrite it. If you don't have any greetings yet, create a greeting first.
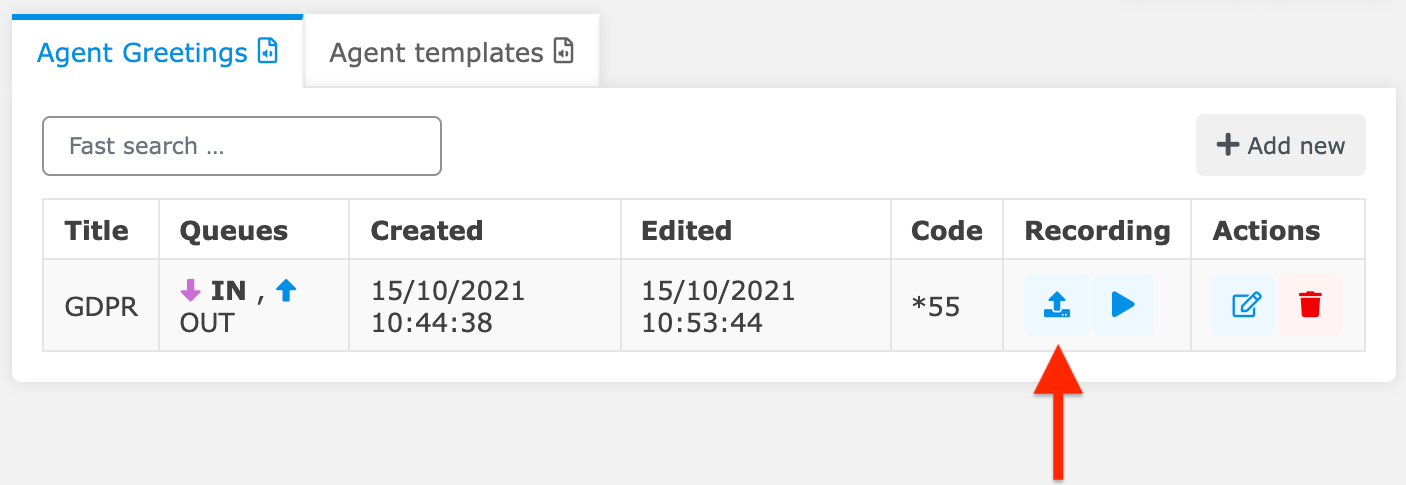
The Record/Upload new own recording window will open.
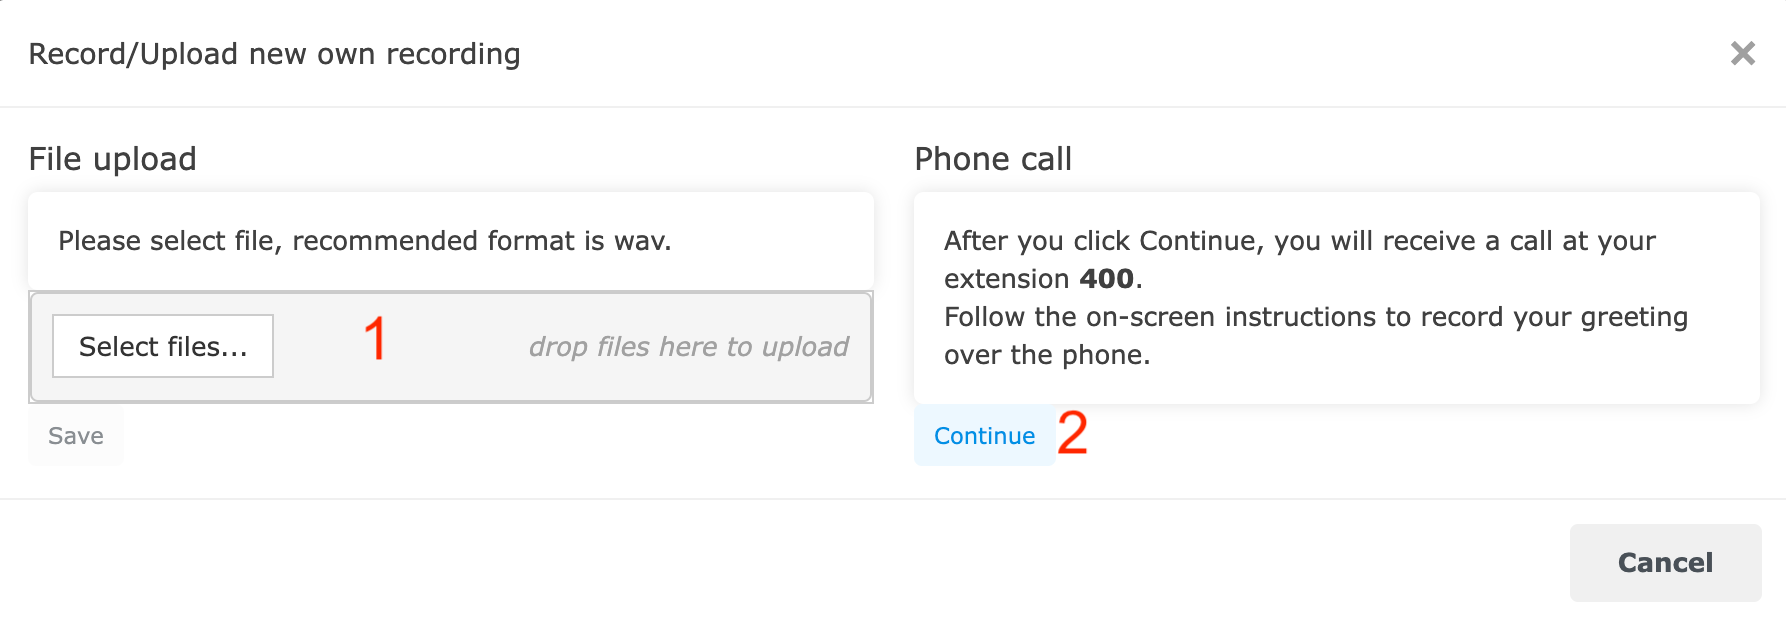
There are 2 ways to set up your recording.
Select a recording from your computer or drag and drop it into the grey area around the Select files button. Click Save.
Record your greeting over the phone. Click Continue and follow the on-screen instructions. You must be logged in and ready to record your greeting over the phone.
Use Your Greeting During a Call
When your greeting is set up, you can start using it during your phone calls.
If you have set up automatic playback after the call is answered, the recording will be played automatically at the beginning of the call. You can play the recording again if you need to.
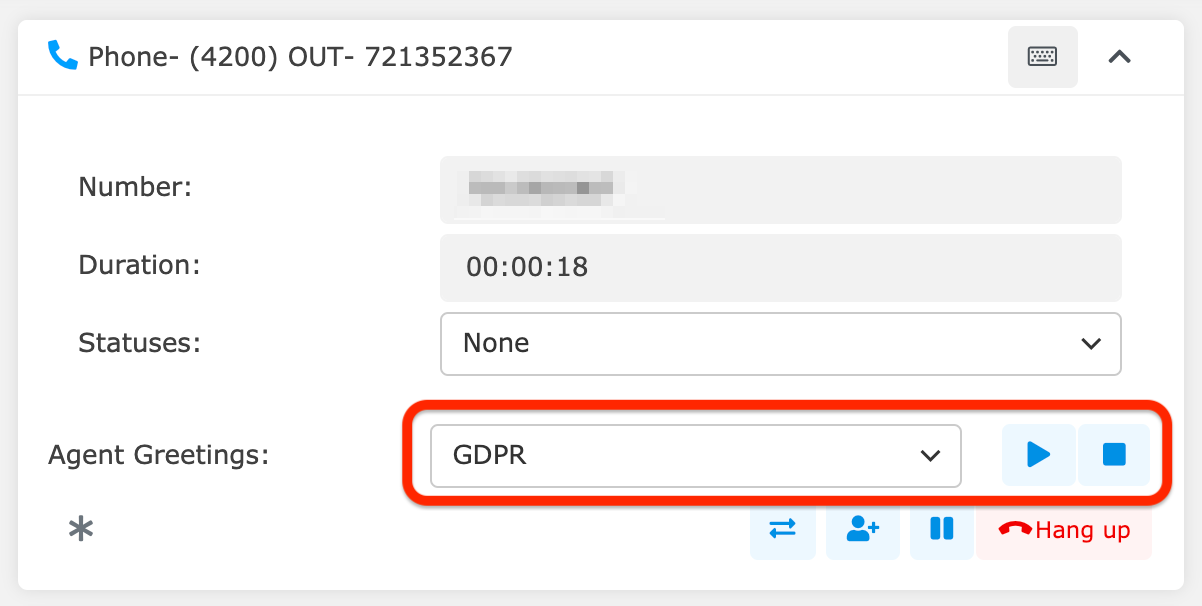
The greeting playback controls will appear in the phone widget during your calls. Select which greeting to use from the drop down list and control it using the play and stop buttons.
You can also play the recording by using your phone's keypad to dial the code you have entered when setting up the greeting.
Agent Templates
Create and manage your templates such as signatures and messages you send often.
Click the Agent templates tab.
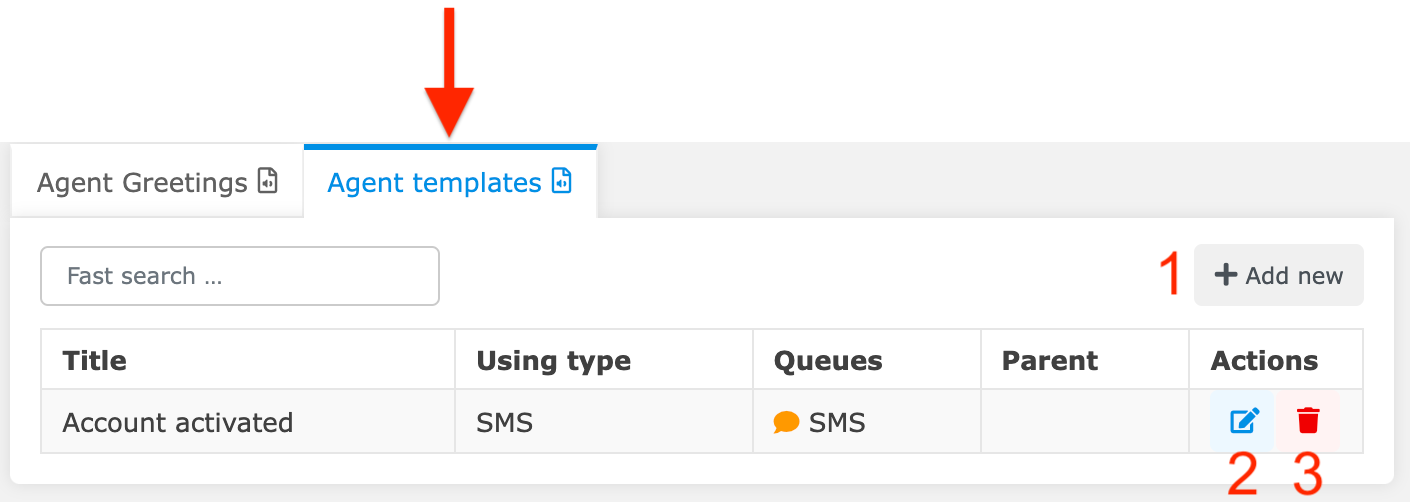
Create a new template.
Edit template.
Delete template.
Create / Edit Template
When you create a new template or edit an existing one, the only difference is that the fields will already contain data when editing.
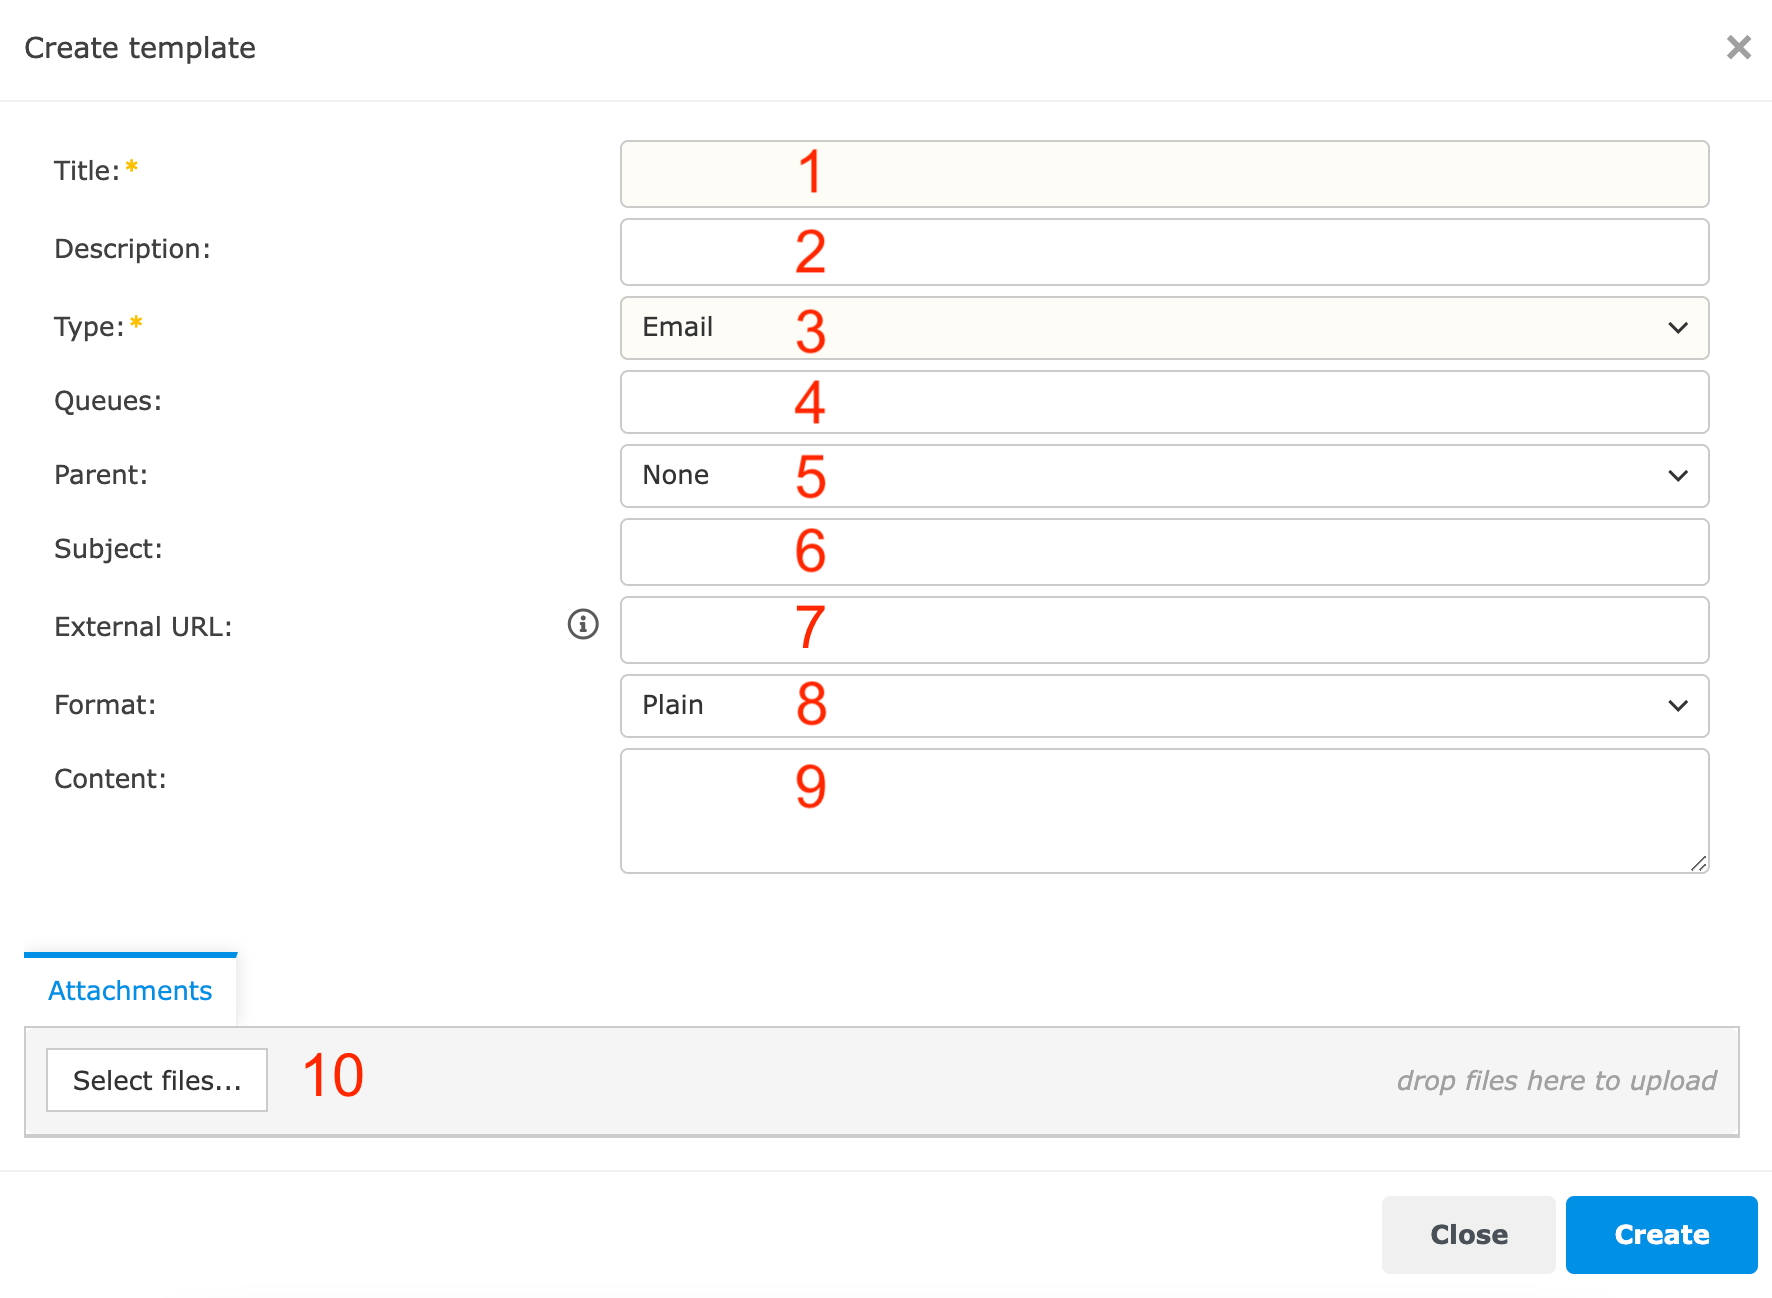
Enter a title
Enter a description.
Select a template type from the dropdown list.
Select queue(s) where you will use the template.
Select a parent template (email only).
Enter an email subject (email only).
Enter a URL where your external data is stored. See Templates for more info.
Select plain or rich formatting (email, email signature, viber and NPS only).
Enter your template text.
Select an attachment or drag and drop it into the grey area around the Select files button (email only).
When done editing, click Create/Edit.
Numbers 5, 6 and 10 only appear when you select an Email template.
My Settings
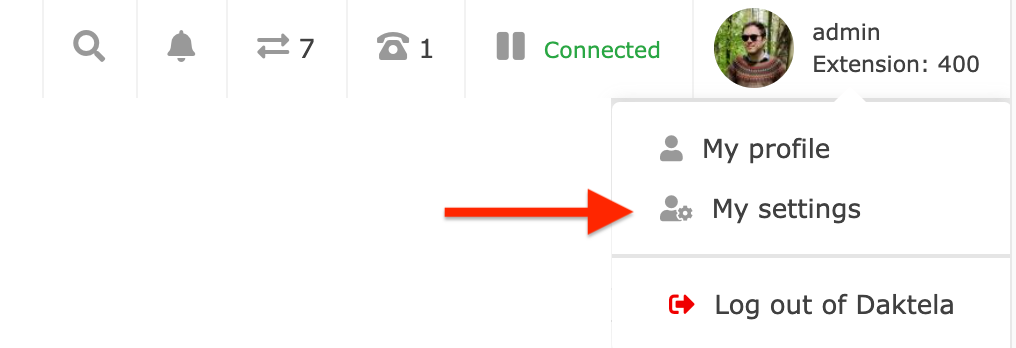
Select your language and colour theme and check your browser settings.
Click your profile picture or user name in the top right corner of the screen and then click My settings.
My Settings Detail
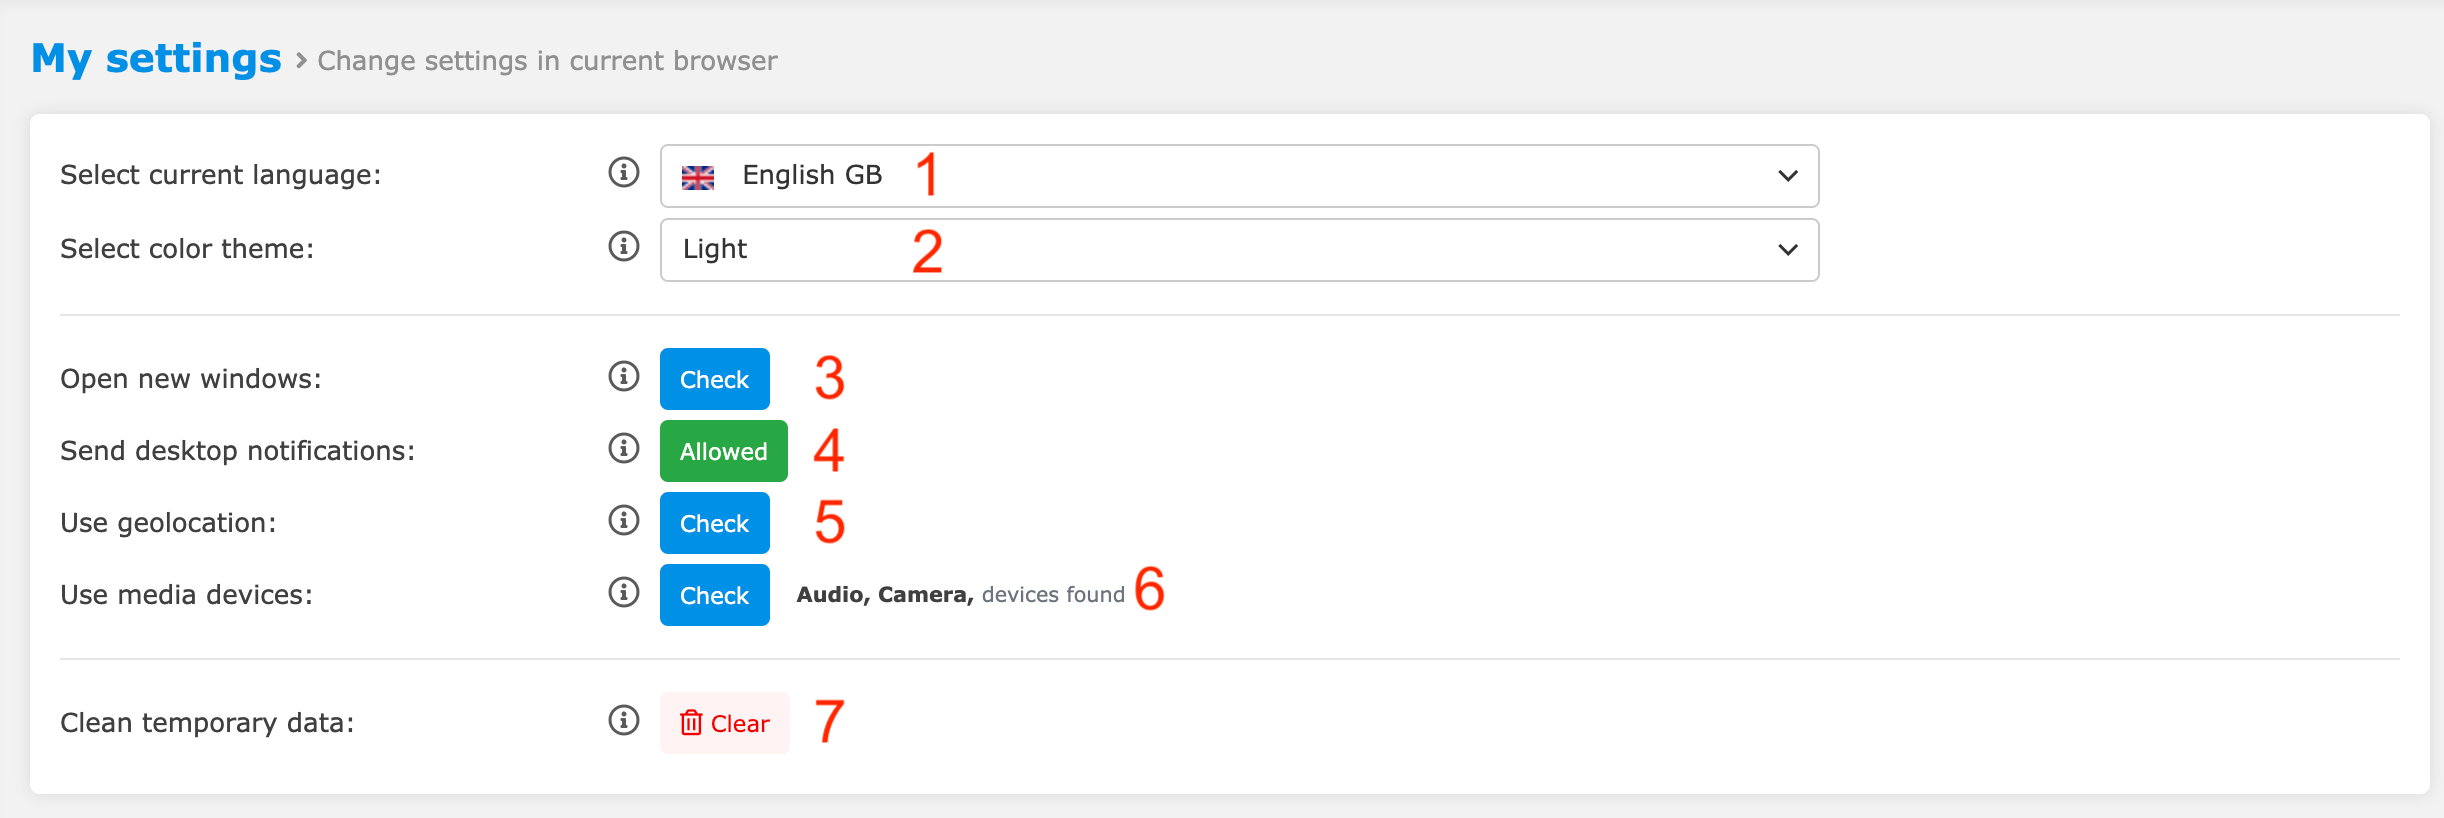
Select the Daktela language.
Select a colour theme.
Check if pop-ups are enabled in your browser. Click Check – the button turns green with Allowed if they are. If button turns light blue with "Need to allow, go to your browser settings and allow popups. Click the Need to allow button to re-check.
Check if notifications are enabled in your browser. Click Check – the button turns green with Allowed if they are. If button turns light blue with Need to allow, go to your browser settings and allow notifications. Click the Need to allow button to re-check.
Check if Daktela is allowed to use geolocation in your browser. Click Check – the button turns green with Allowed if they are. If button turns light blue with Need to allow, go to your browser settings and allow geolocation. Click the Need to allow button to re-check.
Check if Daktela is allowed to use the devices listed next to the button. Click Check – the button turns green with Allowed if they are. If not allowed, you browser should ask you for permission.
Clear the Daktela cache in your browser.