Get Started
Sidebar Overview
Dashboard – My Day, Shift plans, Calendar widgets
Schedule – Shift plans
Users – User management
Employees – List of all employees
Workplaces – List of all workplaces
Administration – Global Settings
Users – User Settings
Skills – Skill type definition
Contracts – Contract type definitions
Schedule – Schedule Settings
Periods – Shift Period definitions
Needs – Periodical need definitions
Requests – Employee request type definitions
Shifts – Shift type definitions
Breaks – Break type definitions
Integration – Contact center intergrations
Queues – Sunrise queue definitions
Resource – Docs
Swagger – Api docs
Add a New Skill
Go to Administration → Users→ Skills To add a new skill. Click the Add skill button.
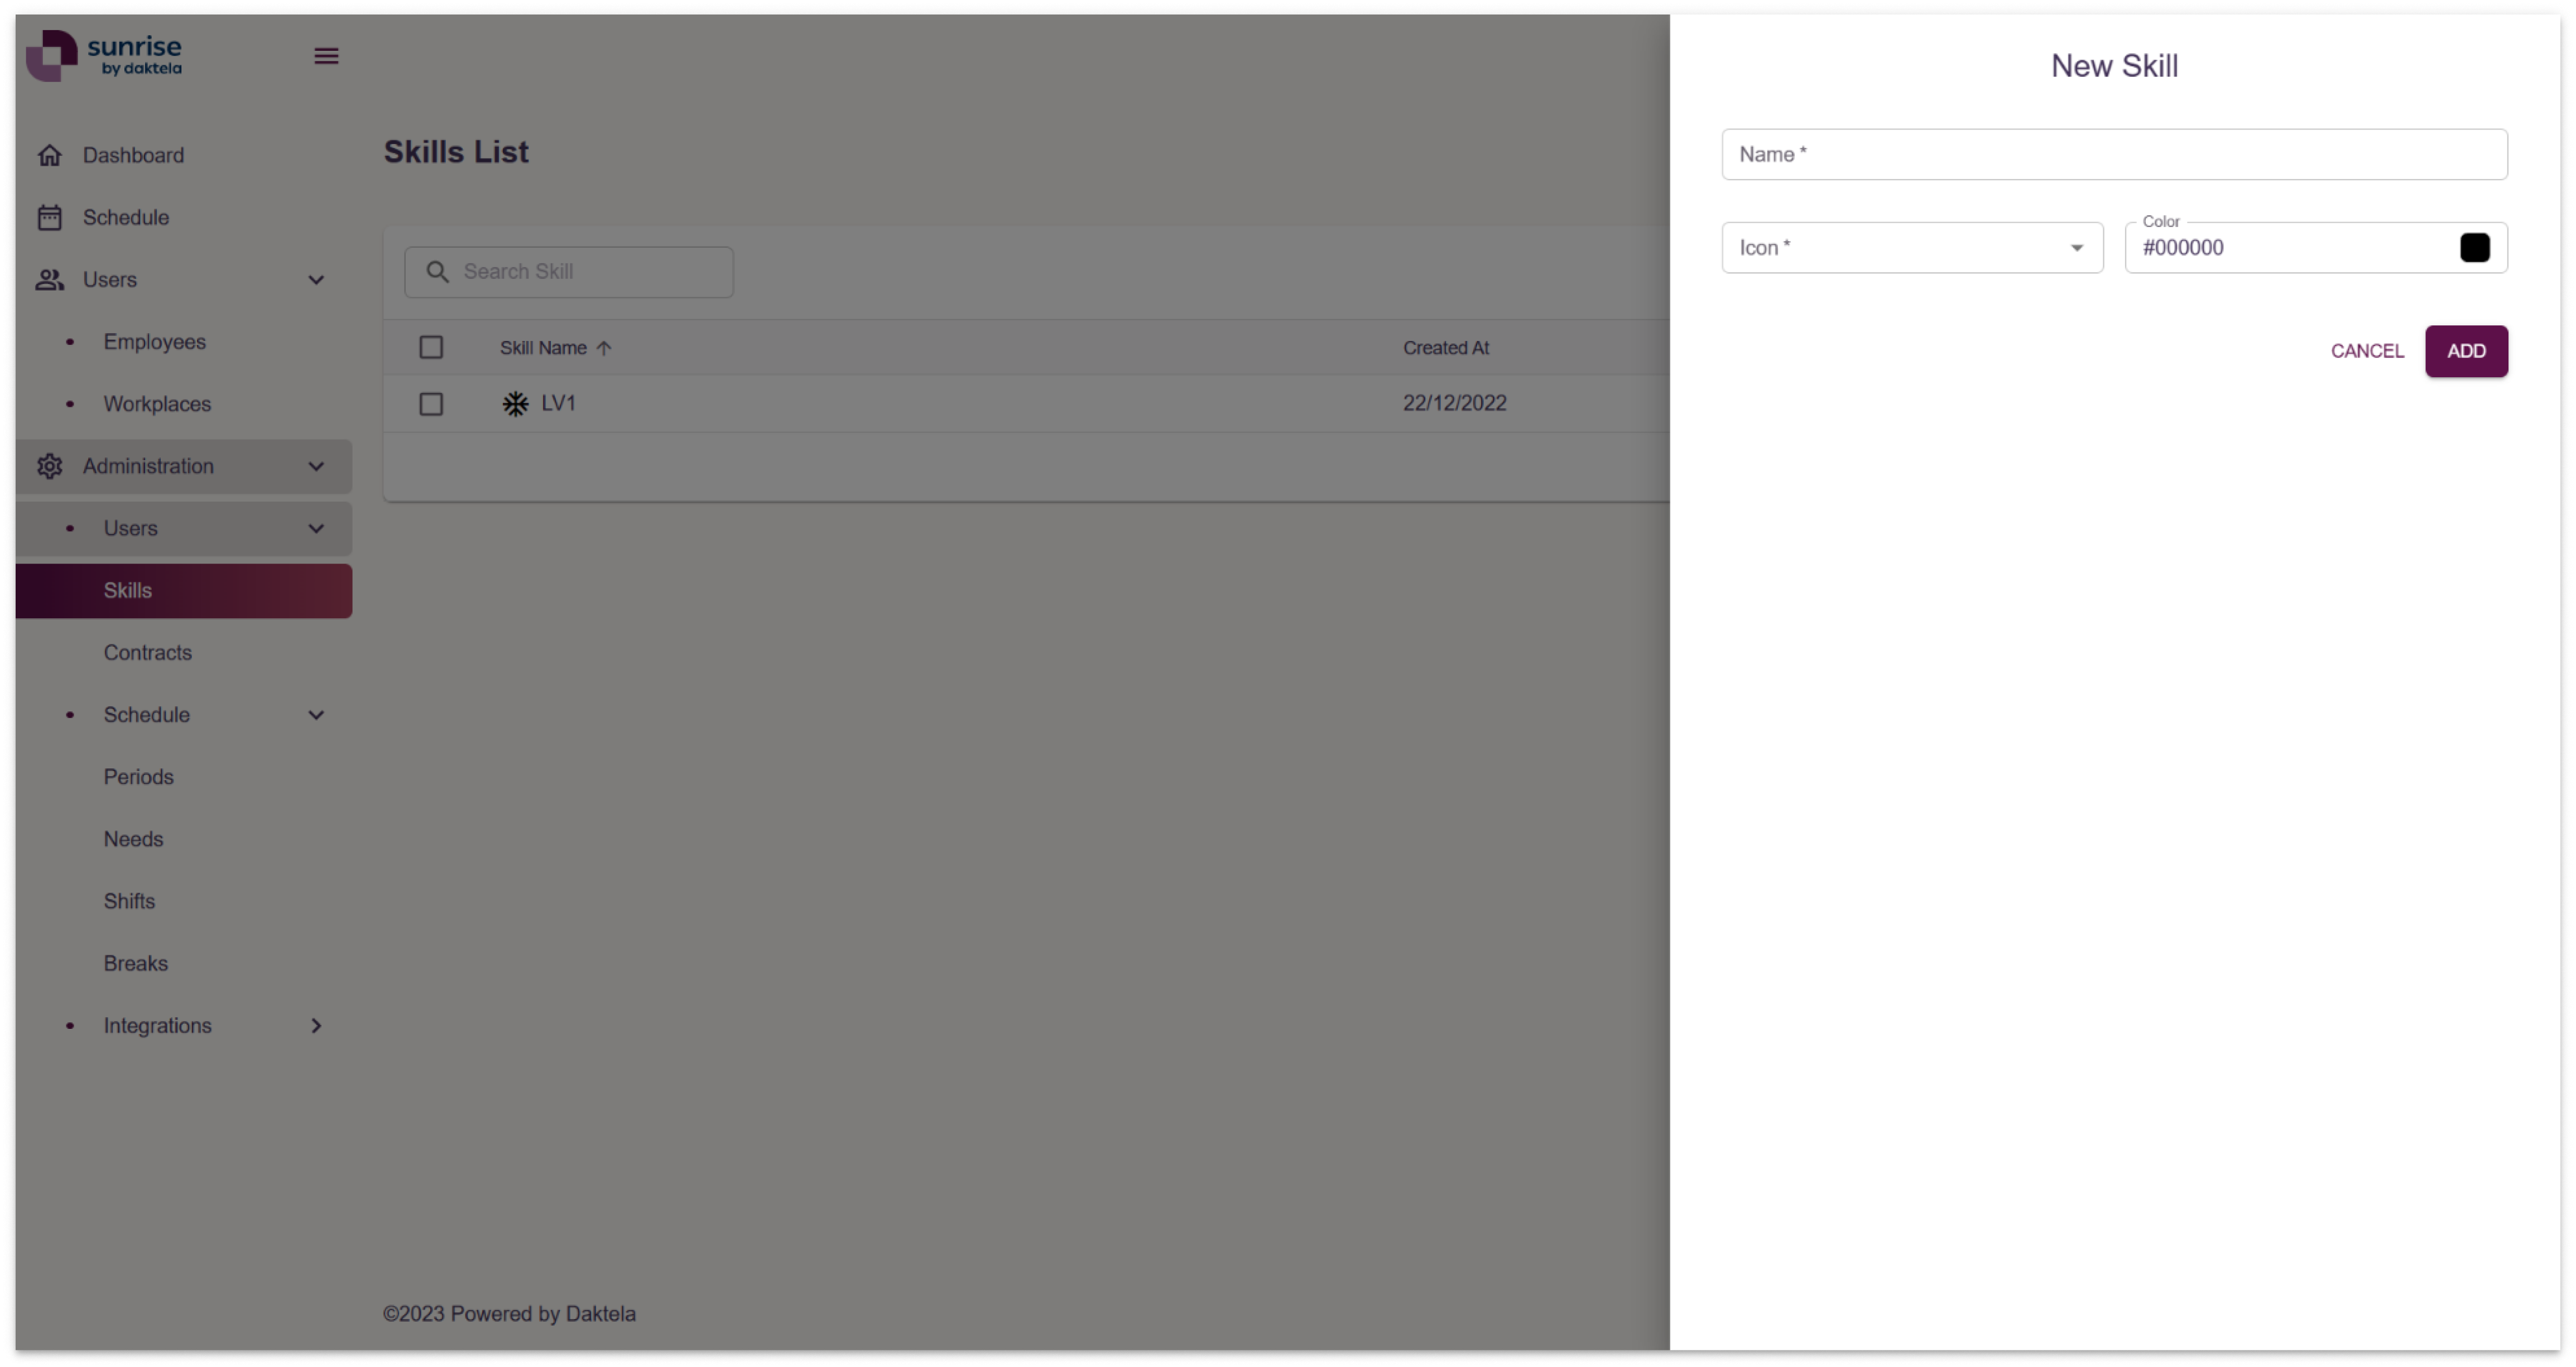
Enter a skill Name.
Select a skill Icon.
Select skill Icon colour
Click the ADD button to create a new skill.
Add a New Contract
Go to Administration → Users → Contracts to Add a new Contract. Click the Add Contract button.
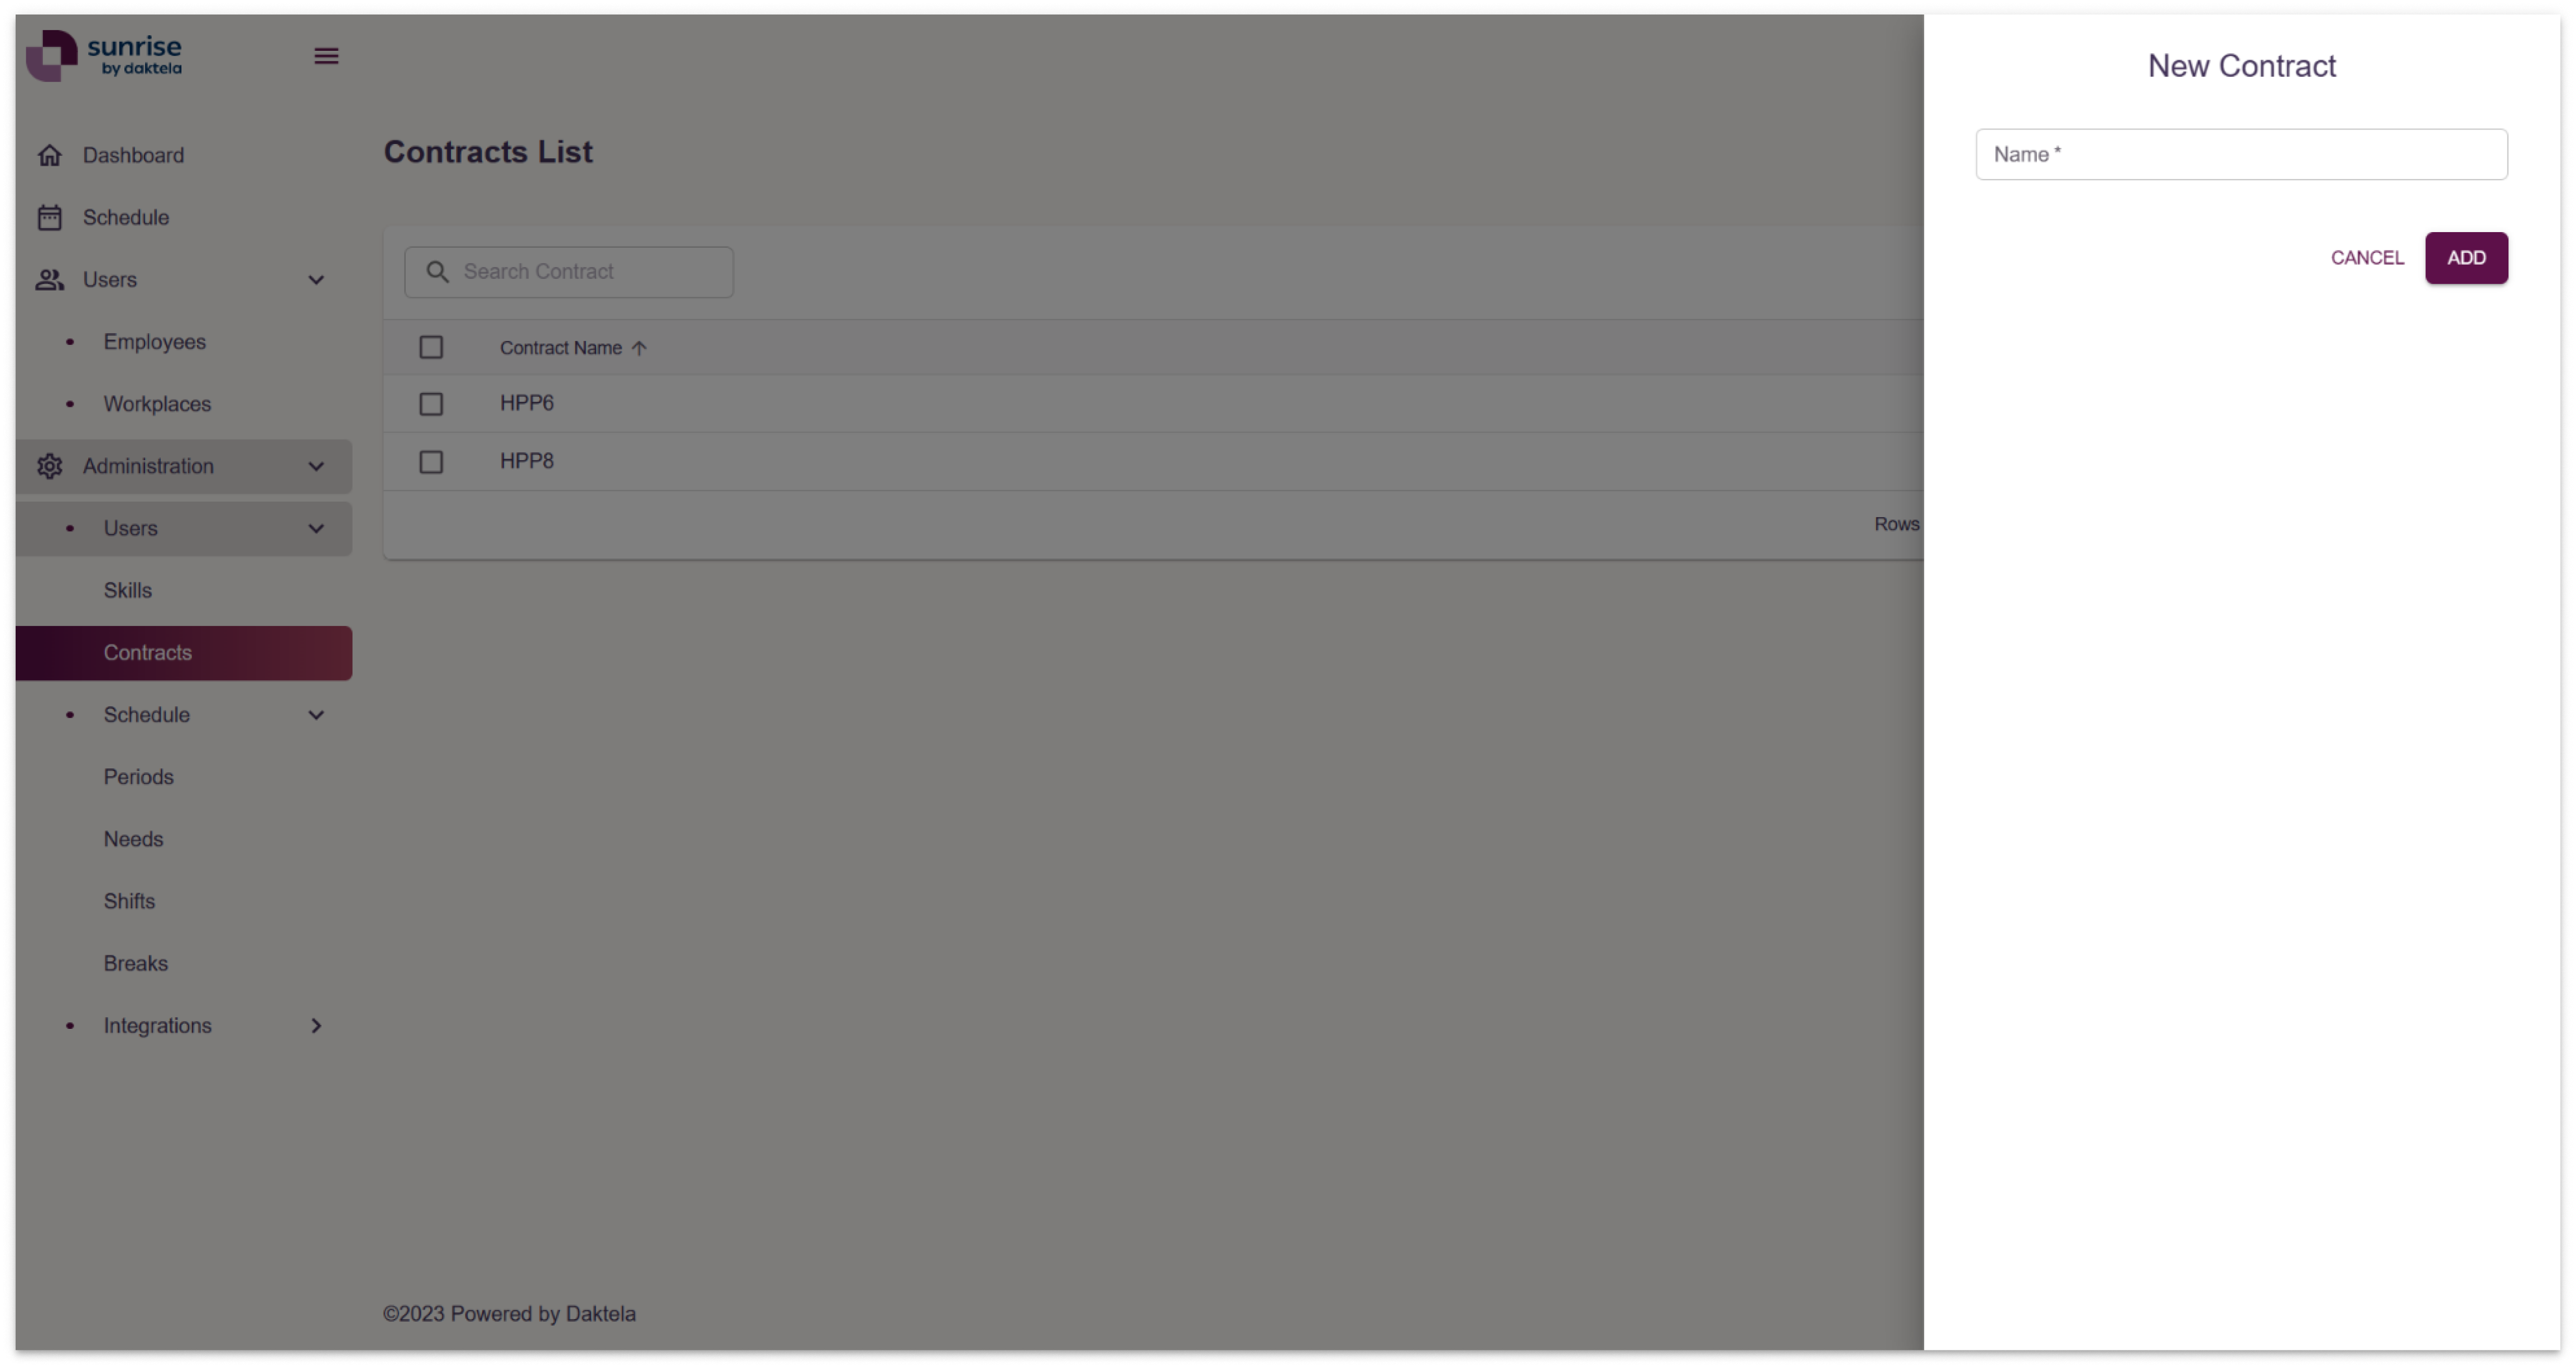
Enter a contract Name.
Click the ADD button to create a contract.
Add a New Queue
Go to Administration → Integration → Queues to add a new queue.

Switch if the queue is active or inactive.
Enter the Sunrise queue name.
Select a country for timezone info.
Select a max history date to Sync data from.
Enter a queue description
Select roles (Agent, Team Leader or Administrator).
Assign specific skill to sunrise queue.
Queue mapping → CC queues.
Click the ADD button to create a queue.
Add a New Break
Go to Administration → Schedule → Breaks to add a new break.
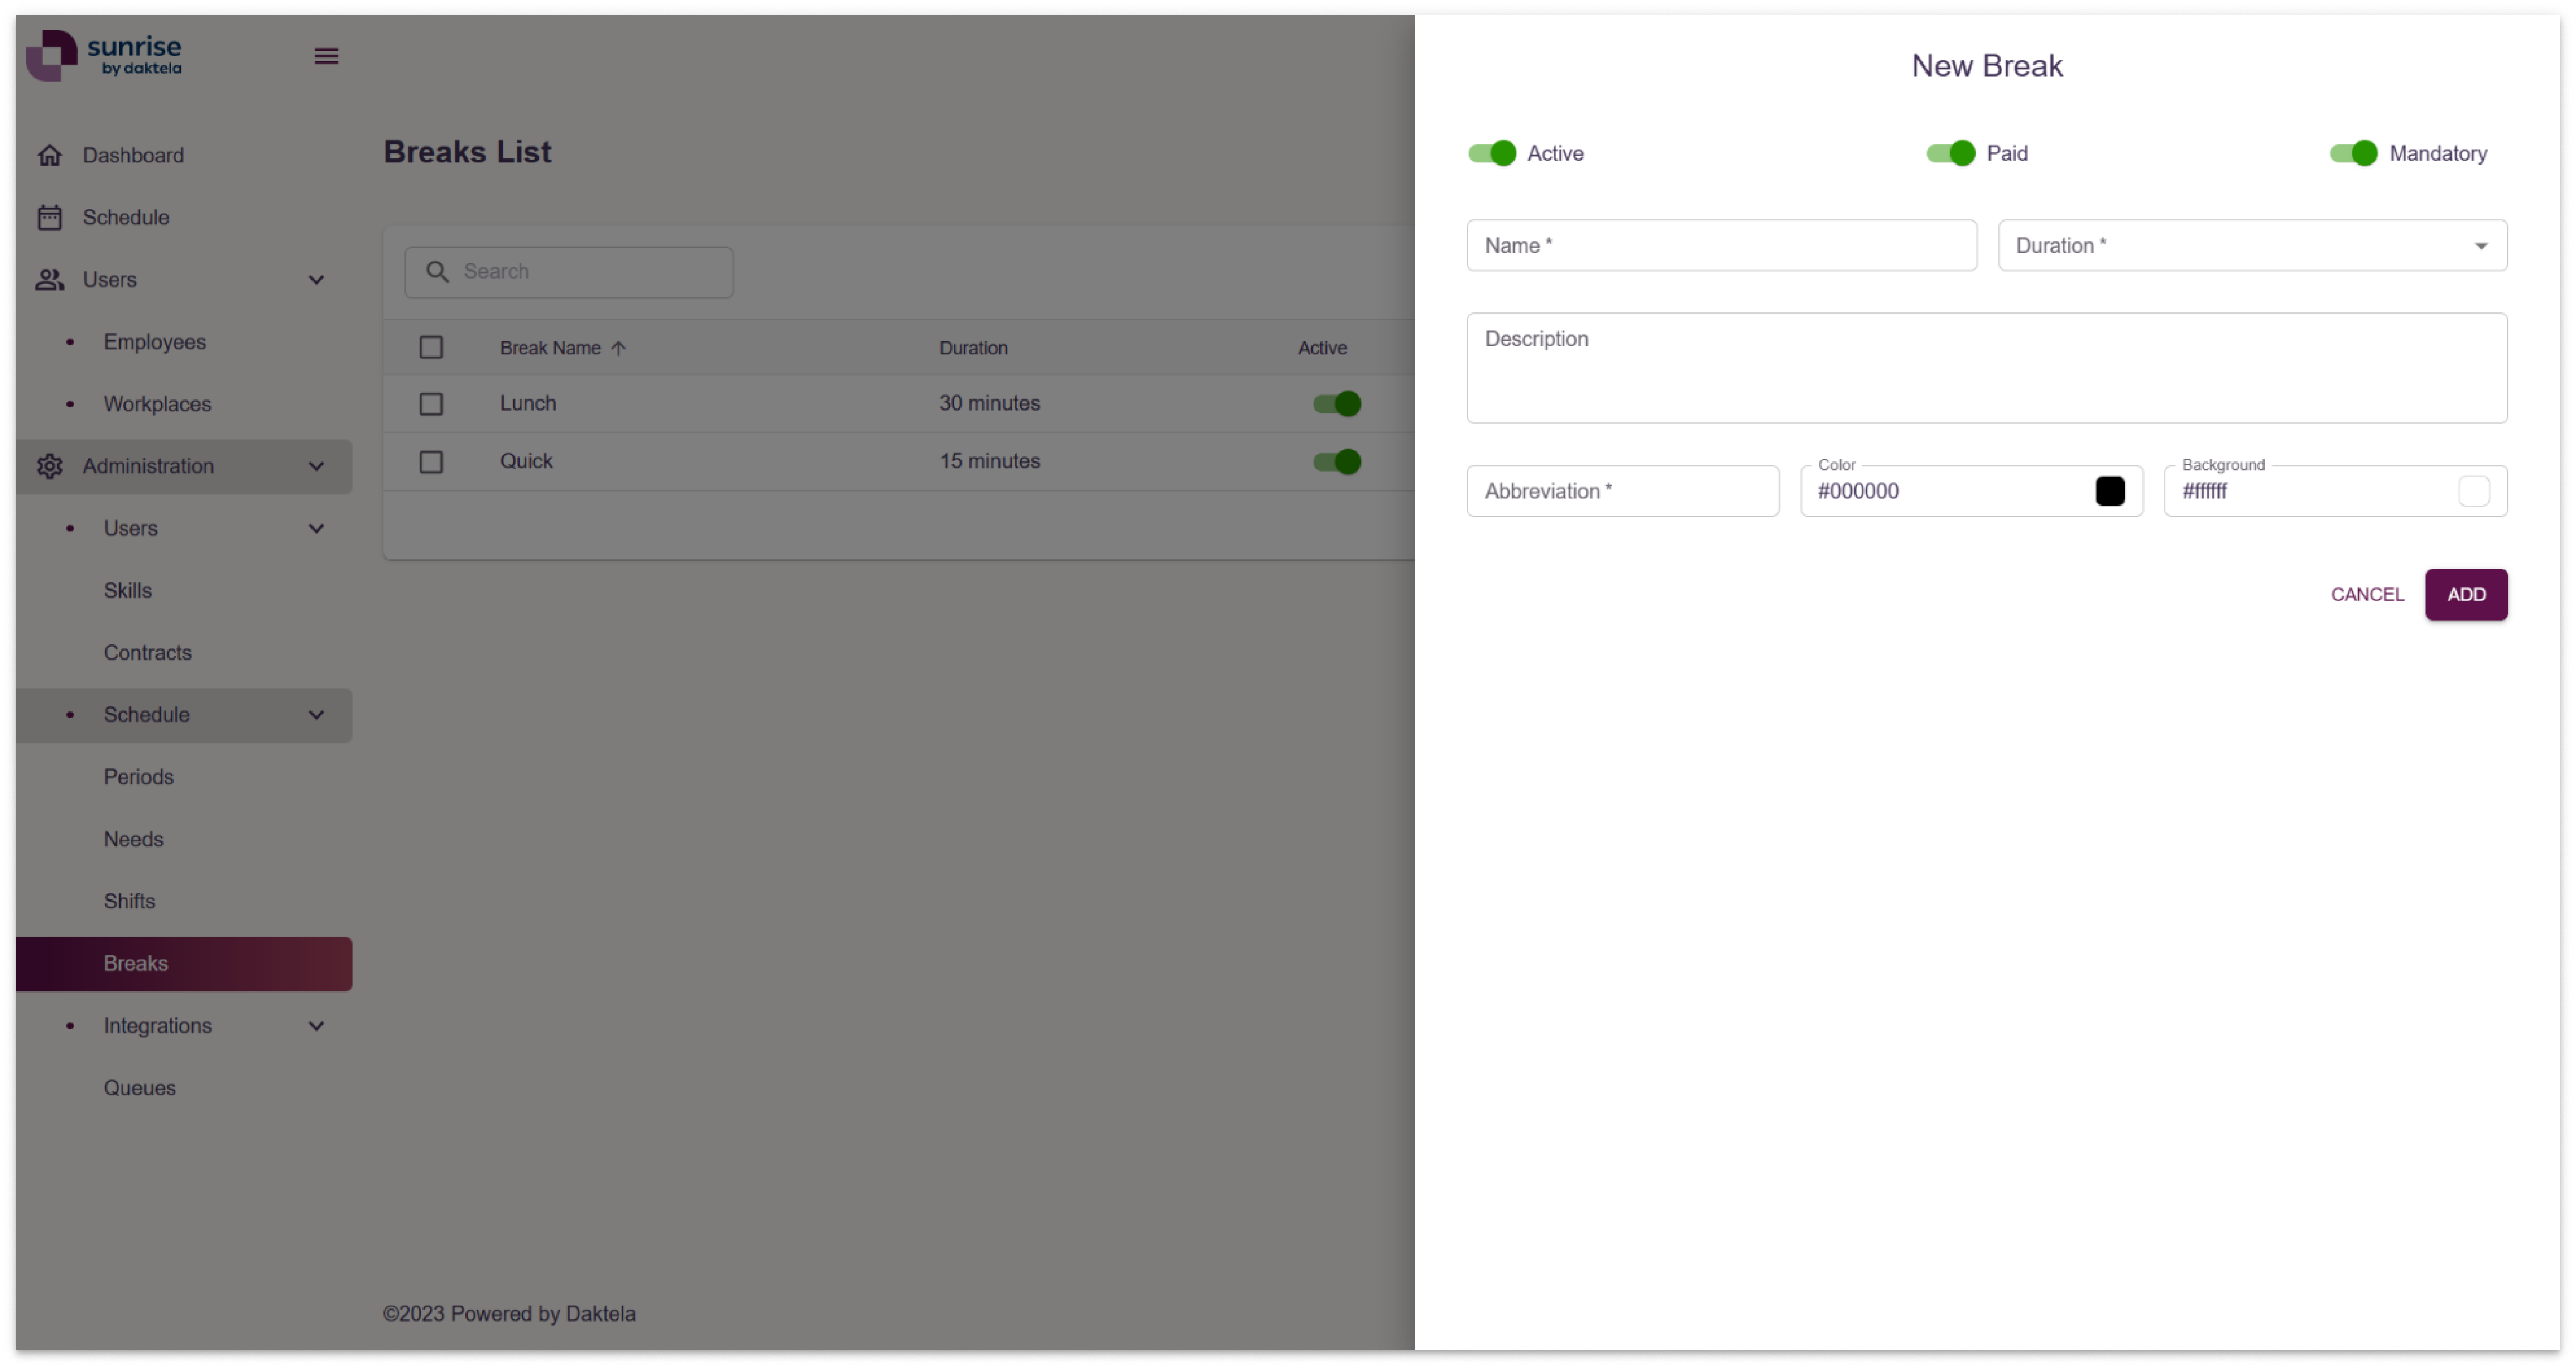
Switch if the break type is active or inactive.
Switch if the Break type is paid or unpaid.
Select a Break type.
Enter a name.
Select the break duration.
Eneter a nreak description.
Select a break name abbreviation.
Select a colour of schedule break item foreground.
Select a colour of schedule break item background.
Click the ADD button to create a break.
Add a New Shift
Go to Administration → Schedule→ Shifts to Add a new Shift.
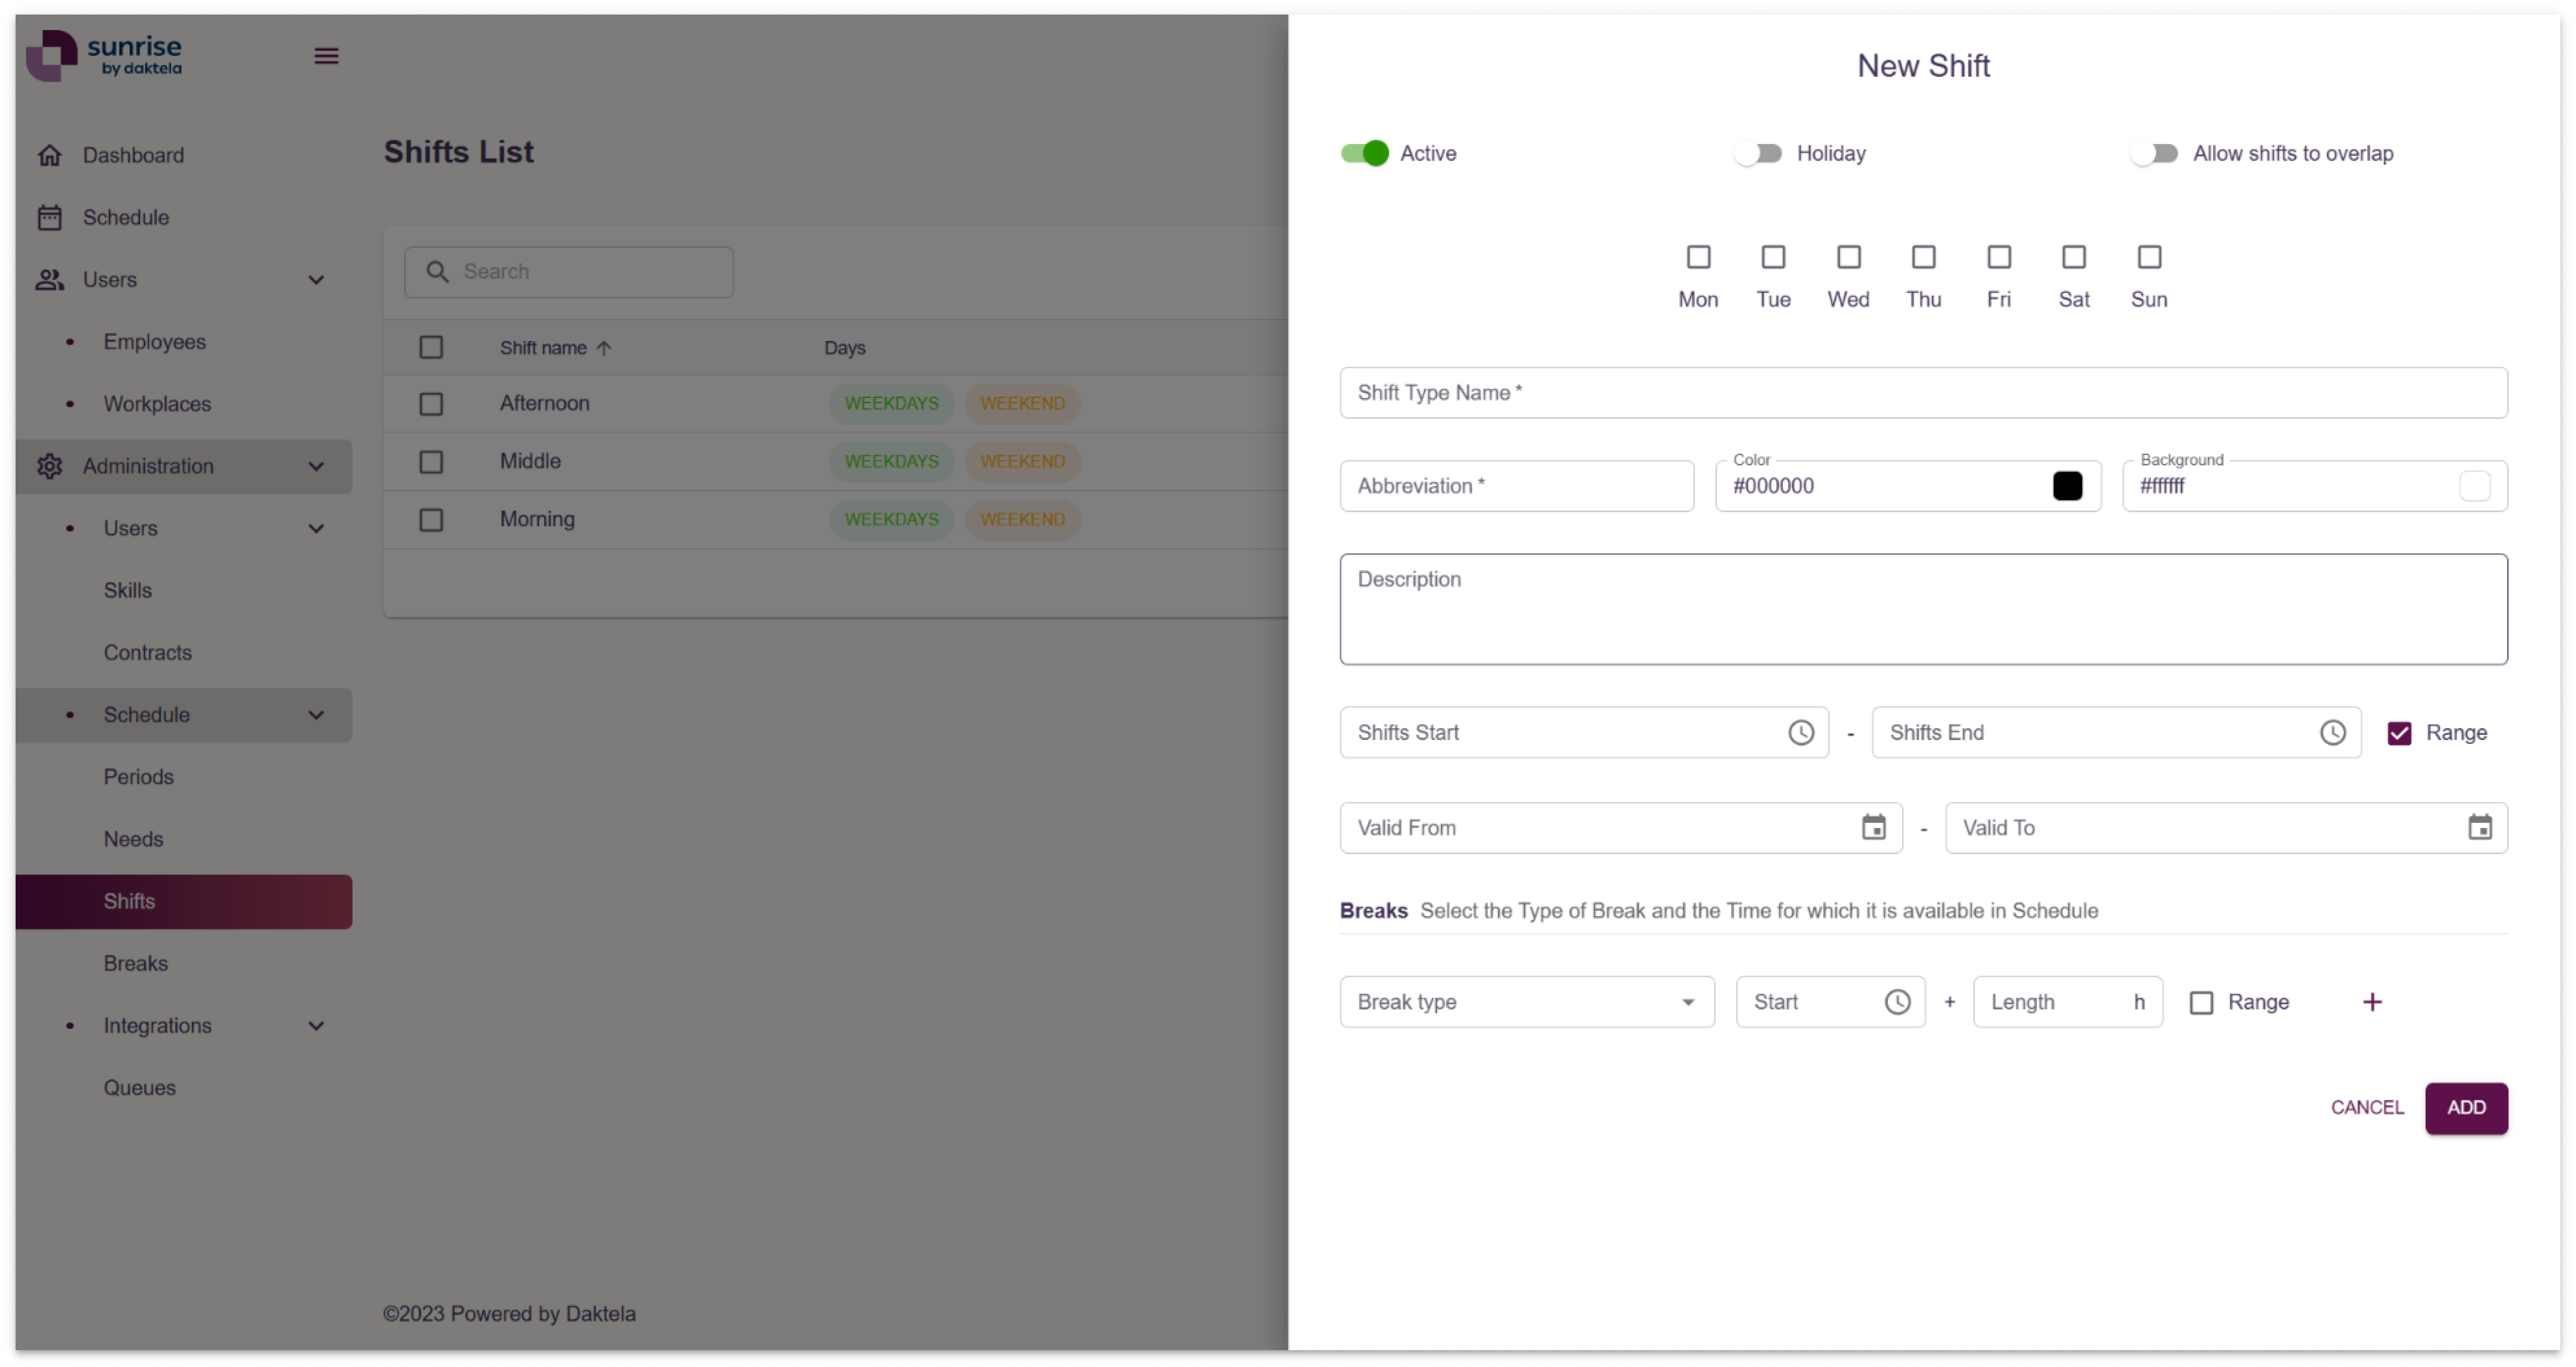
Switch if the shift type is active or inactive.
Switch if the shift is available or unavaiable on holidays.
Switch allow or disallow shifts to overlap.
Enter a shift type name.
Select a valid start/end when is this type of shift valid.
Enter a shift name abbreviation.
Select a colour of the schedule shift item foreground.
Select a color of the schedule shift item background.
Enter a shift description.
Checkboxes -> Select the days to which this type of shift can be applied.
Select a when the shift start and end.
Select a break, start and length. The breaks that are avaiable for this type of shift, and in what time range.
Click the ADD button to create a shift.
Add a New Period
Go to Administration → Schedule→ Periods to add a new period .
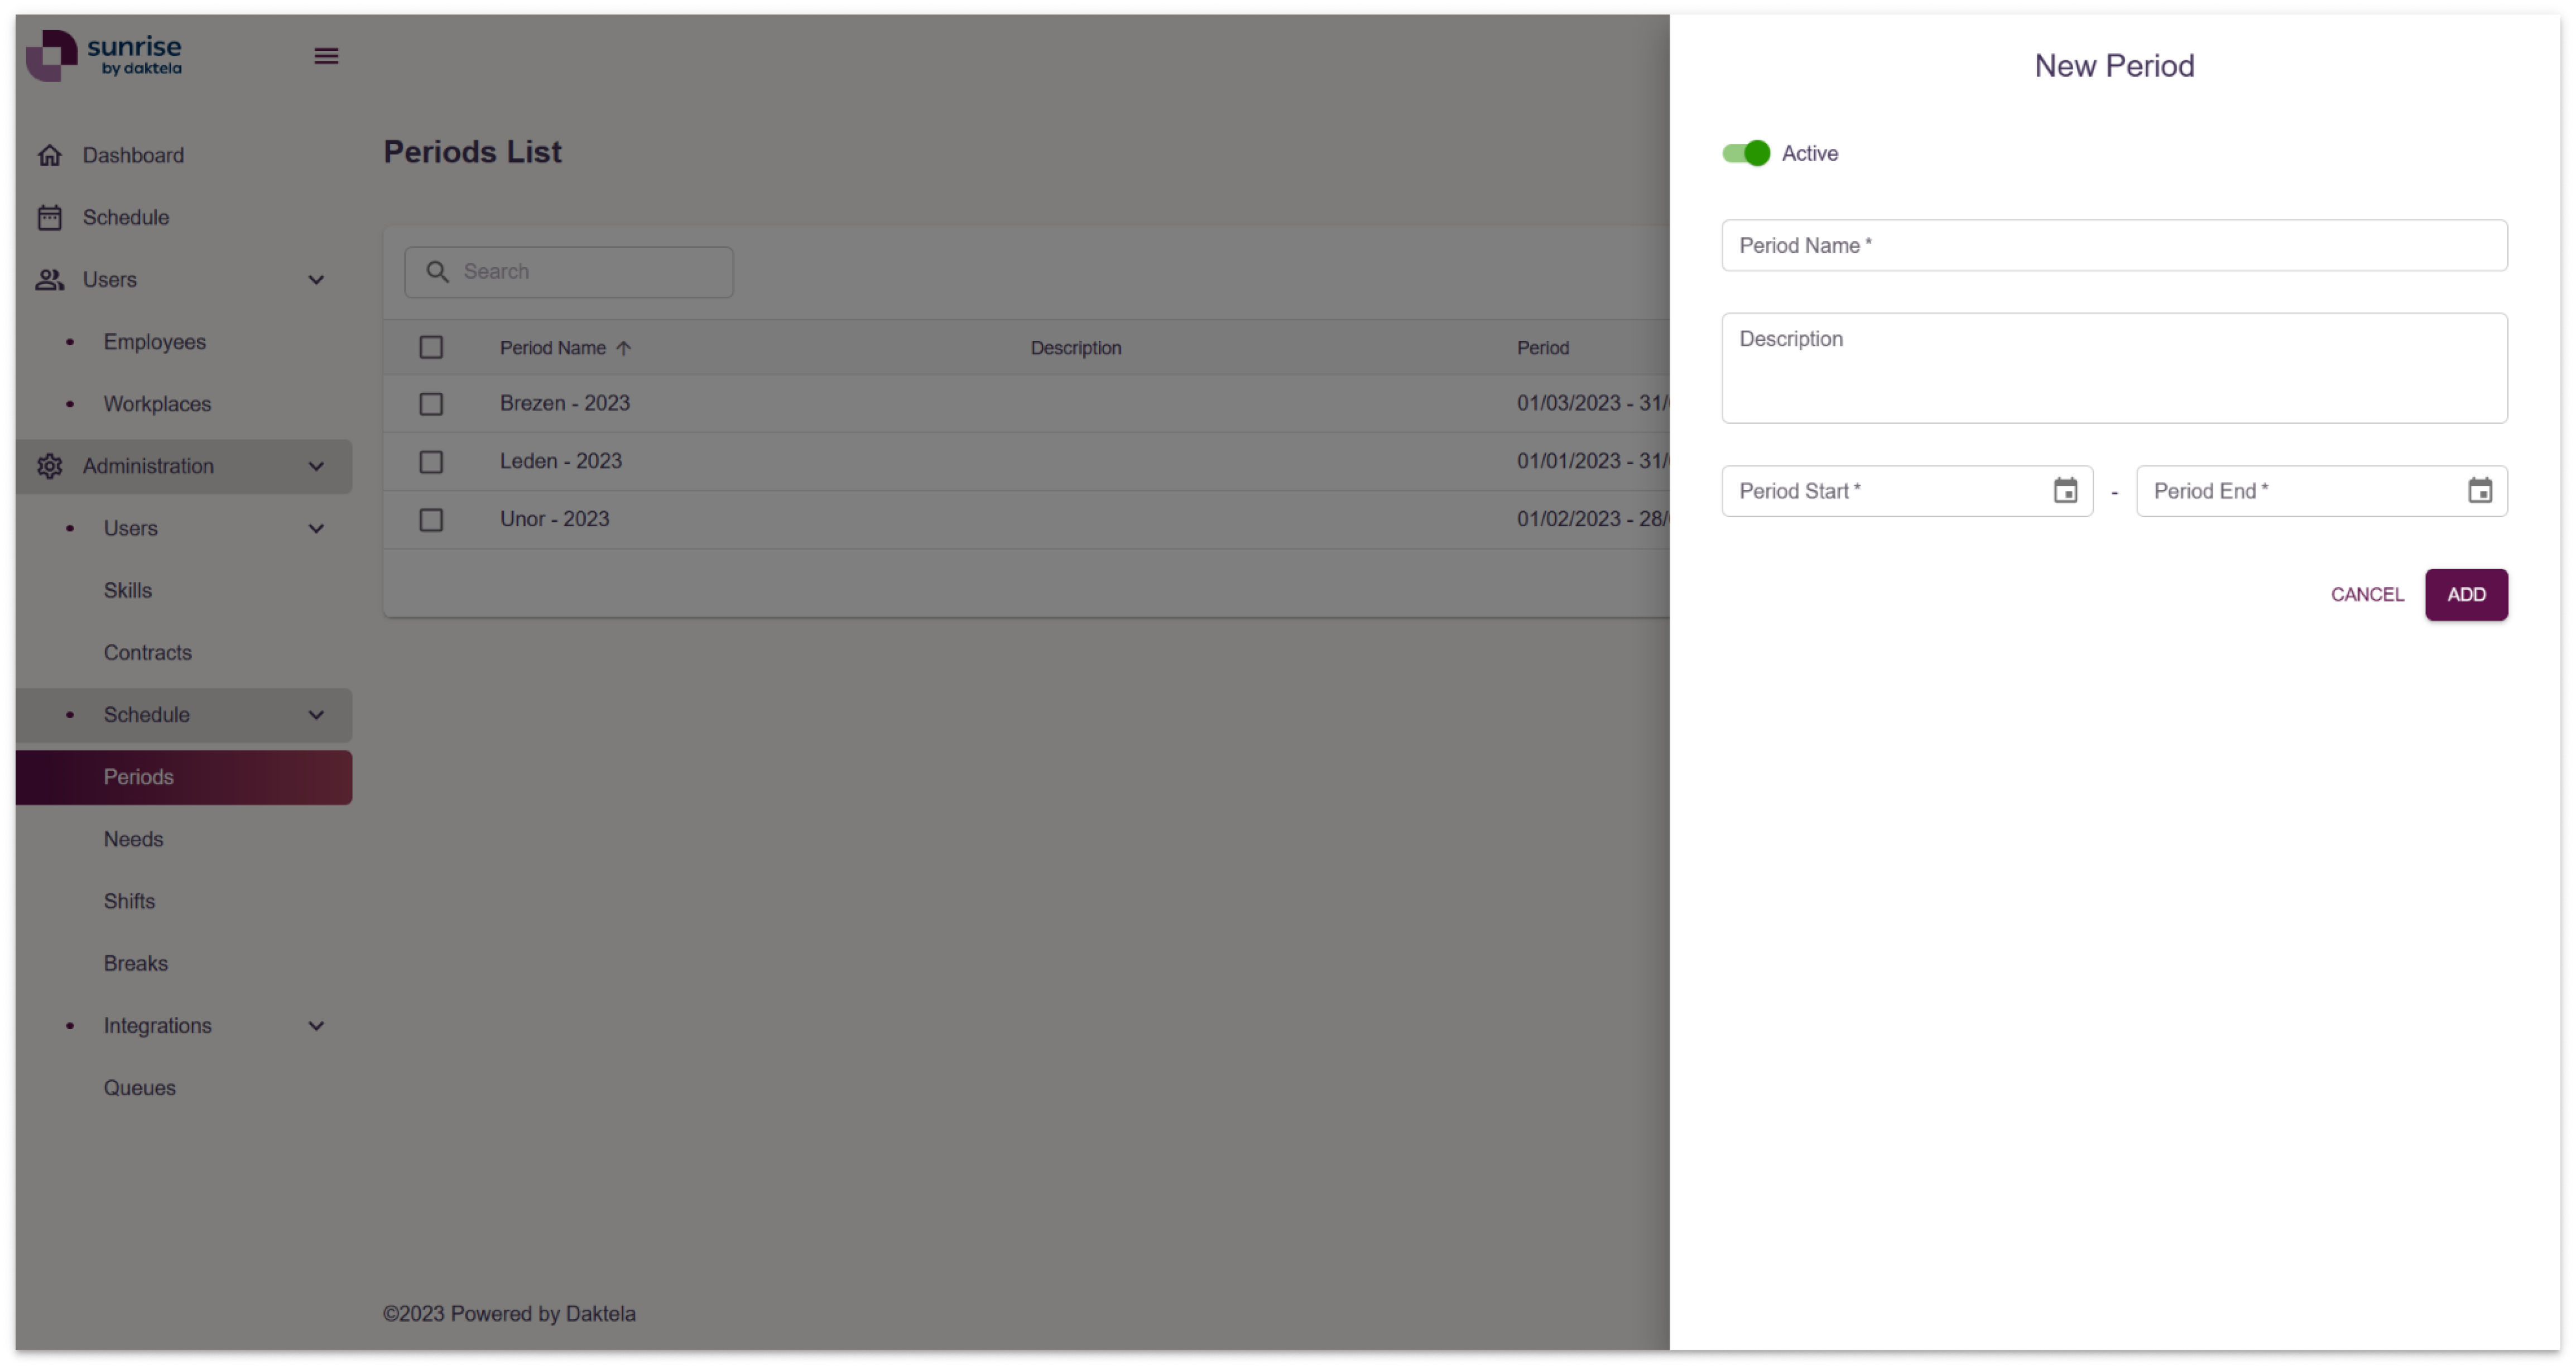
Switch if the period is active or inactive.
Enter a period name.
Enter a period description.
Select when the period start and end. Shift plan date range.
Click the ADD button to create a period.
Add a New Need
Go to Administration → Schedule→ Needs to add a new Need.
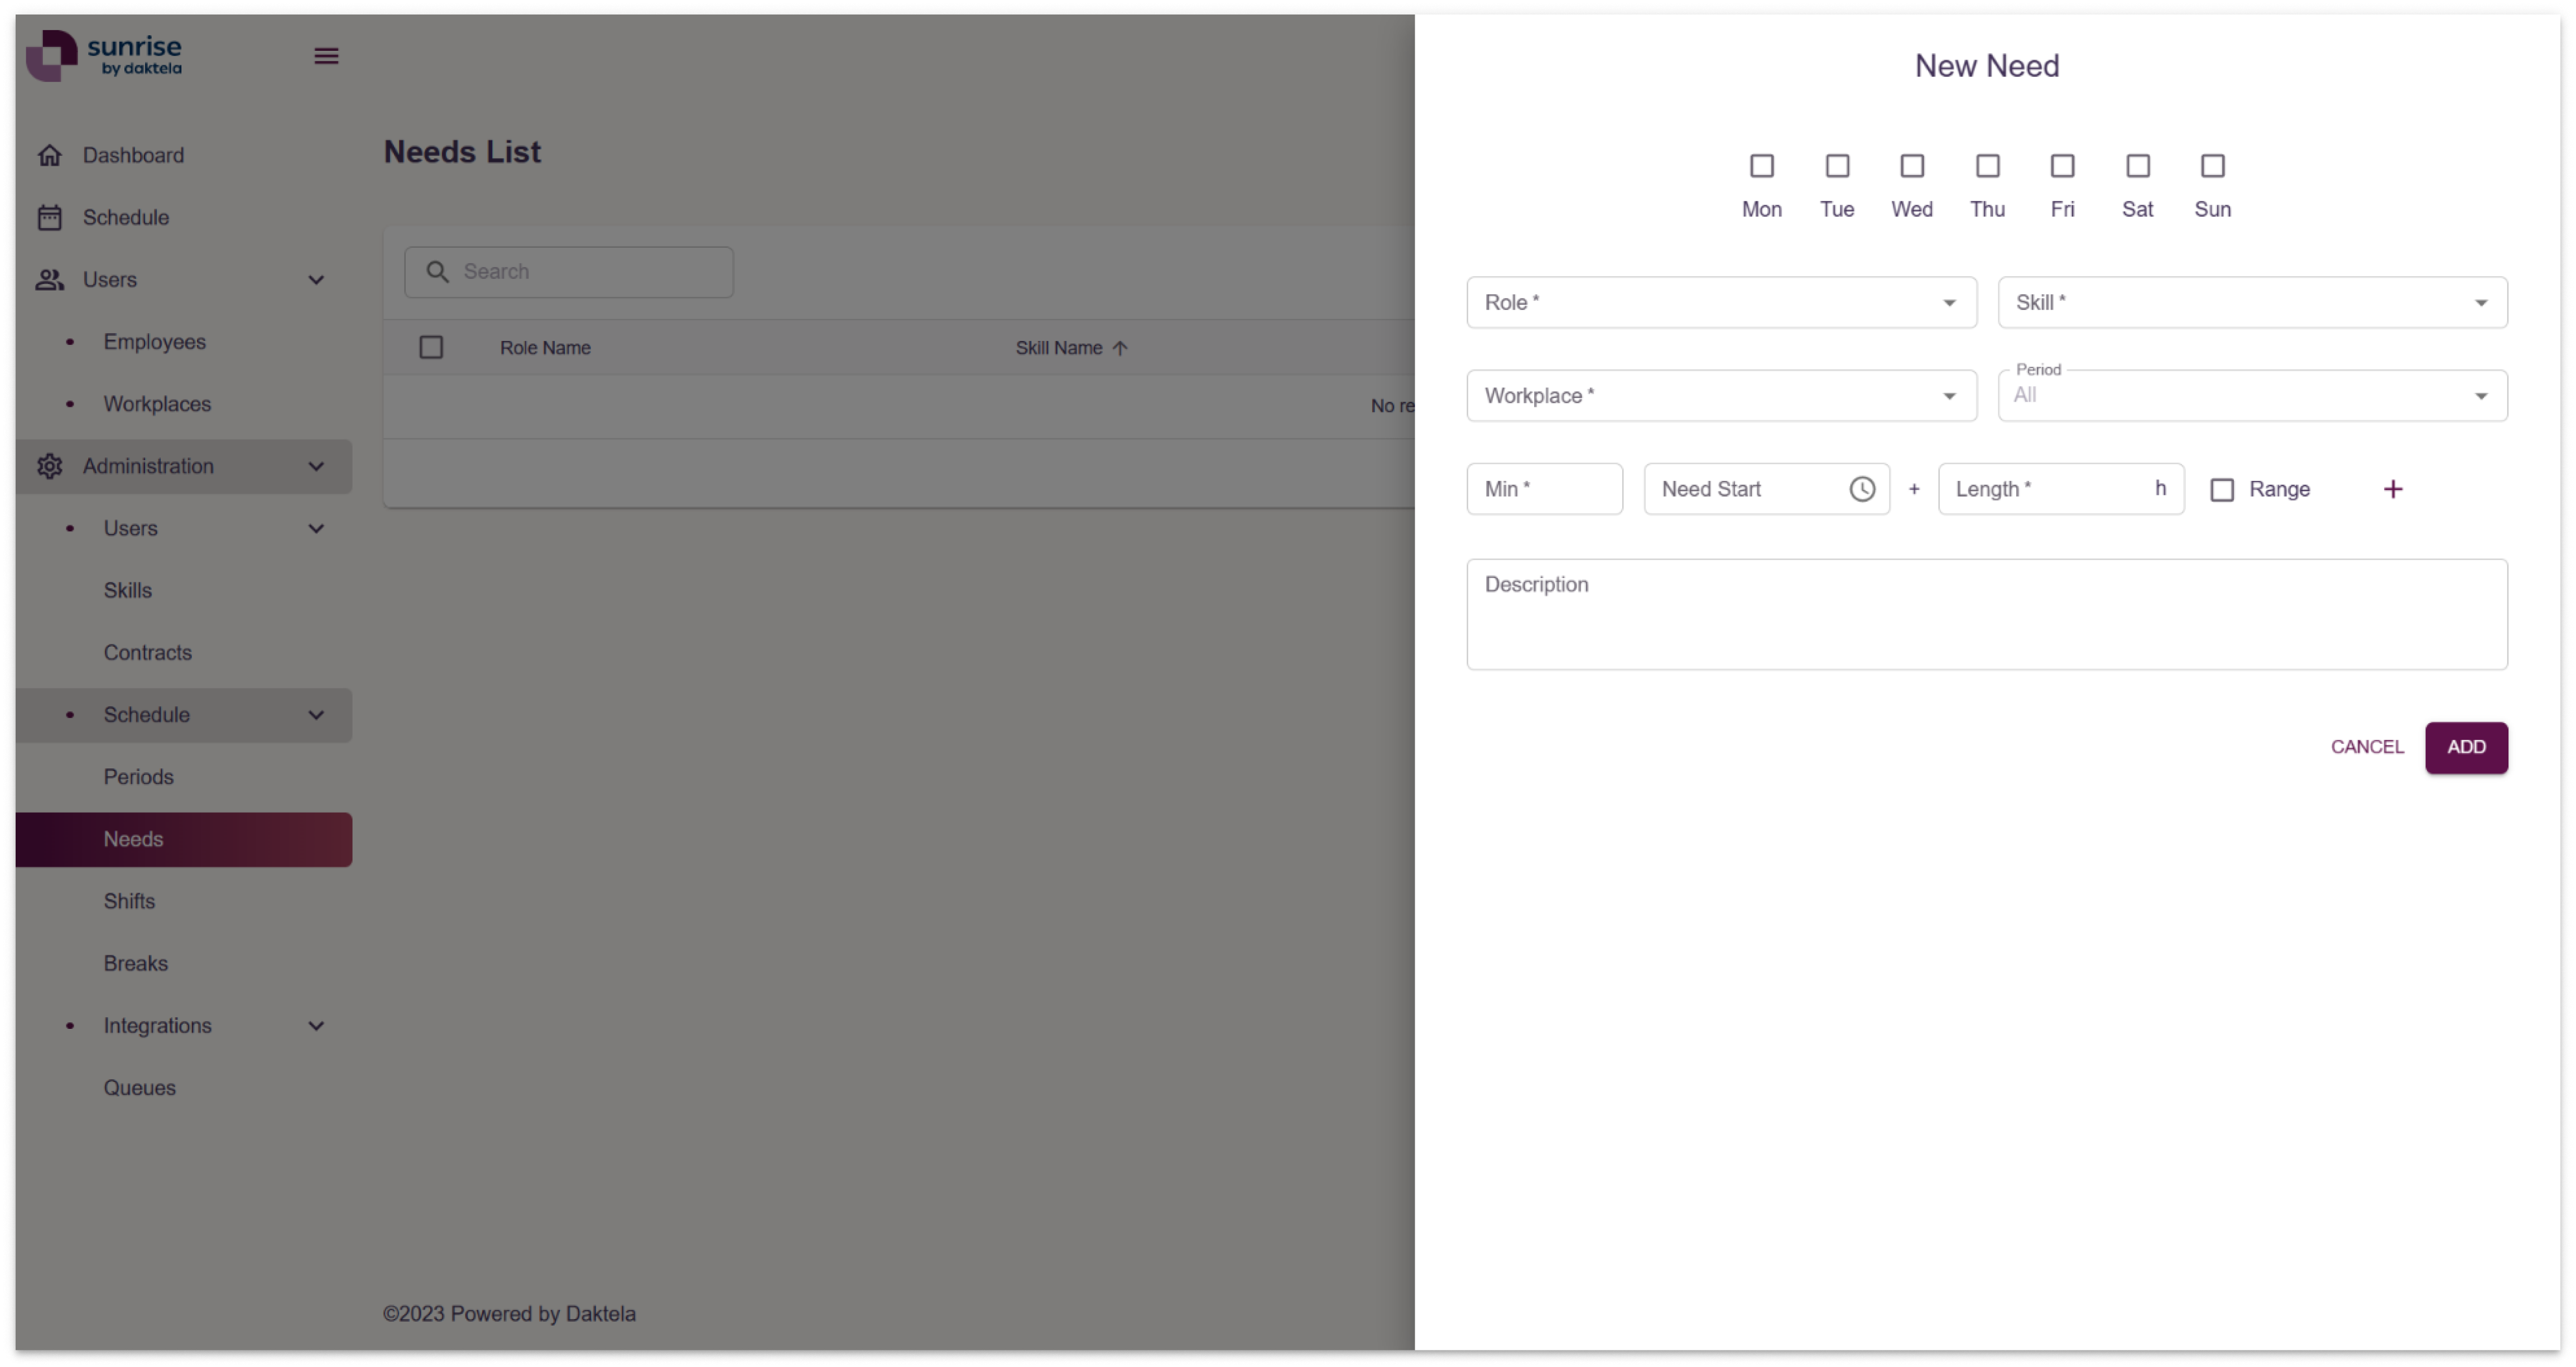
Checkboxes – Select the days for which to define the need.
Select a role.
Select a skill.
Select a workspace.
Select a period.
Entee a minimum number of employees.
Enter a need description
Click the ADD button to create a period.
Add a New Employee
Go to Users → Employees to add a new Employee.
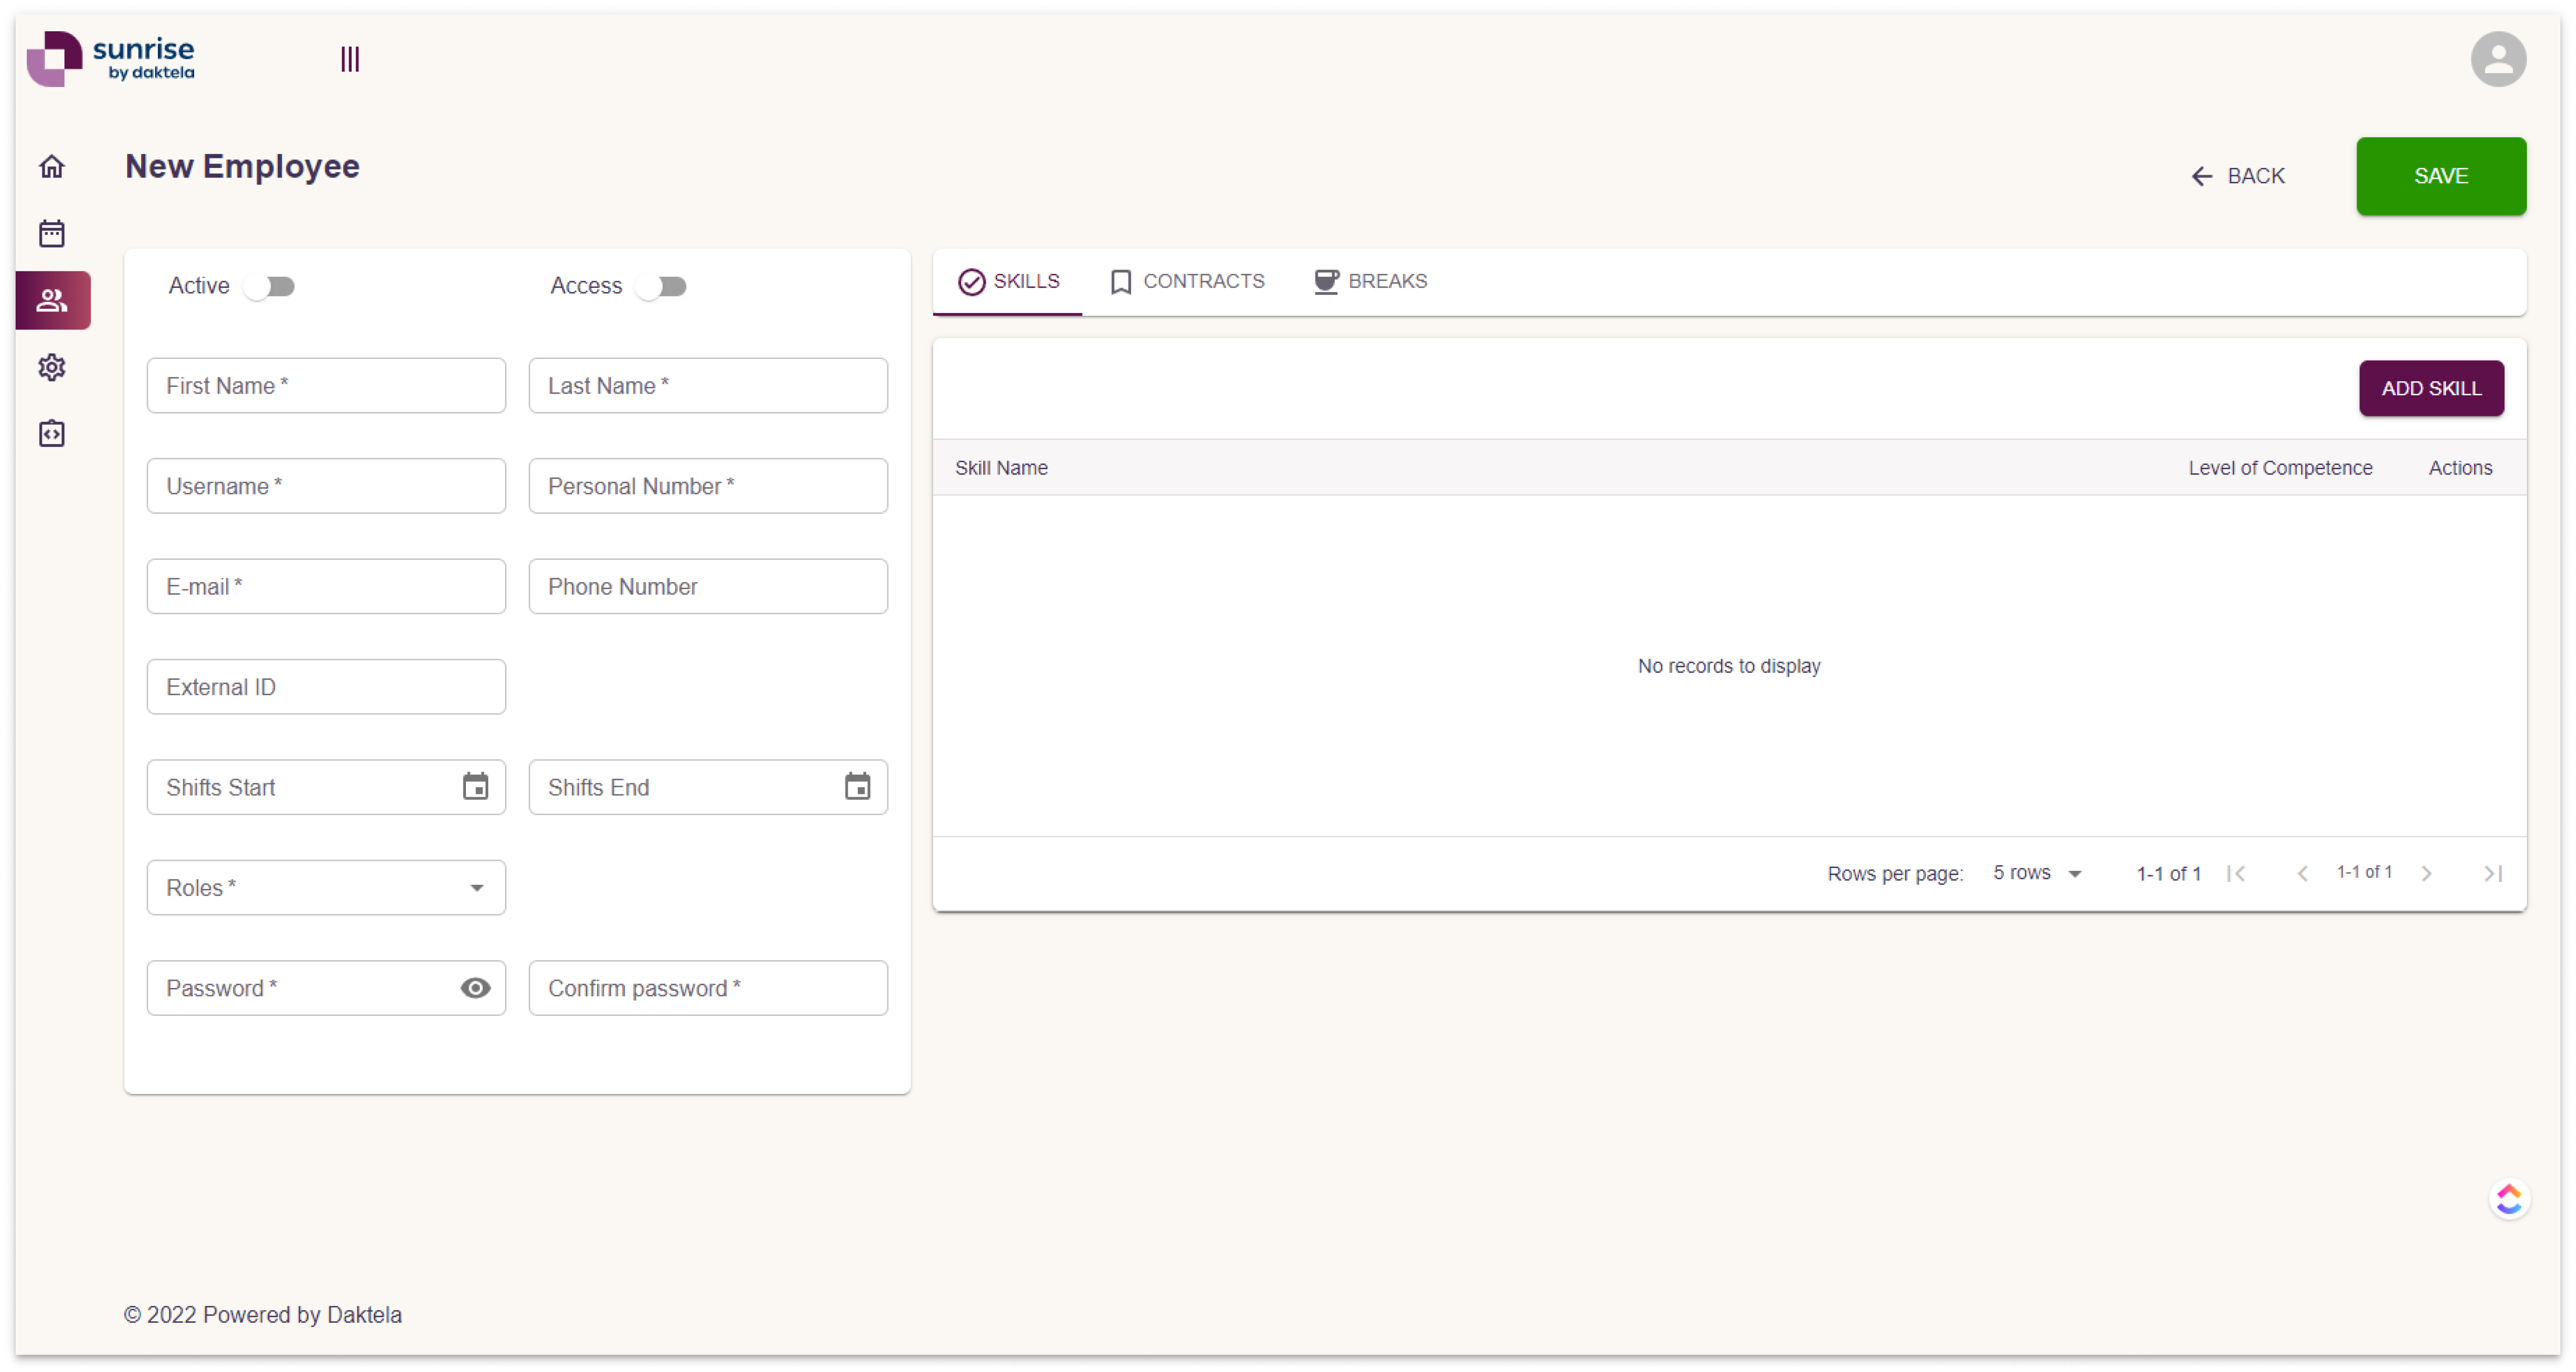
Switch if the employee is available.
Switch if employee has an access into the Sunrise.
Enter a first name.
Enter a last name.
Enter a username.
Enter a personal number.
Eneter an email.
Enter a phone number
Eneter an external ID. (ID of CC system)
Select when the Shift Start and End. The date range in which it is possible to plan shifts to an employee.
Select Employee role.
EnterPassword and Confirm Password.
Skills, Contracts and Breaks – This is where the employee's skills, contracts, breaks are defined. Click the Add ... button to add a new item.
Save your employee.
Add Workplace
Go to Users → Workplaces to add a New Workplace.
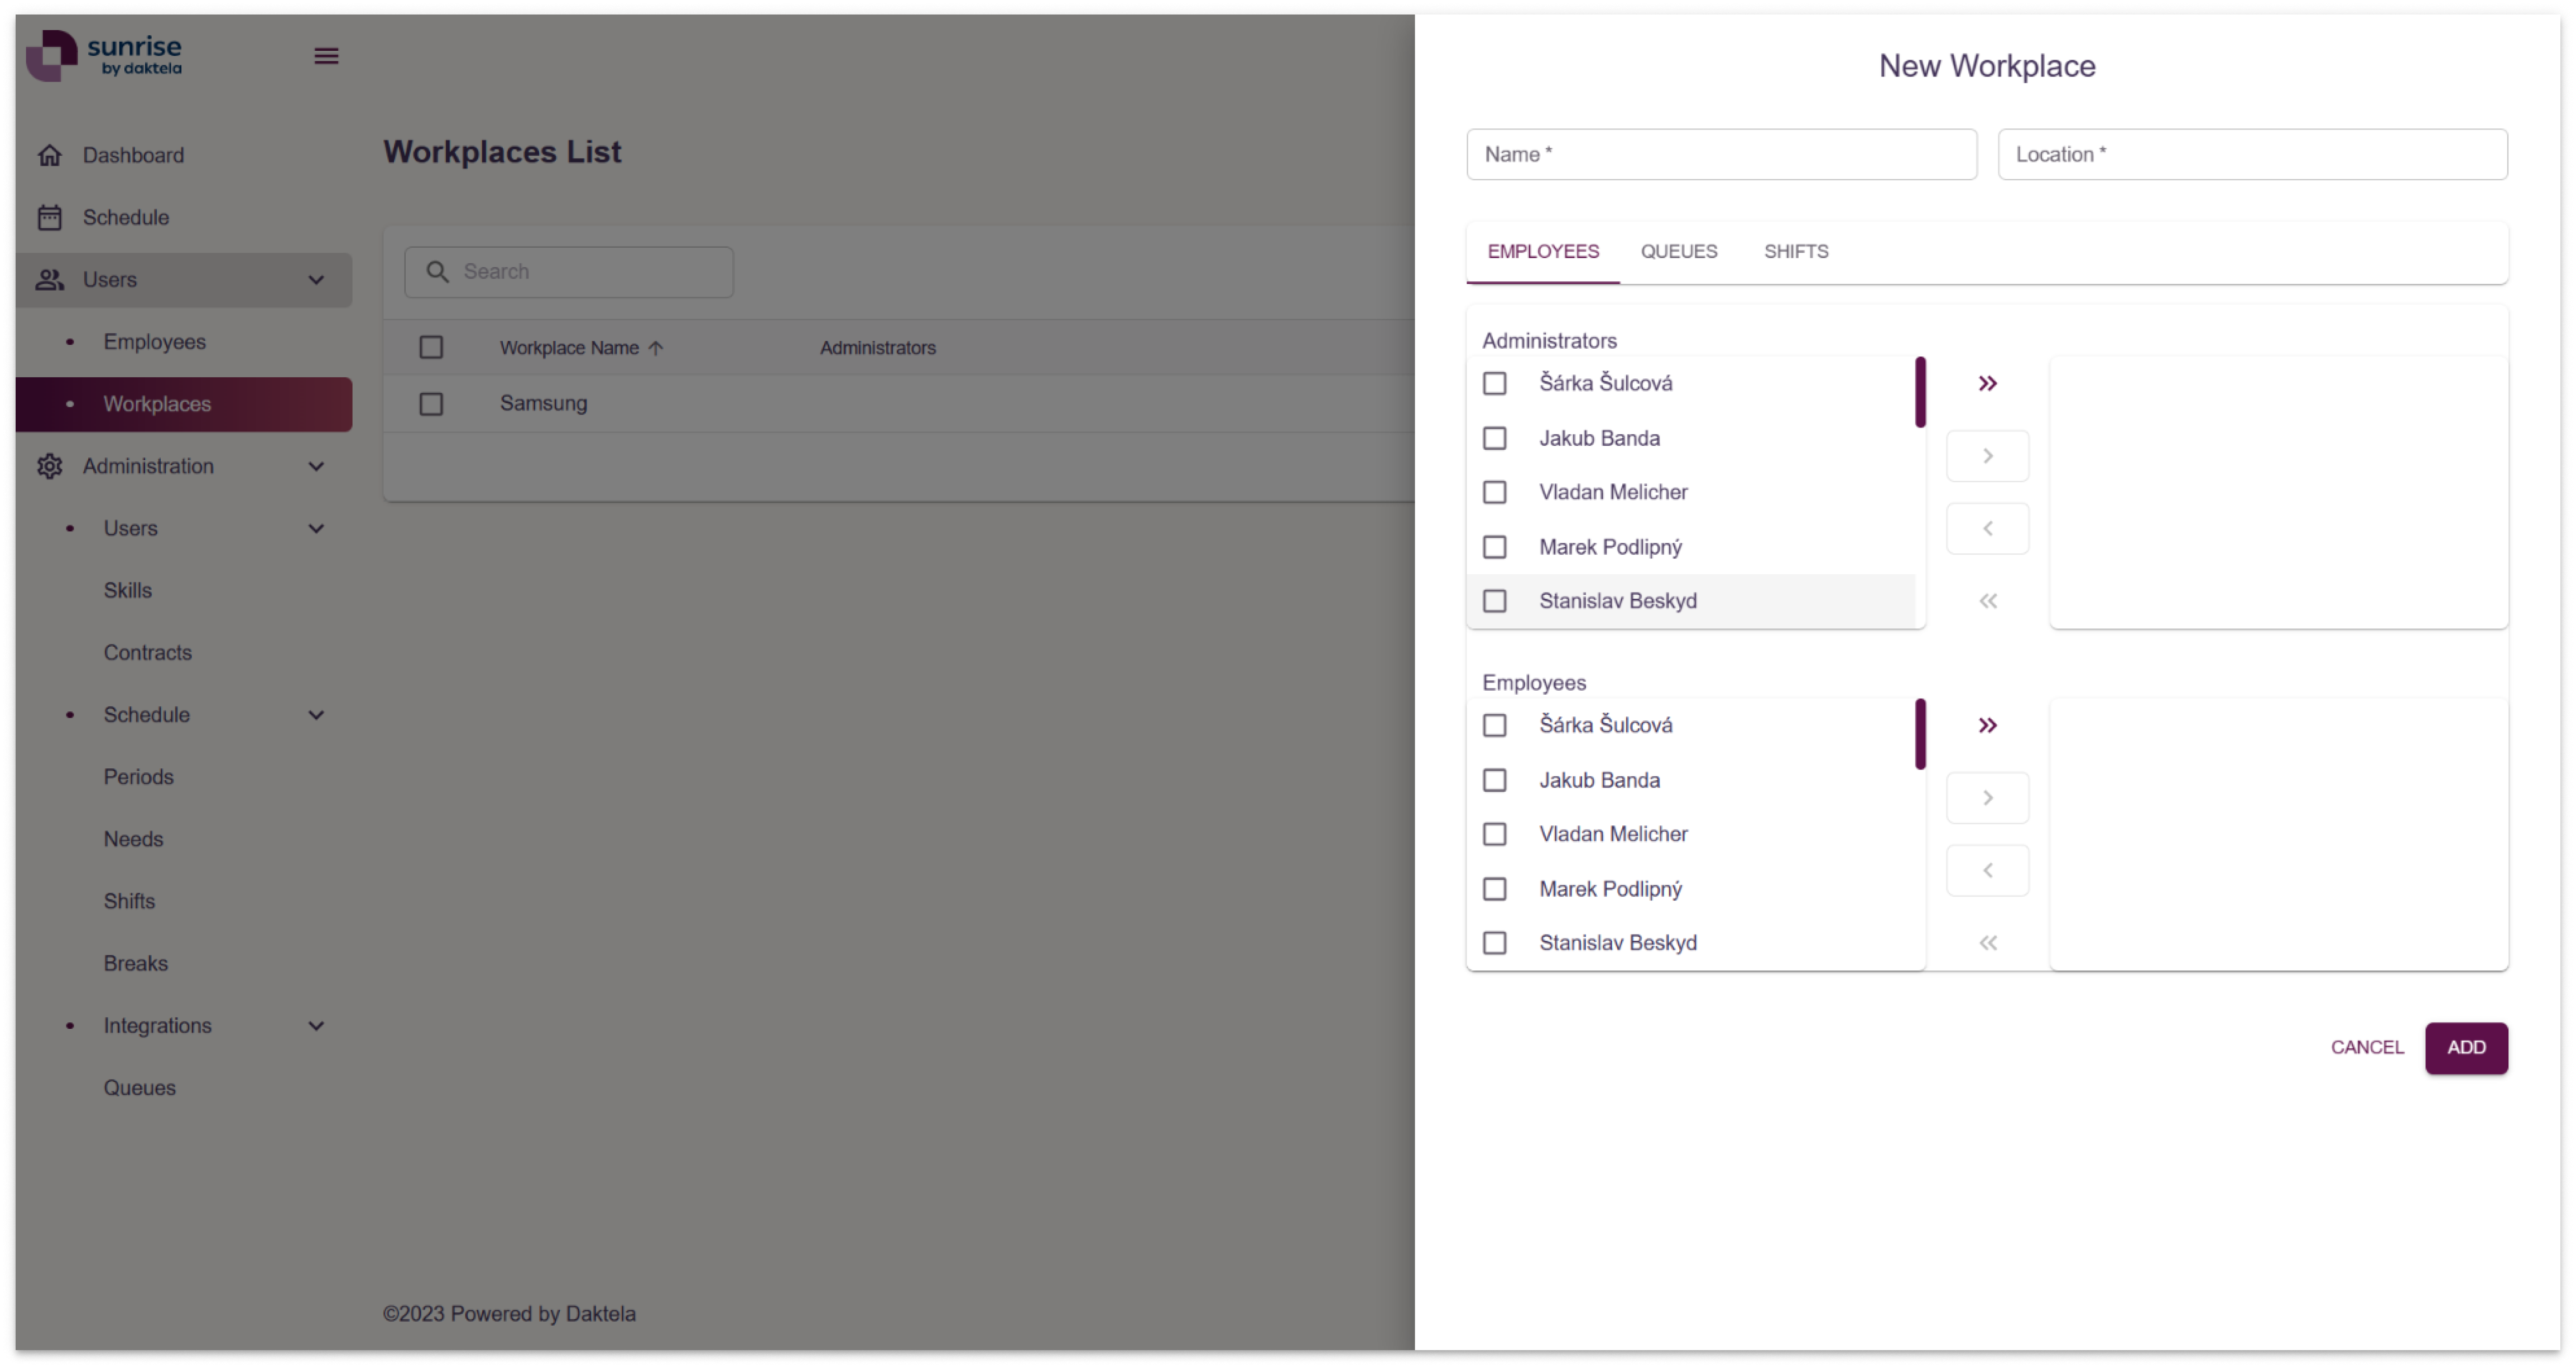
Enter a workplace name.
Enter a location.
Tab – Employees: Shifts.
Assigned administrators to this wokplace.
Assigned employees to this wokplace.
Tabs – Queue:
Select queues for this workplace.
Tabs – Shifts:
Select shifts for this workplace.