Send an Email
Follow these instructions to create a new email from scratch. You can also start composing an email from the CRM module, Tickets and activity details. Once you get to the Queues screen (for CRM) or New email screen (for Tickets), the method is the same.
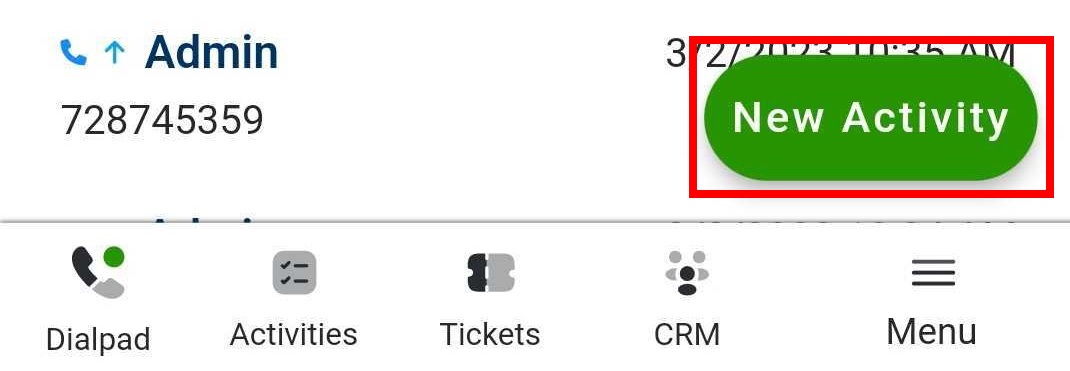
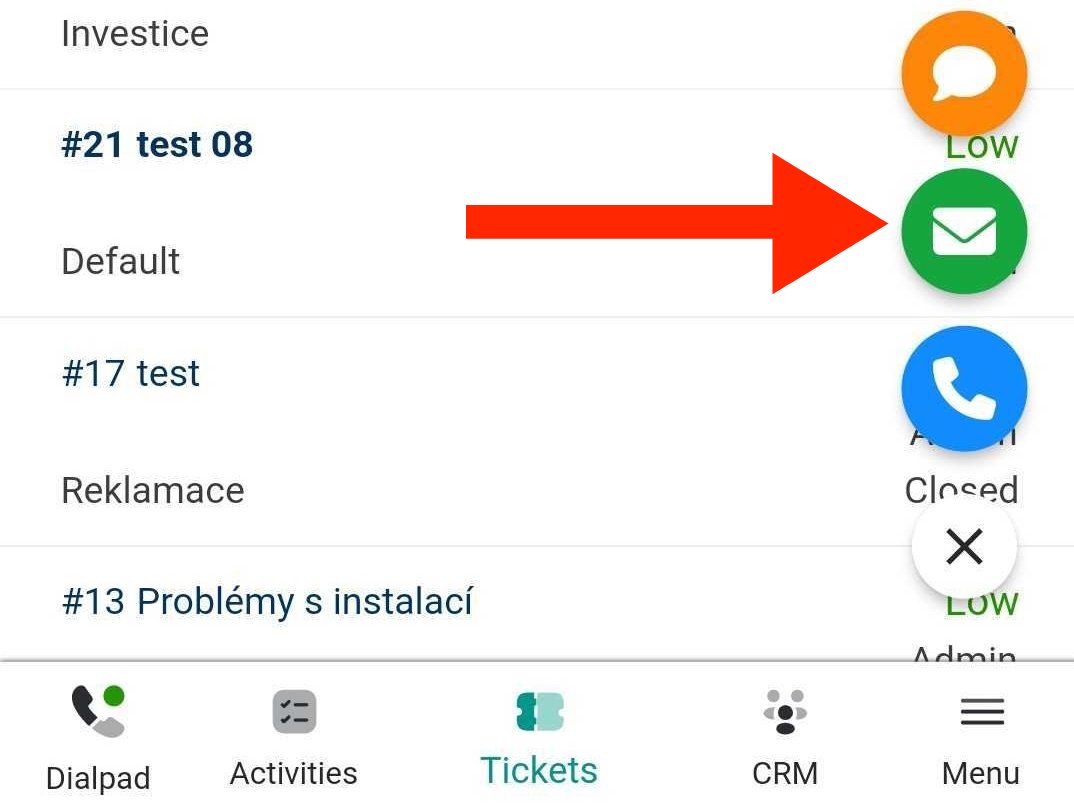
To start composing a new email, tap the New activity button in the bottom right corner of the screen, then tap the Email button:
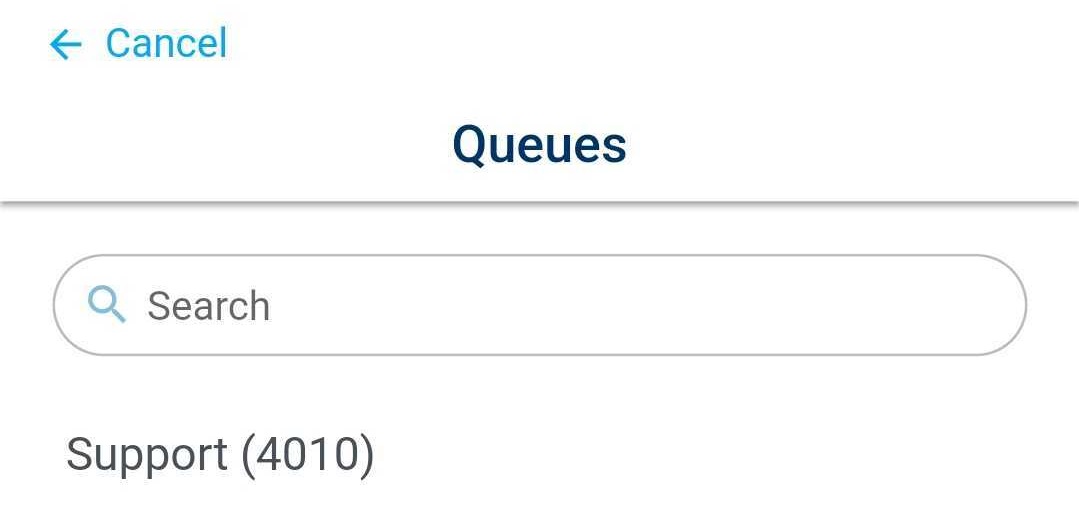
Tap the email queue you want to use to send your email:
The New email screen will open:
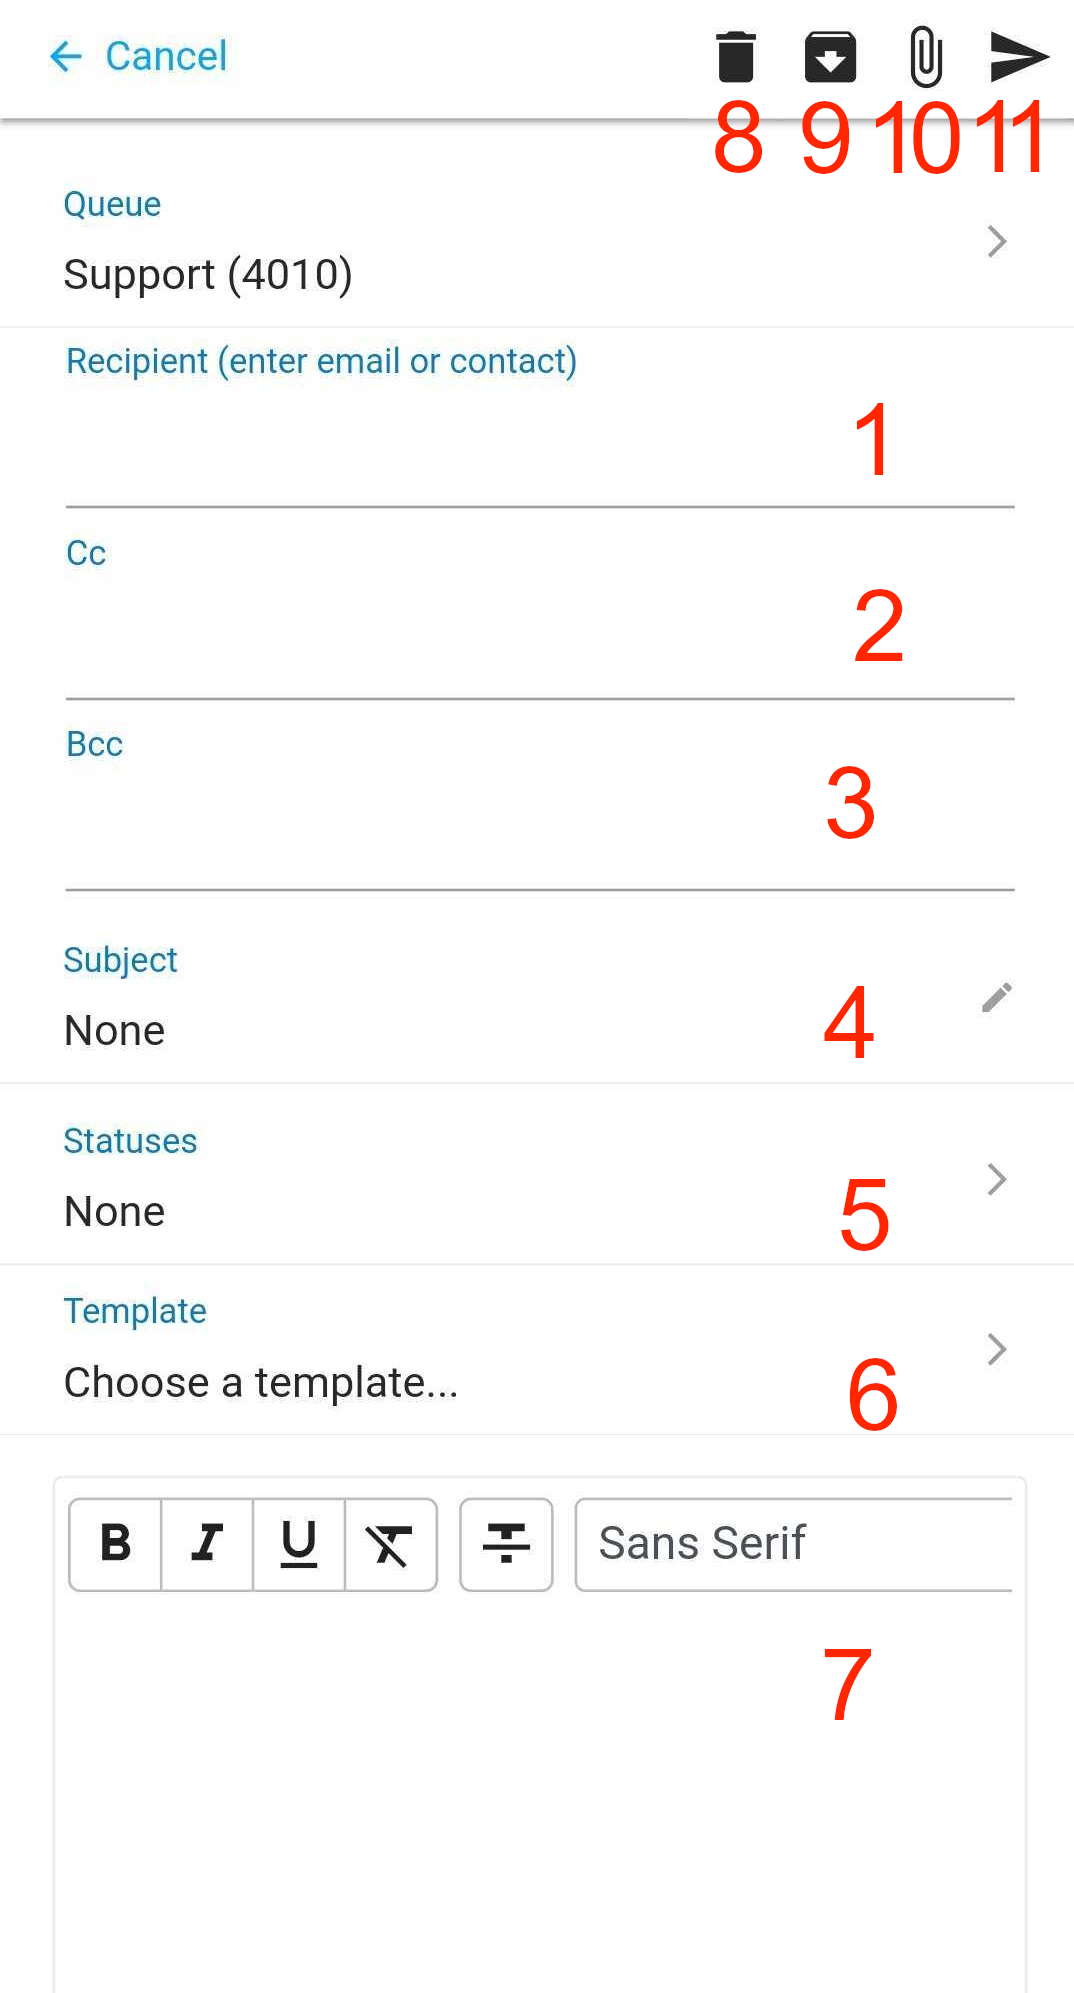
Type an email address or a contact or account name to Recipient. The app will automatically suggest matching contacts. Select one by tapping it or finish typing your email address. You can add multiple contacts.
Type an email address or a contact or account name to Cc. The app will automatically suggest matching contacts. Select one by tapping it or finish typing your email address. You can add multiple contacts.
Type an email address or a contact or account name to Bcc. The app will automatically suggest matching contacts. Select one by tapping it or finish typing your email address. You can add multiple contacts.
Type a subject.
Open the Statuses dialog. Select a status and tap Save. Depending on your queue settings, selecting a status before sending your email may be mandatory.
Type your email. You can use the rich text formatting in the bar at the bottom of the screen. Queue, user and app signatures are added automatically.
Add template to your email.
Discard the email.
Postpone your email so you can finish composing it later. You can retrieve it from your Postponed activities.
Add an attachment. Tap the Folder to add files stored on your phone, the Camera to take a picture and the Videocamera to shoot a video.
Send your email.