
How to get authorisation data
-
Enter any title into the "Title" field below.
-
Log in at portal.azure.com as an admin user.
-
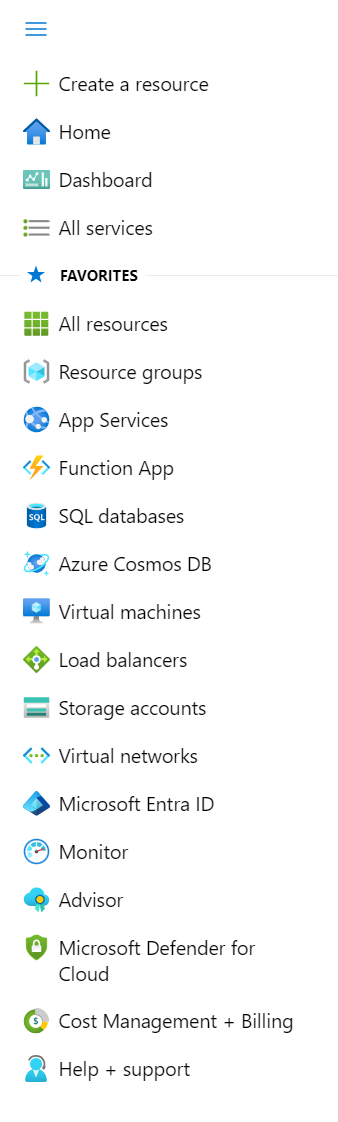
Open the menu on the left and go to "Entre ID".
-
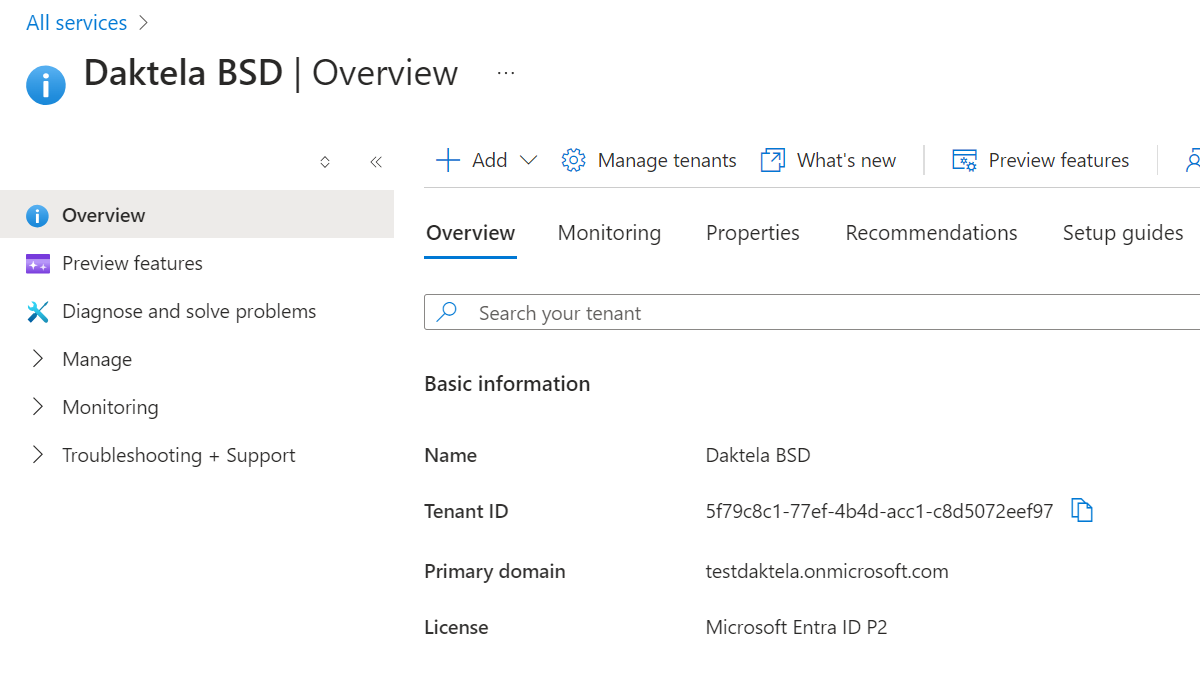
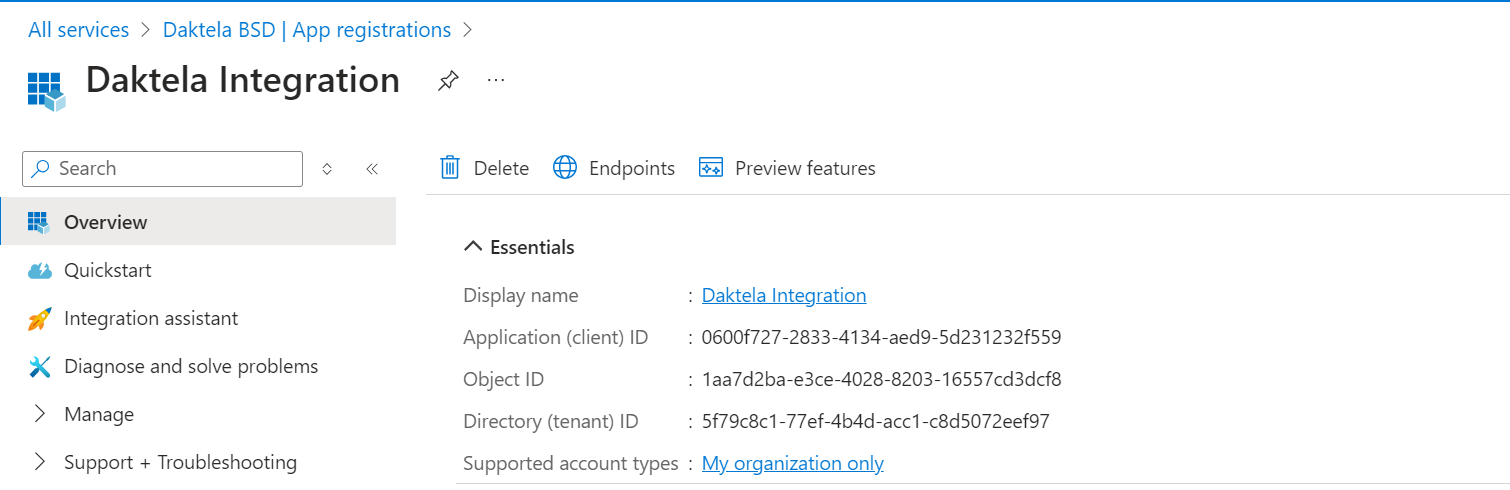
Copy "Tenant ID" from overview page and paste it into the "Tenant ID" field in the Daktela integration.
-
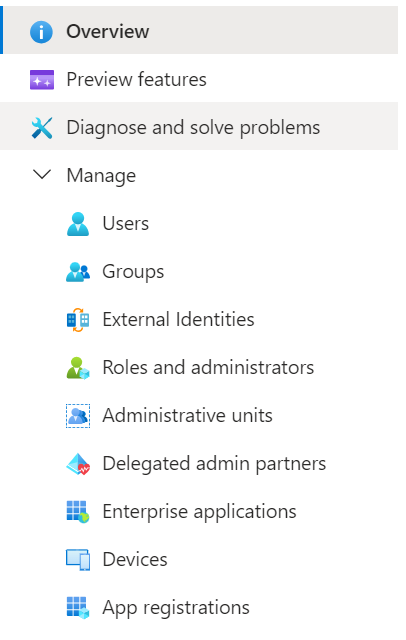
Open "Manage -> App registrations" from the menu, then click "New registration".
-
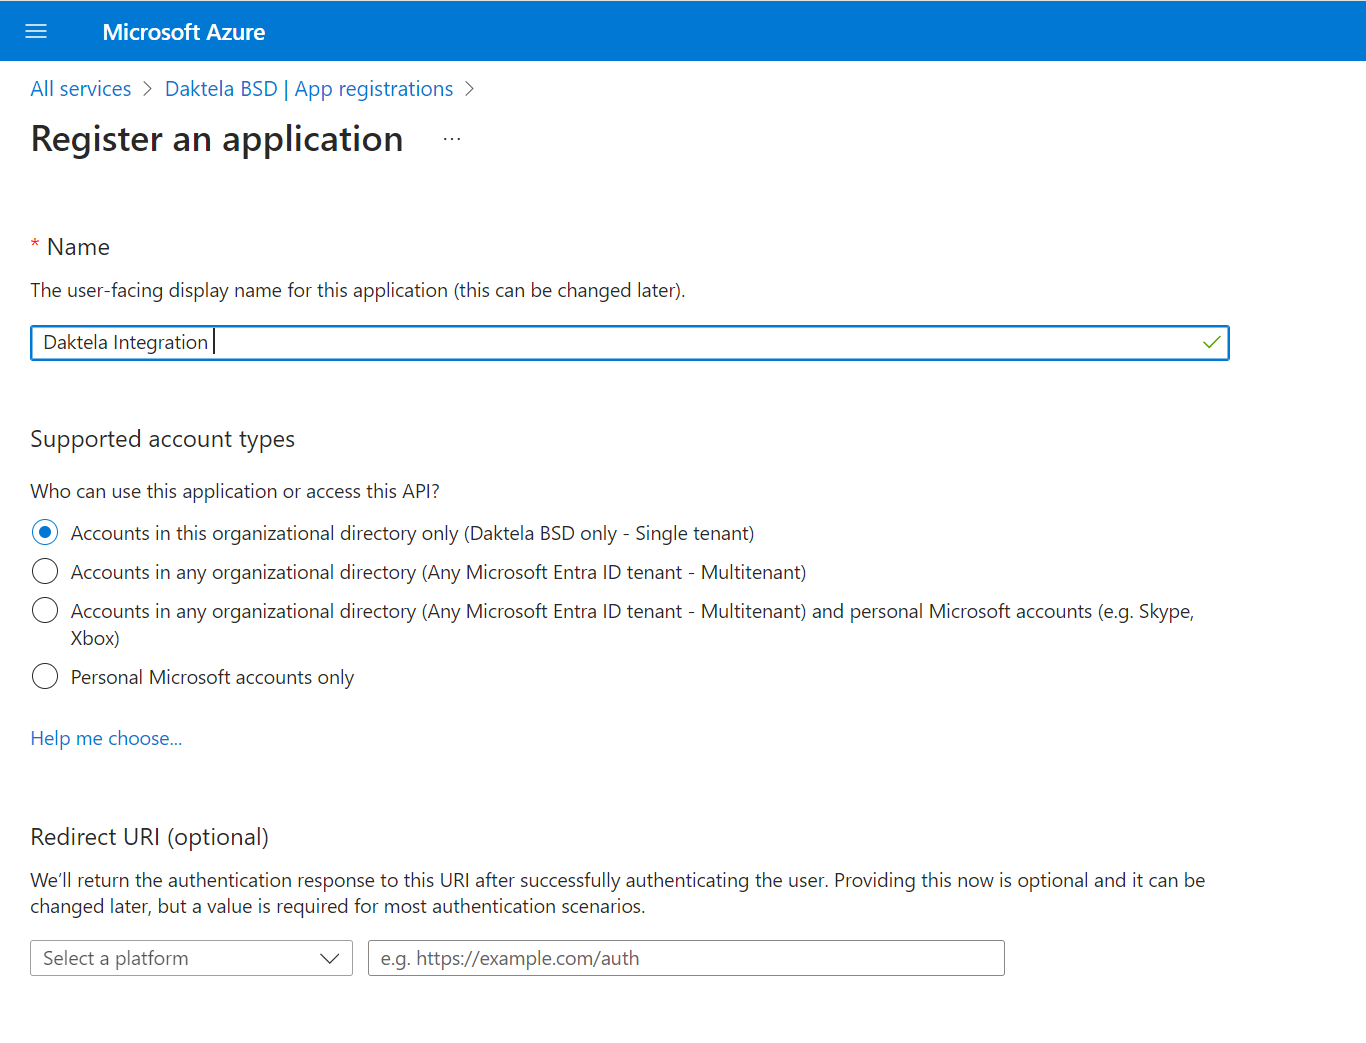
Enter a name for your application, e.g. "Daktela integration", and click "Register".
-
Copy the "Application (client) ID" and paste it into the "Application ID" field in the Daktela integration.
-
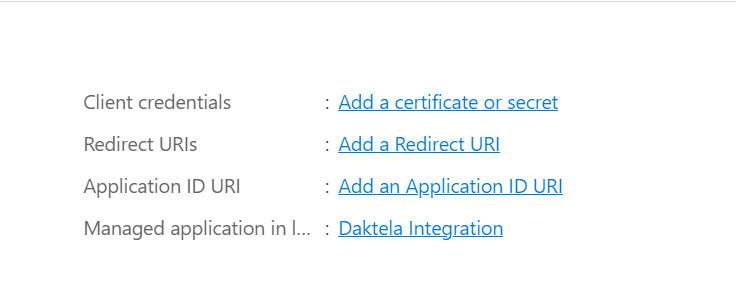
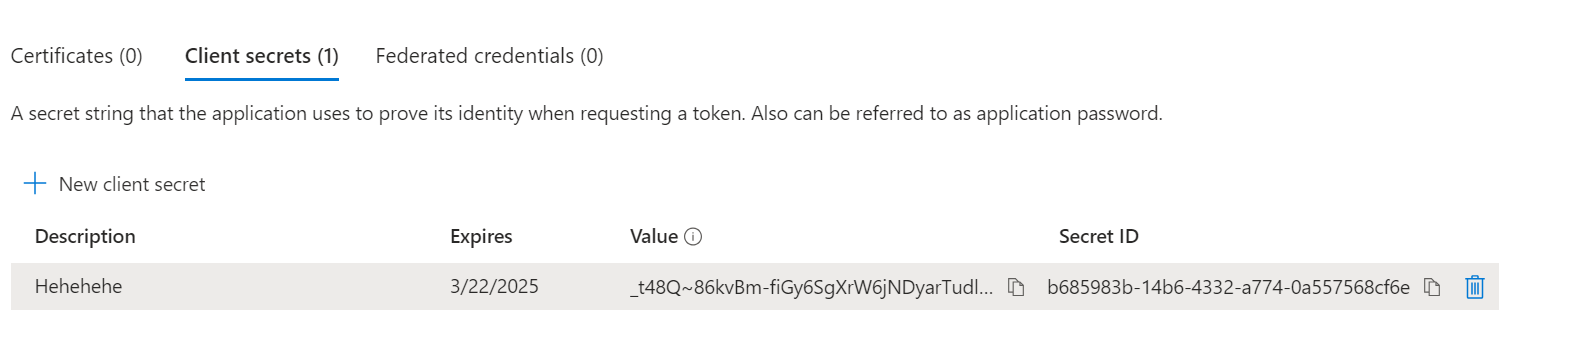
In the details of the app you created in the previous step, go to "Certificates & secrets" in the menu on the right, then click "New client secret" under "Client secrets".

-
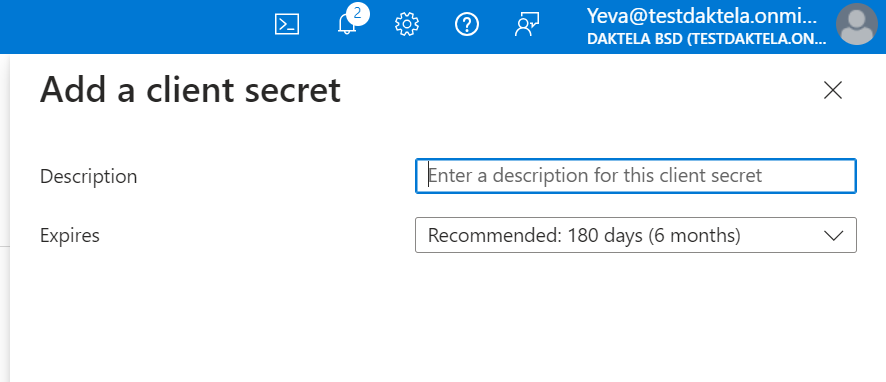
Enter a short description and select the longest expiration option, then click "Add".
-
Copy your secret "Value" and paste it into the "Client secret" field in the Daktela integration.
-
Go to "API permissions" and add next application permissions
-
For incoming: Mail.Read Mail.ReadBasic Mail.ReadBasic.All Mail.ReadWrite
-
For outgoing: Mail.Send
-
-
Click "Grant admin consent"
Change settings on your email queues
In Daktela, go to Settings → Queues.
Open the email queue where you want the Azure tenant to be applied (one by one).
Update the settings related to the Incoming Mail Server.
|
Protocol |
AzureAD GraphAPI Tenant |
|
Use same method for Outgoing |
Use same settings (including token) for outgoing emails. One token is used for incoming & outgoing emails. |
|
Name |
Your login name – usually the same as your email address. |
|
Configuration |
Select integration configuration. First of all you have to create the configuration in Integrations (step 1) |