Emails and tickets
In Daktela, all emails must be part of a ticket. When you send a new email and don't assign a ticket to it, a new ticket will be created automatically. There can be more than one email in a ticket.
For incoming emails, see Tickets.
Compose a New Email
To compose a new email, click the New email button at the top of the Main menu on the left side of your screen.
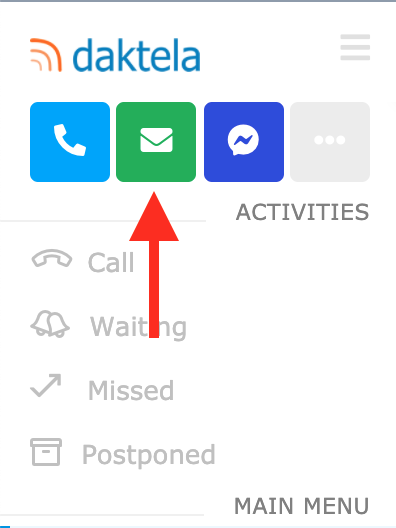
A new tab labelled New email will appear in the static panel. See Email details for instructions on how to manage the email.

From the CRM Module
Open the CRM module in the main menu and go to Contacts on Accounts.
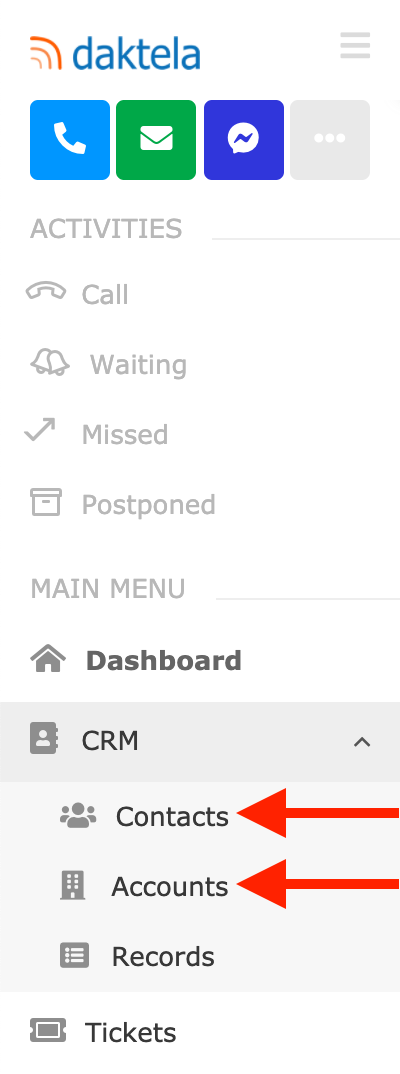
Find the Contact or Account you would like to email and open their detail. See CRM for detailed instructions.
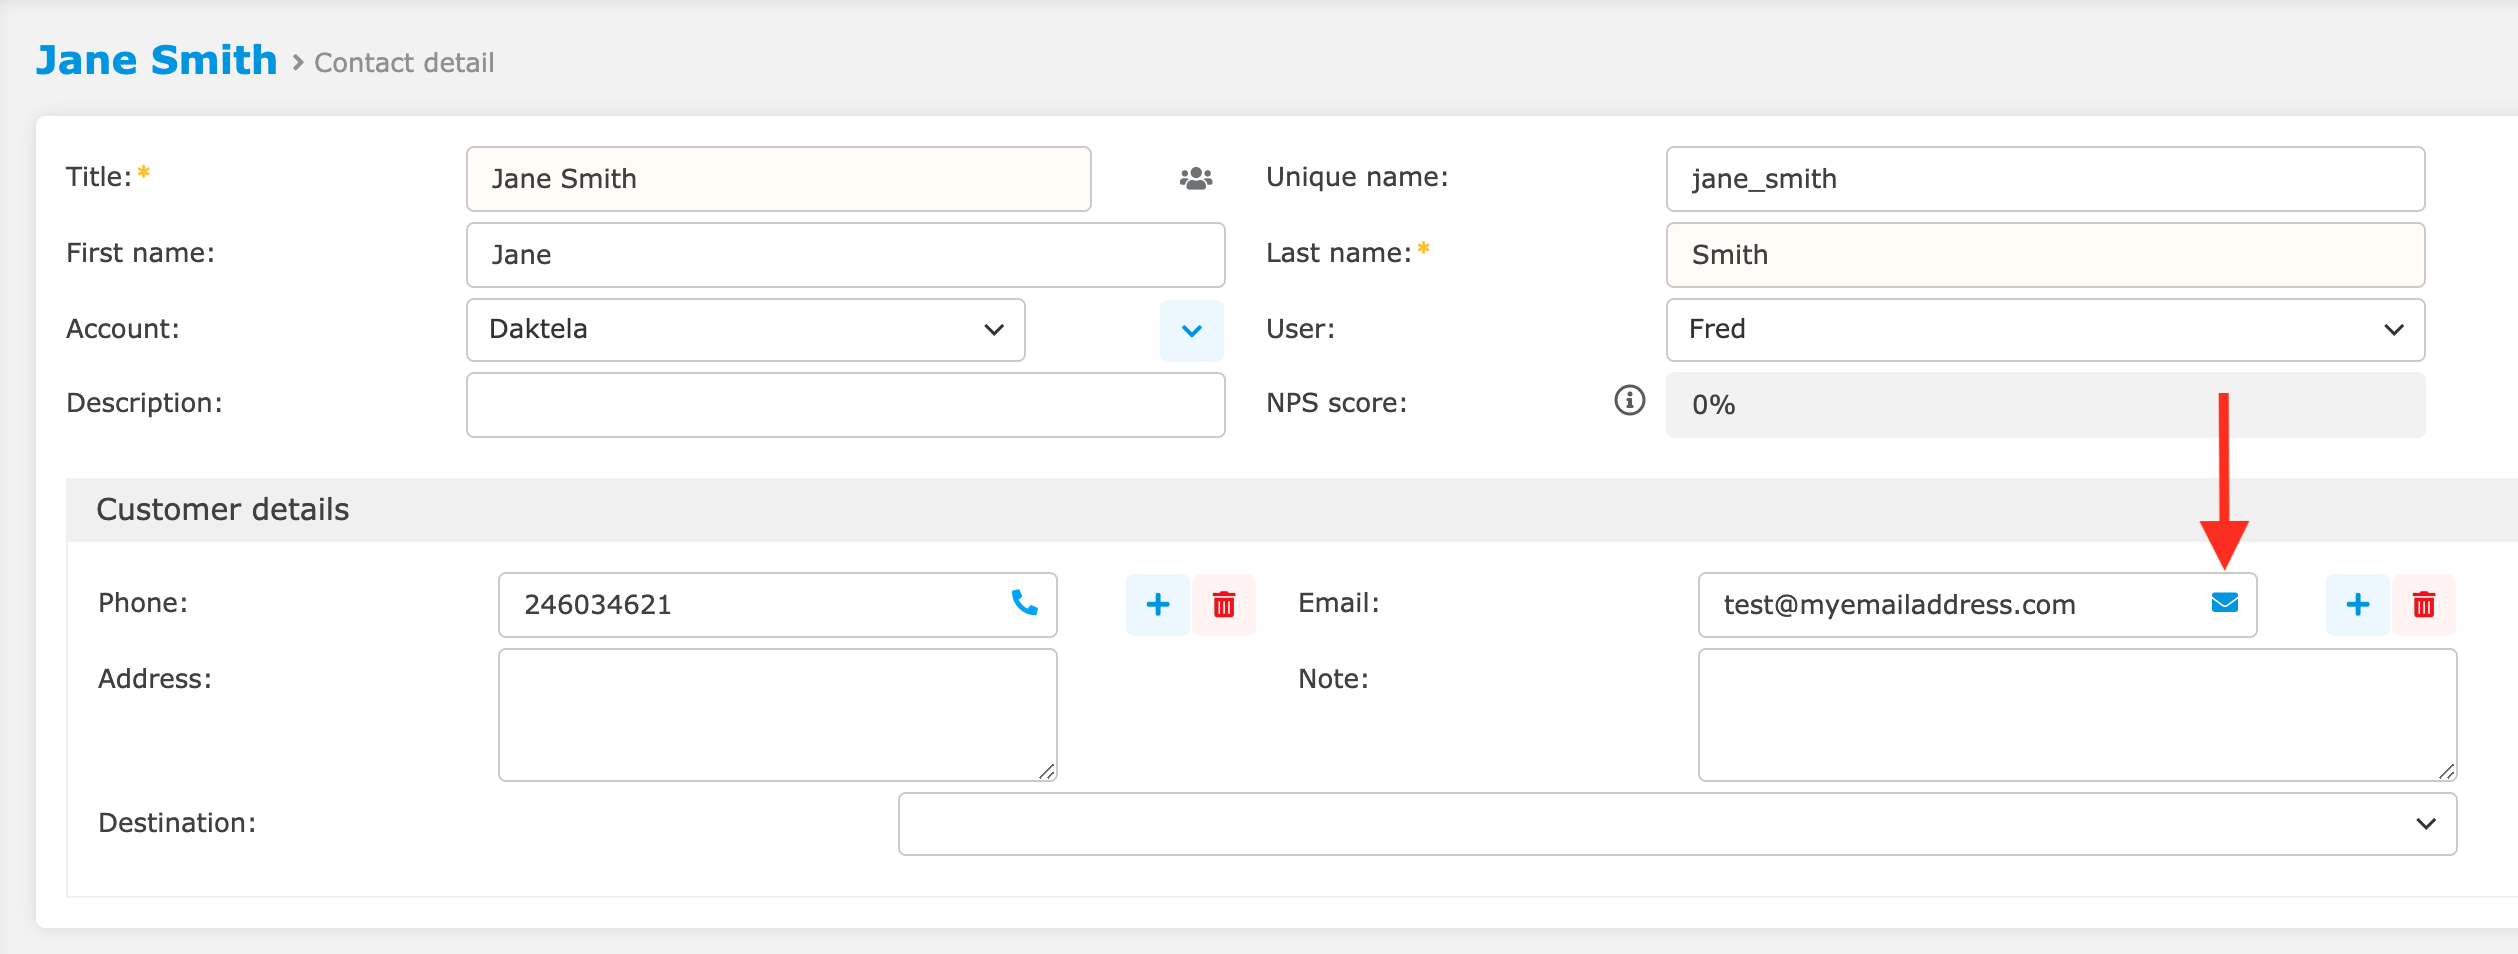
Click the Email icon next to the Contact or Account email address. A new tab with your email will appear in the static panel. See Email details for instructions on how to manage the email.
From a Ticket
Open the Ticket module in the main menu.
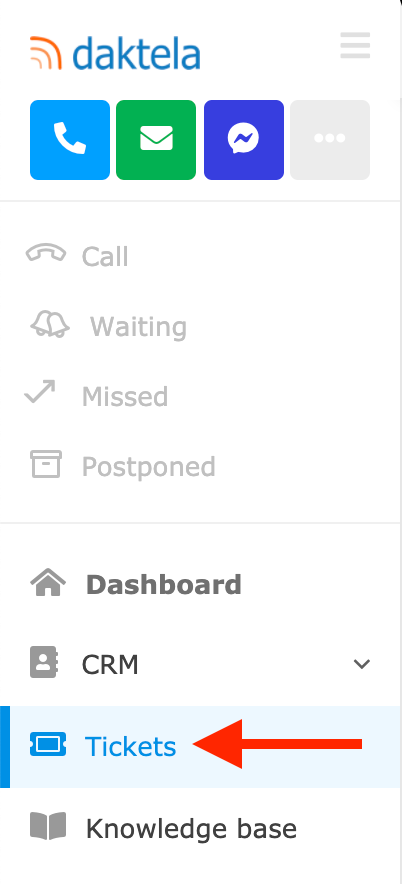
Open the ticket that you would like to send an email from. See Tickets for detailed instructions.
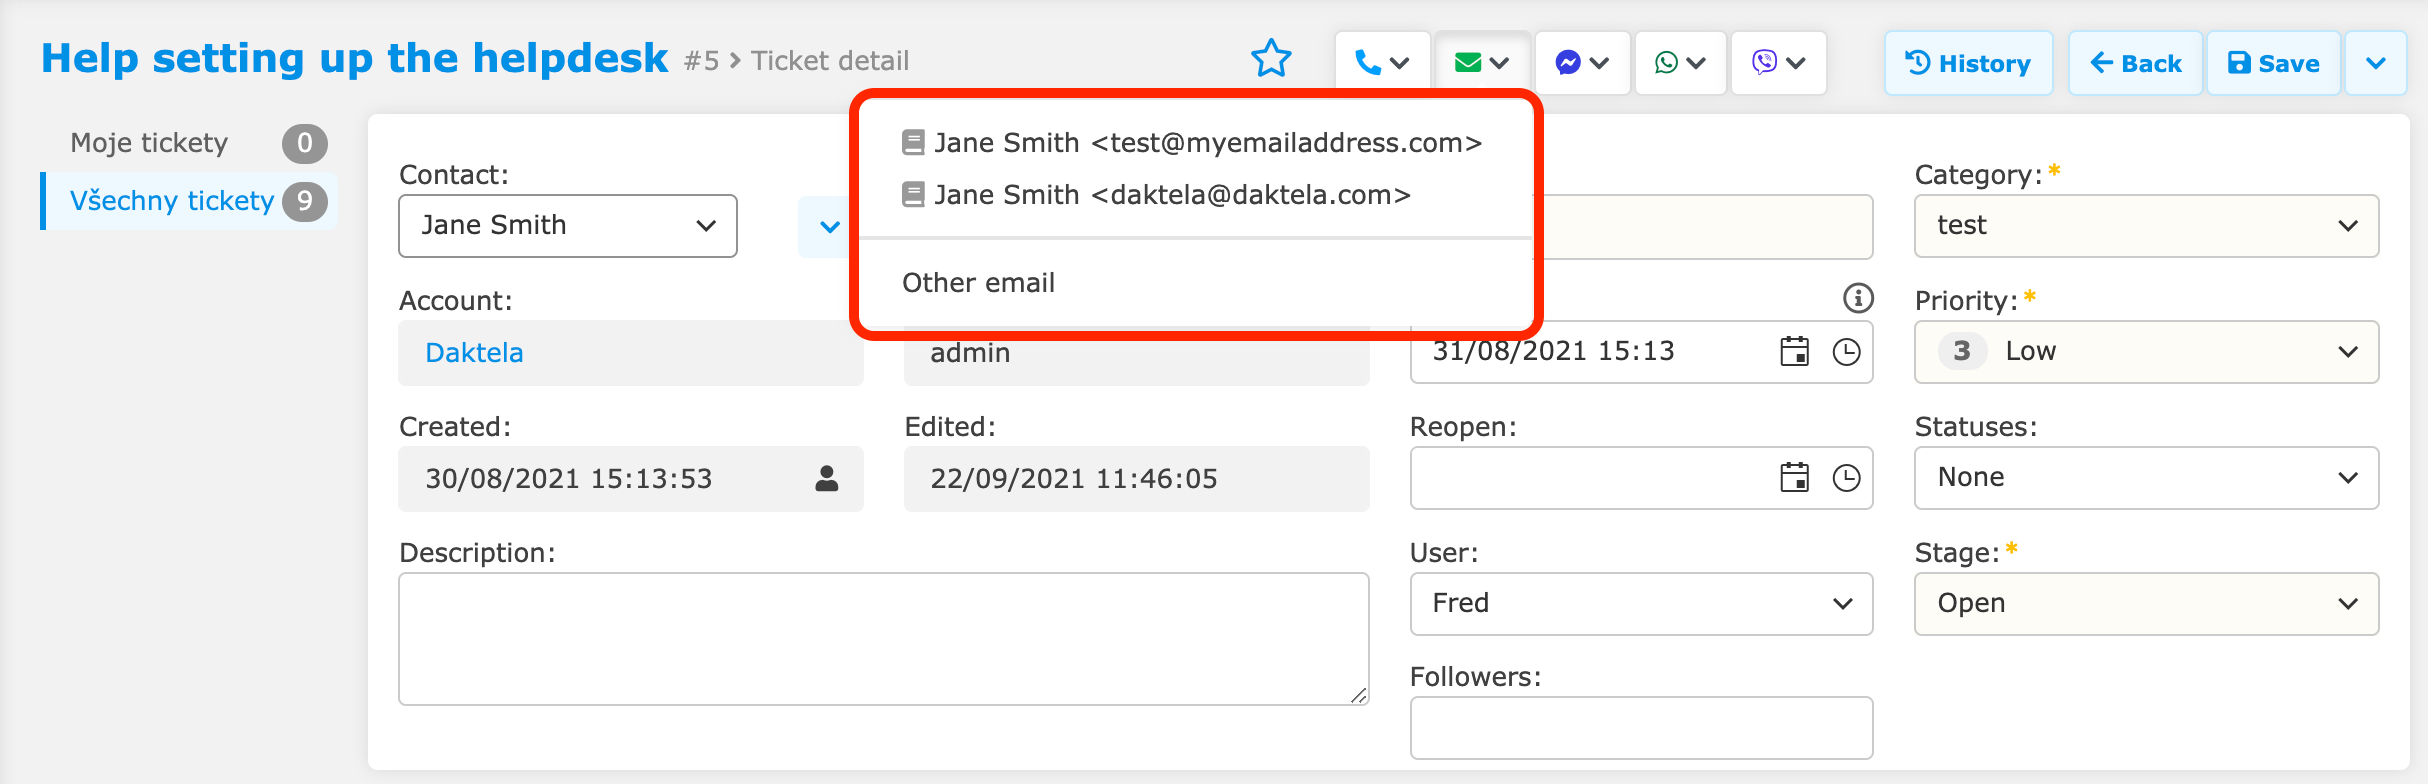
Click the green Email button in the top right corner of the ticket and choose the customer's address that you would like to email, or select Other email if you would like to use a different address. A new tab with your email will appear in the static panel. See Email details for instructions on how to manage the email.
If your ticket contains past emails, you can also send an email from one of those.
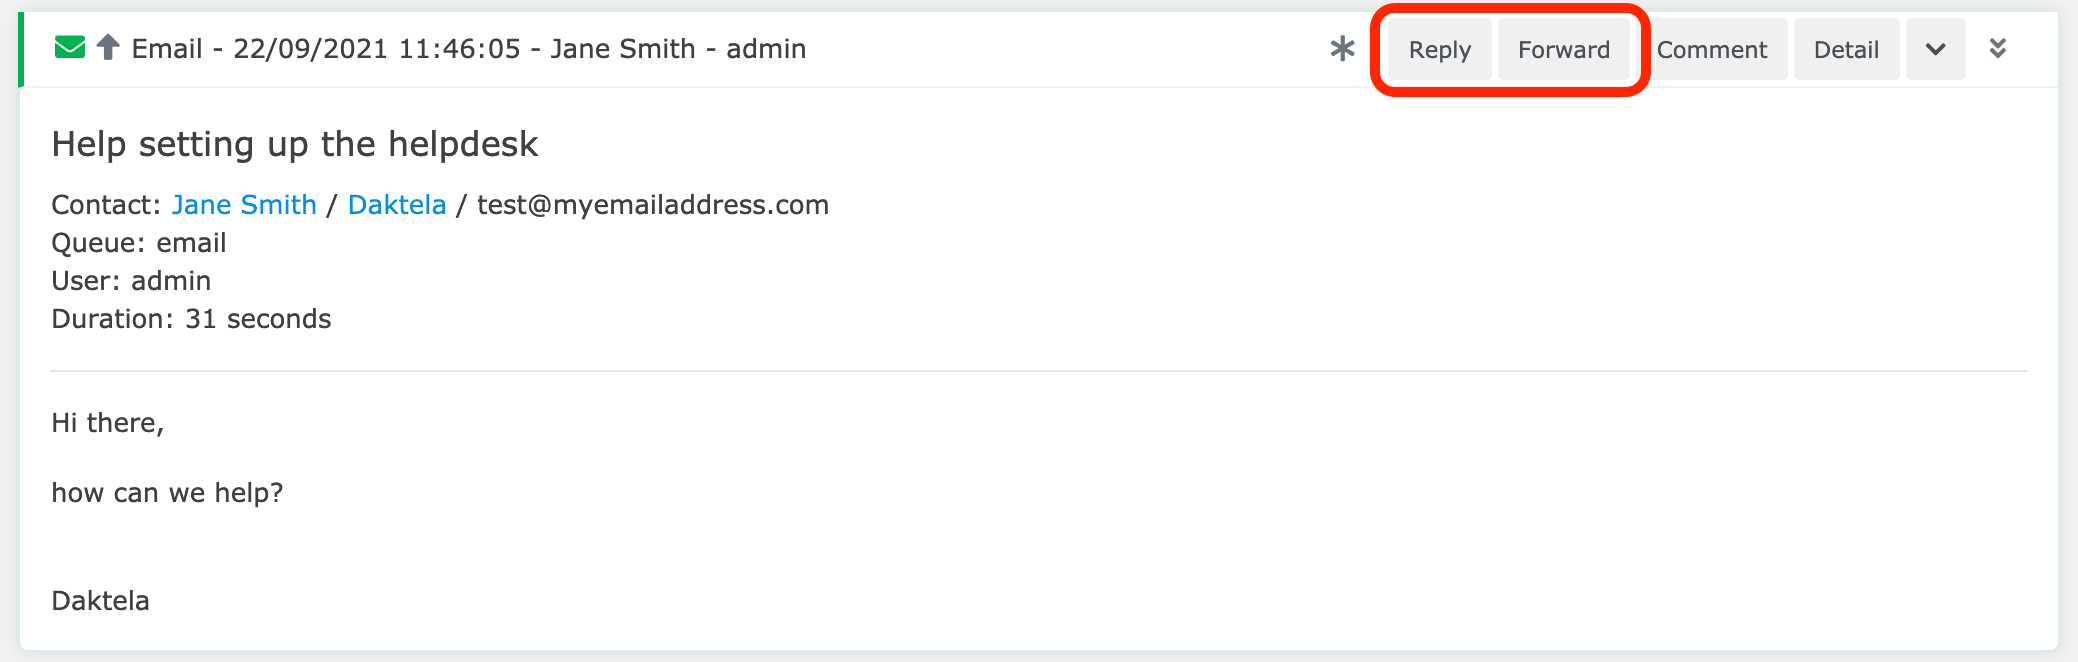
Click Reply or Forward. A new tab with your email will appear in the static panel. See Email details for instructions on how to manage the email.
Customjourneyer
If you would like to see the history of your communication with the customer you can find it in the contact column by clicking the symbol Customer Journey.

Email Details
The Email detail screen may contain different widgets set up in different order. The Email widget and the Ticket widget are the only mandatory ones.
Email widget
Use the Email widget to manage and compose your email.
The Email widget header displays the ticket number and name (if already assigned).

Select an email queue to send this email.
Type or select a recipient. If you have opened an email from a ticket, click the blue button to open a dropdown menu with relevant addresses. The same applies to the Cc and Bcc fields.
If you enter more than one main recipient, only the first address will be paired with the contact in the ticket/email/activity.Type a subject. Will be prefilled if you are composing an email from a ticket.
Time of last autosave. Autosaves every 30 seconds.
Discard email. A dialog box will ask you to confirm.
Postpone email. You can find it in your Postponed activities above the Main menu.
Send email. If you have not assigned a ticket, a new ticket will be created. Click the dropdown menu to open a list of your macros (see bottom part of the email widget below).
Compose your email in the bottom part of the Email widget.
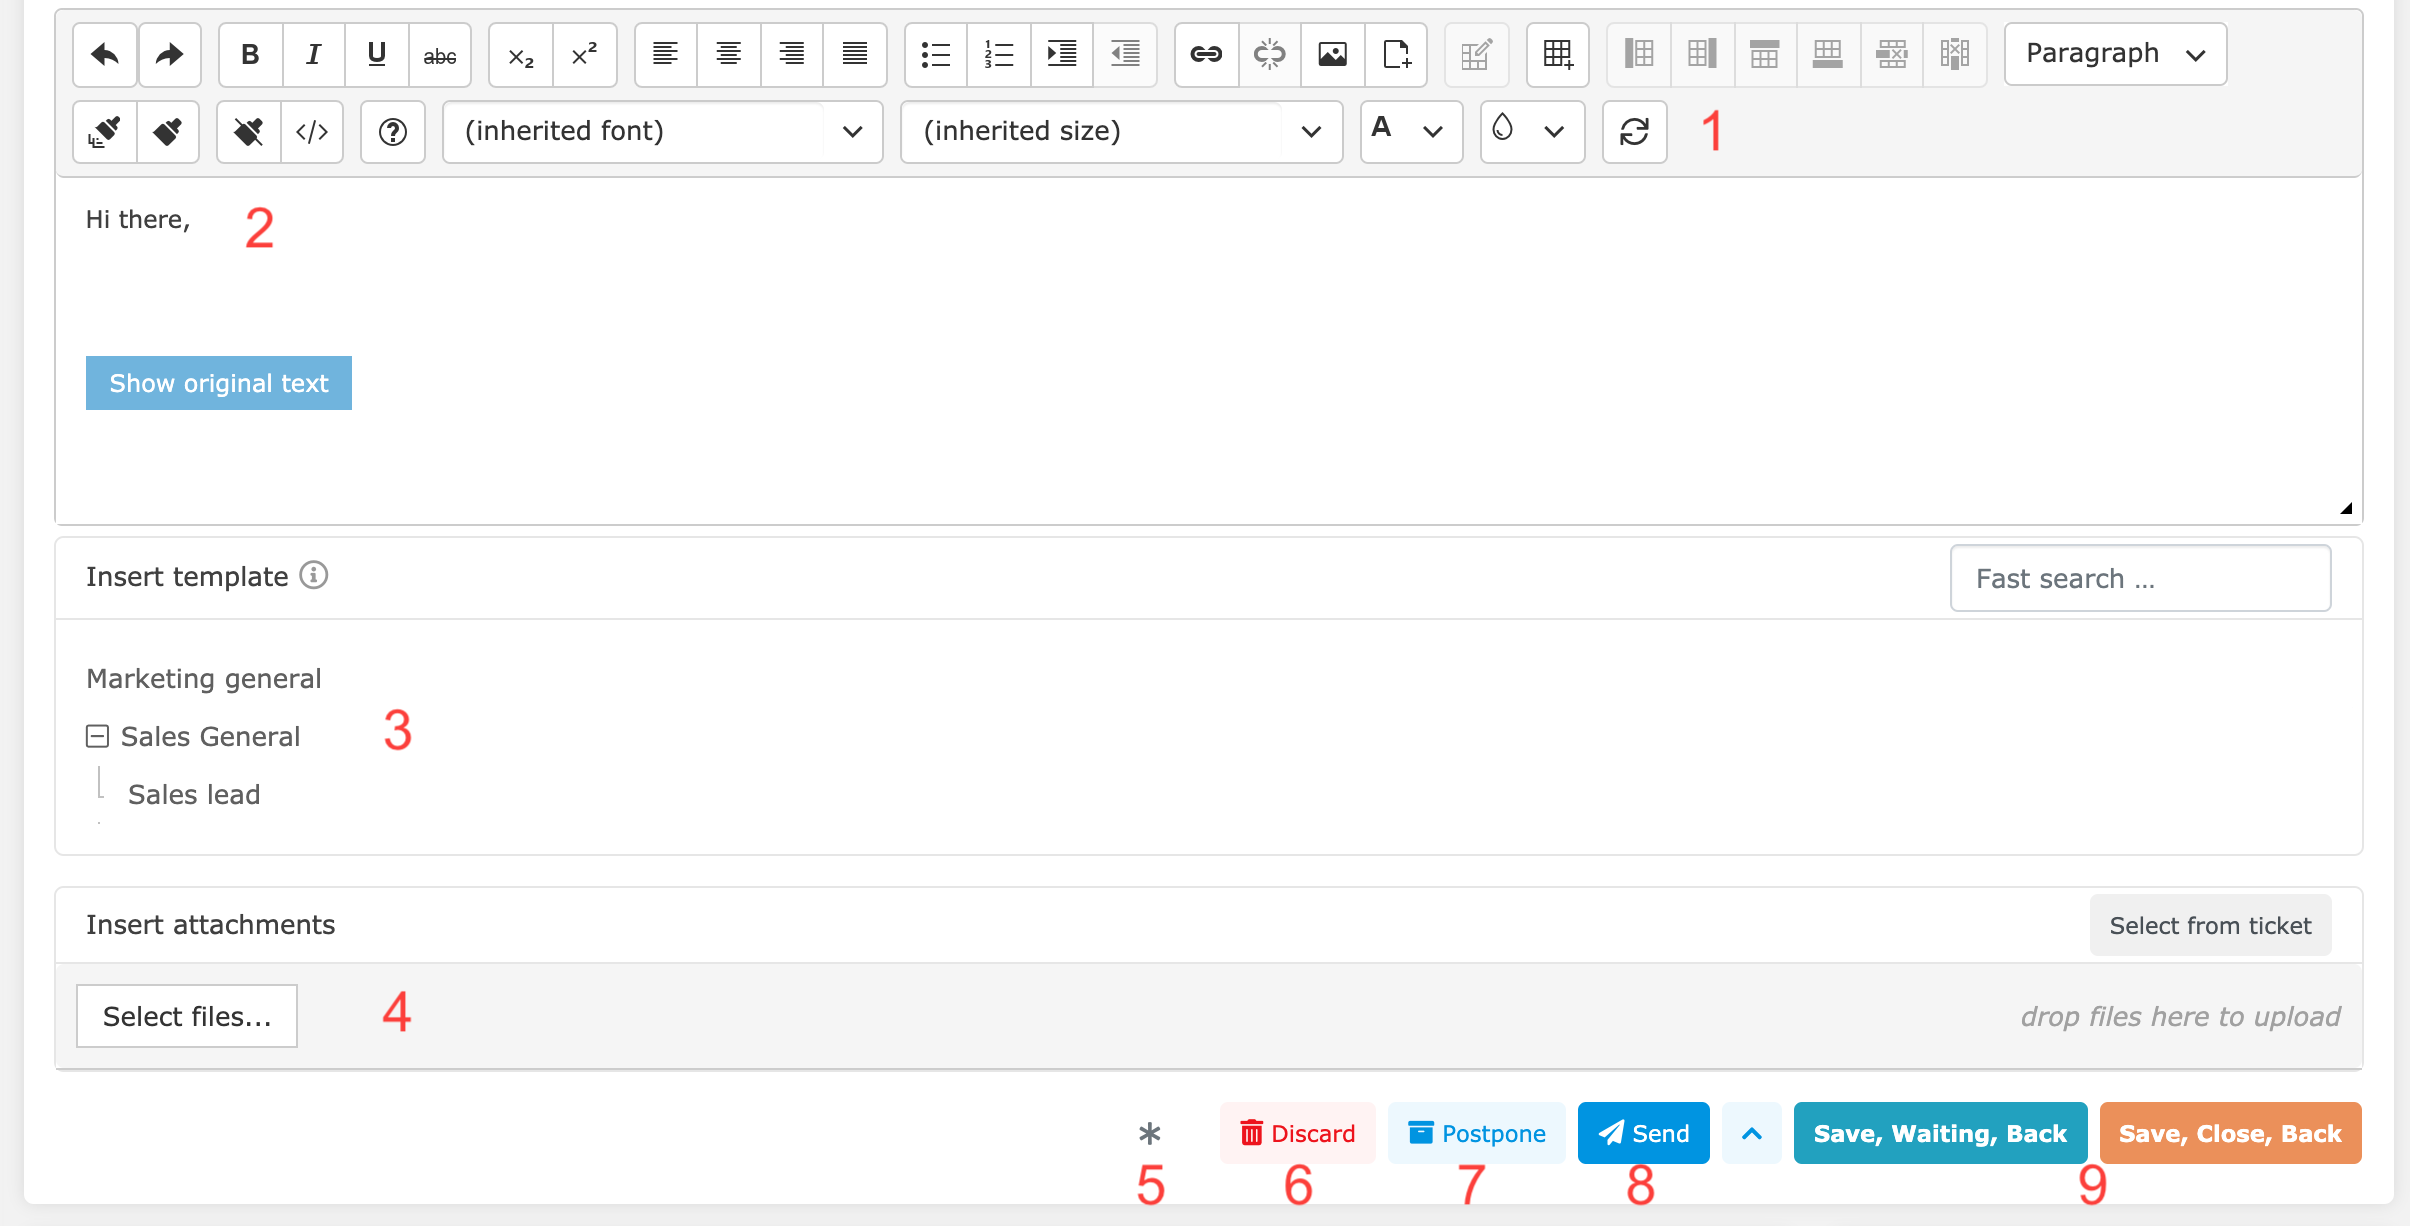
Set up email formatting. Hover over individual buttons to display a description of their functions.
Compose your email.
Select a template to insert into your email. Search for a template in the top right corner of this section. When you insert a child template, its parent template is inserted automatically too. You can't insert a parent template only.
Select files to attach to the email. Alternatively, drag and drop files into the grey area around the Select files button. If you have opened your email from a ticket, you can select attachments from the ticket in the top right corner of this section by click the button Select from ticket. Check the attachments you want to add and click the button OK to save.
The total size of your attachments and inline images must not exceed 20MB.
Mark the email as important.
Discard email. A dialog box will ask you to confirm.
Postpone email. You can find it in your Postponed activities above the Main menu.
Send email. If you have not assigned a ticket, a new ticket will be created. Click the dropdown menu to open a list of your macros.
Send email and perform the ticket actions set up in the macro.
Editing an email in multiple tabs
If you edit your email in more than one browser tab simultaneously, the tabs will keep synchronised so you don't lose your work. In case of a conflict between your tabs, you can decide which version to keep in the dialog box that will appear above the email body editor.
Click your value to keep the version in the current tab or new value to keep the version in the other tab. It will automatically synchronise to the current tab.
If there is more than one conflict, you can:
choose which version to keep one by one using the method above, or
click Ignore all changes to keep all data from the current tab or Apply or changes to keep all data from the other tab. It will automatically synchronise to the current tab.
If you ignore the warning, continue to compose your email and click Apply all changes after some time, you will lose the changes you have made since the warning appeared. You can undo this by pressing Ctrl+Z.
Attachments and inline pictures do not synchronise between tabs!
Contact and Account Widgets
The Contact and Account widgets display CRM information about the customer and the company they are calling from.
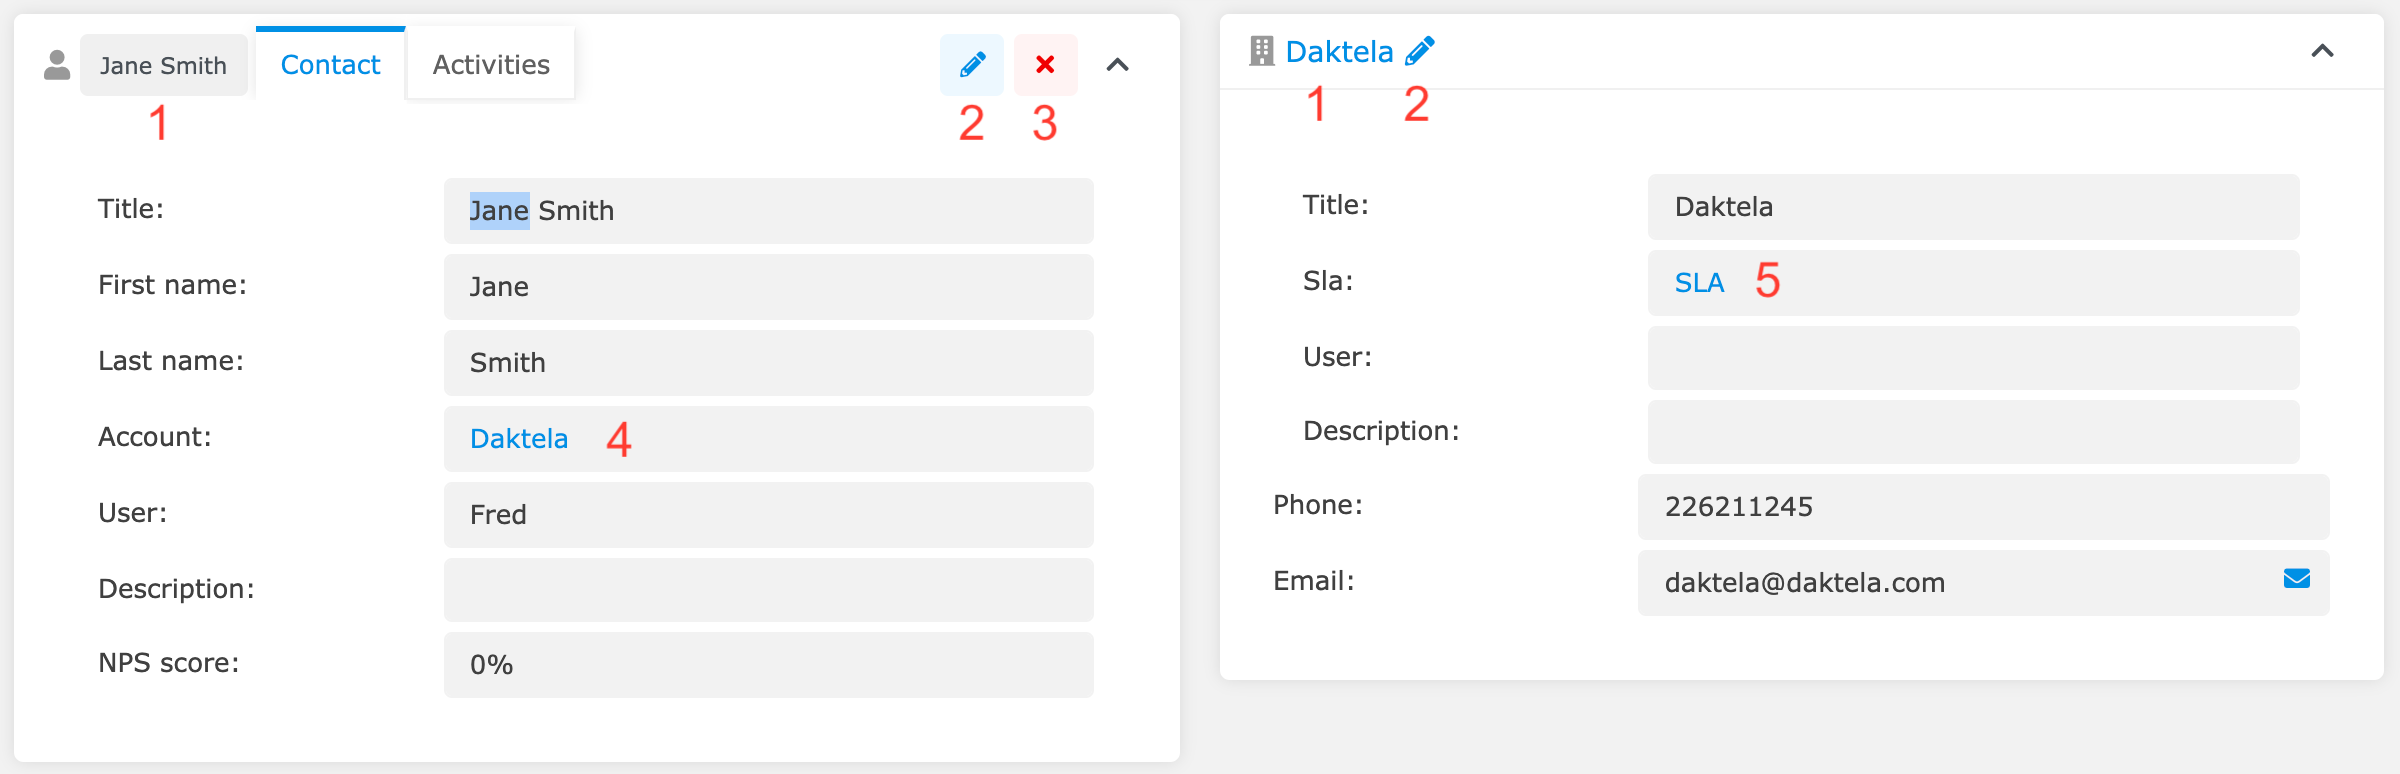
View the record in the CRM module. Click the activity tab in the top bar to return to the activity.
Edit the CRM record in the CRM module. Click the activity tab in the top bar to return to the activity.
Unpair the CRM contact from the activity.
Open the given CRM module info in the background. Click the Home button to view it.
If the phone number is associated with more than one contact, a list will appear at the bottom of the widget. Click the Link button to switch to the selected contact.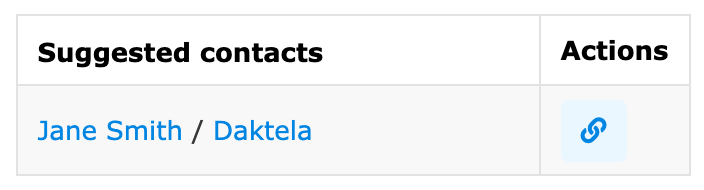
Open SLA settings in the background. Click the Home button to view them.
Activities Tab
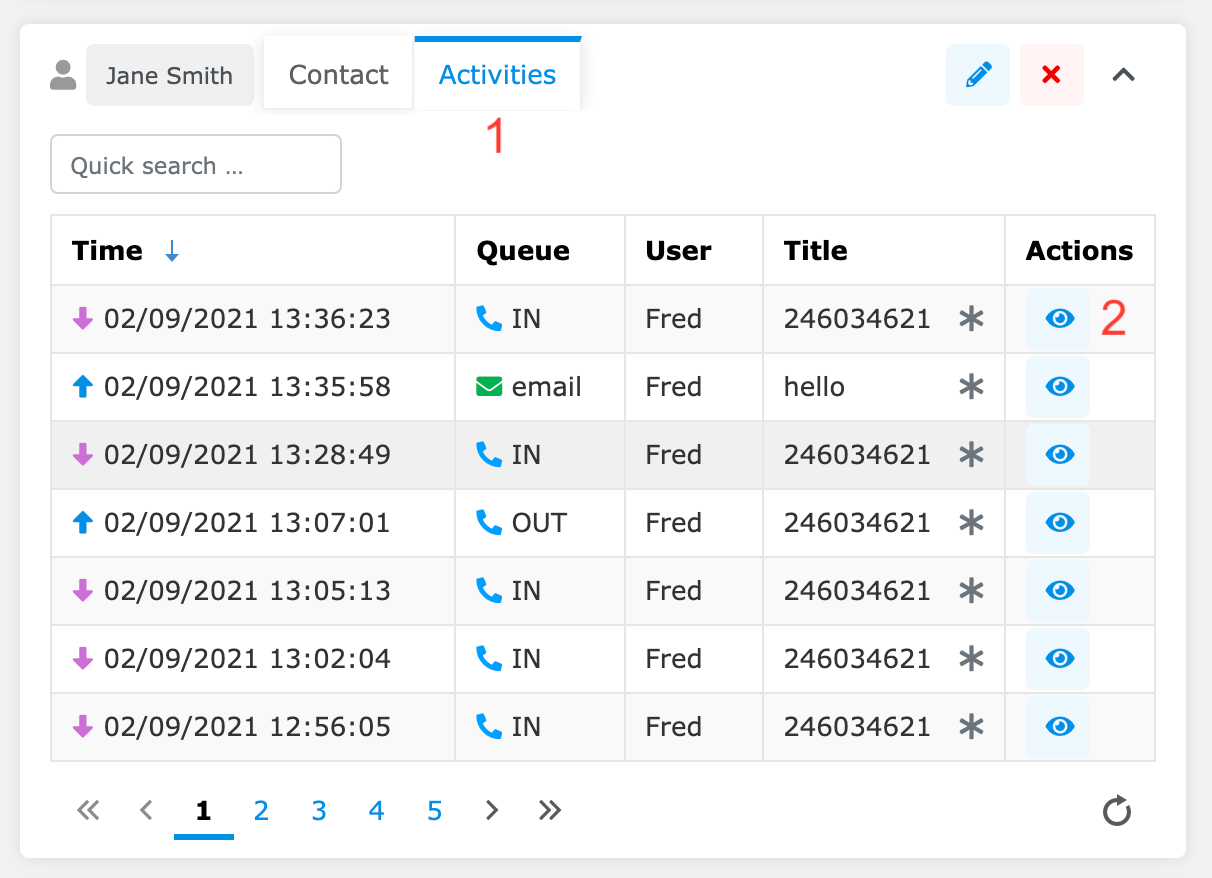
Click the Activities tab in the header to view the contact's past activities.
Open activity detail. See Activities for more detail.
New Contact
If the customer's phone number is not saved in the CRM module, the Contact widget will be open on the Activities tab.

Click Add new contact to open the CRM module and create a new entry. See CRM for more details.
Ticket Widget
Use this widget to assign an existing or new ticket to the call. If a ticket has already been assigned, the widget will display it.

Search for a ticket.
Filter your favourite tickets.
Filter your tickets.
Filter the current contact's tickets.
Filter the current account's tickets.
Create a new ticket.
Open the ticket in the Ticket module. Click the activity tab to return to the call detail screen.
Customer journey – see the contact's history.
Assign the call to the ticket.
You can apply multiple filters to view only tickets relevant to your call.
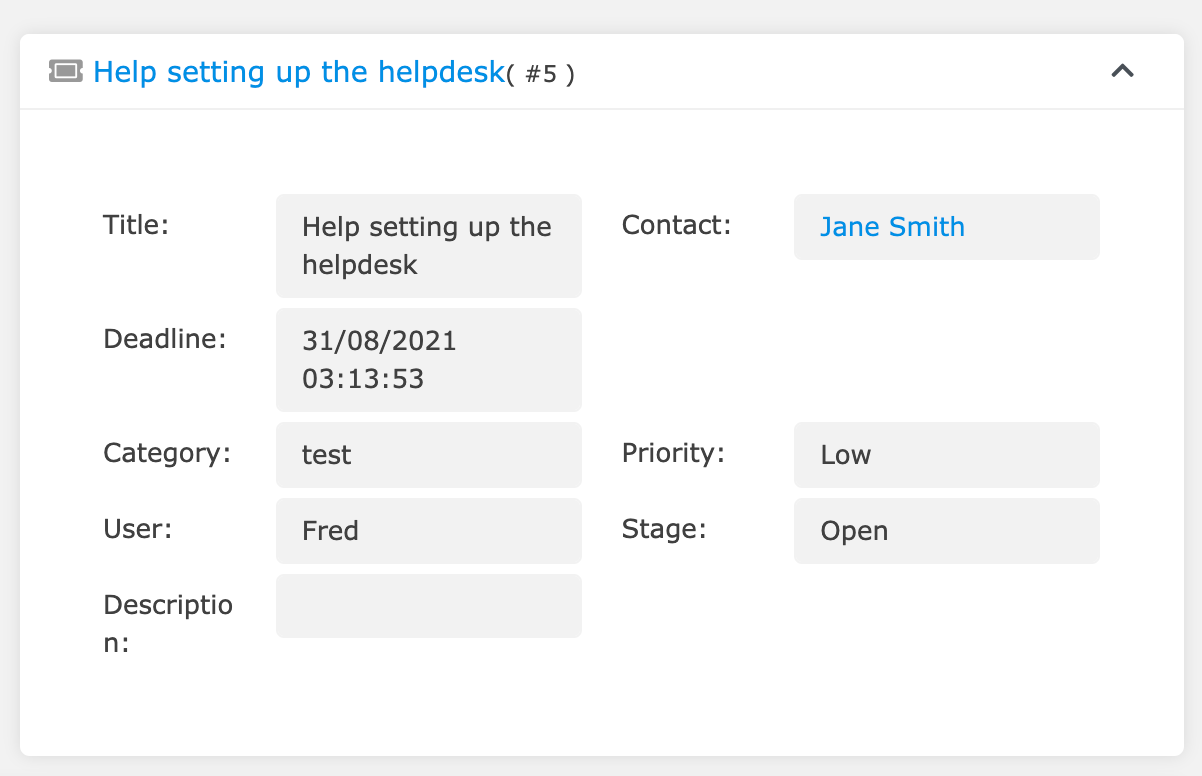
Once you assign a ticket to the call, the widget will display the ticket details.
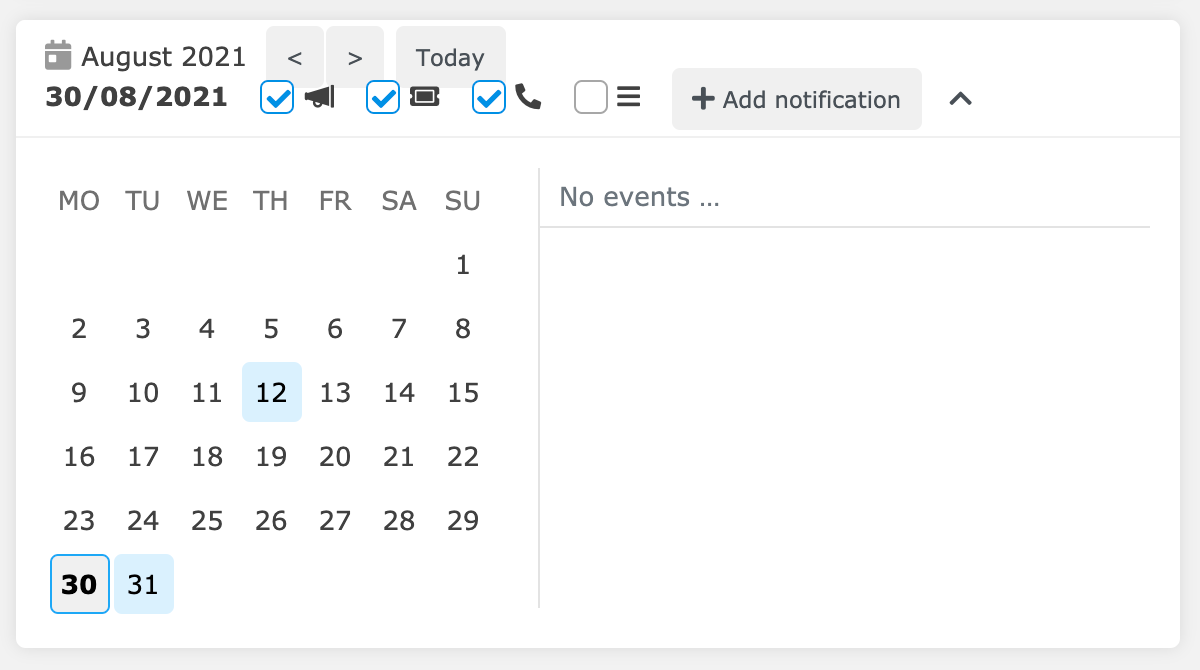
Calendar Widget
The Calendar widget displays your scheduled events. Days coloured blue contain events. The selected day is bold. See Dashboard for more details.
Articles Widget
The Articles widget displays a list of your available articles – these can contain info that can help you in your work.
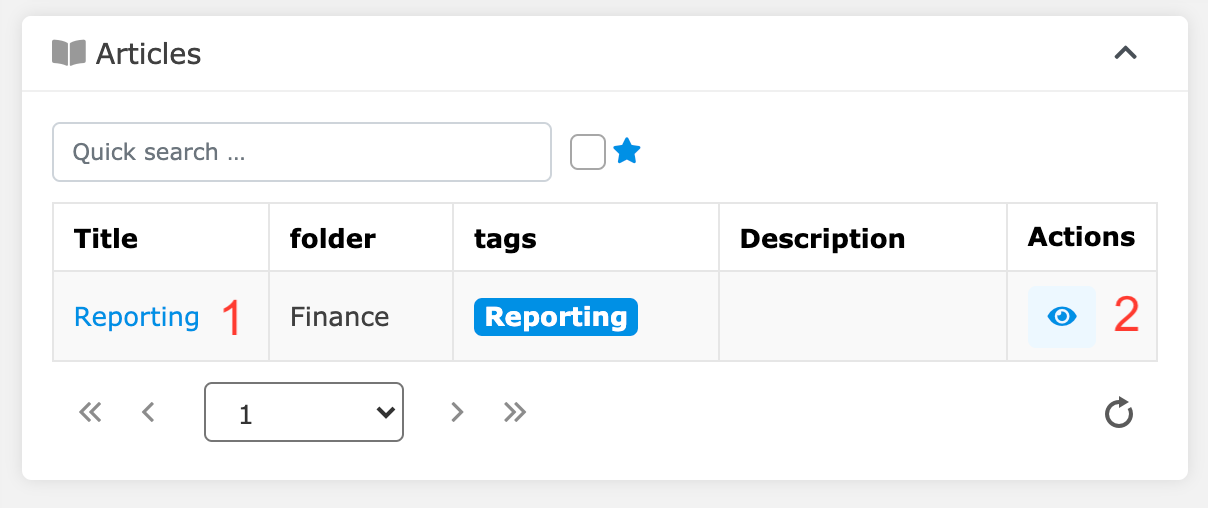
Open the article in the Knowledge Base module.
Read the article in the Articles widget.
This is what an article open in the Articles widget looks like:
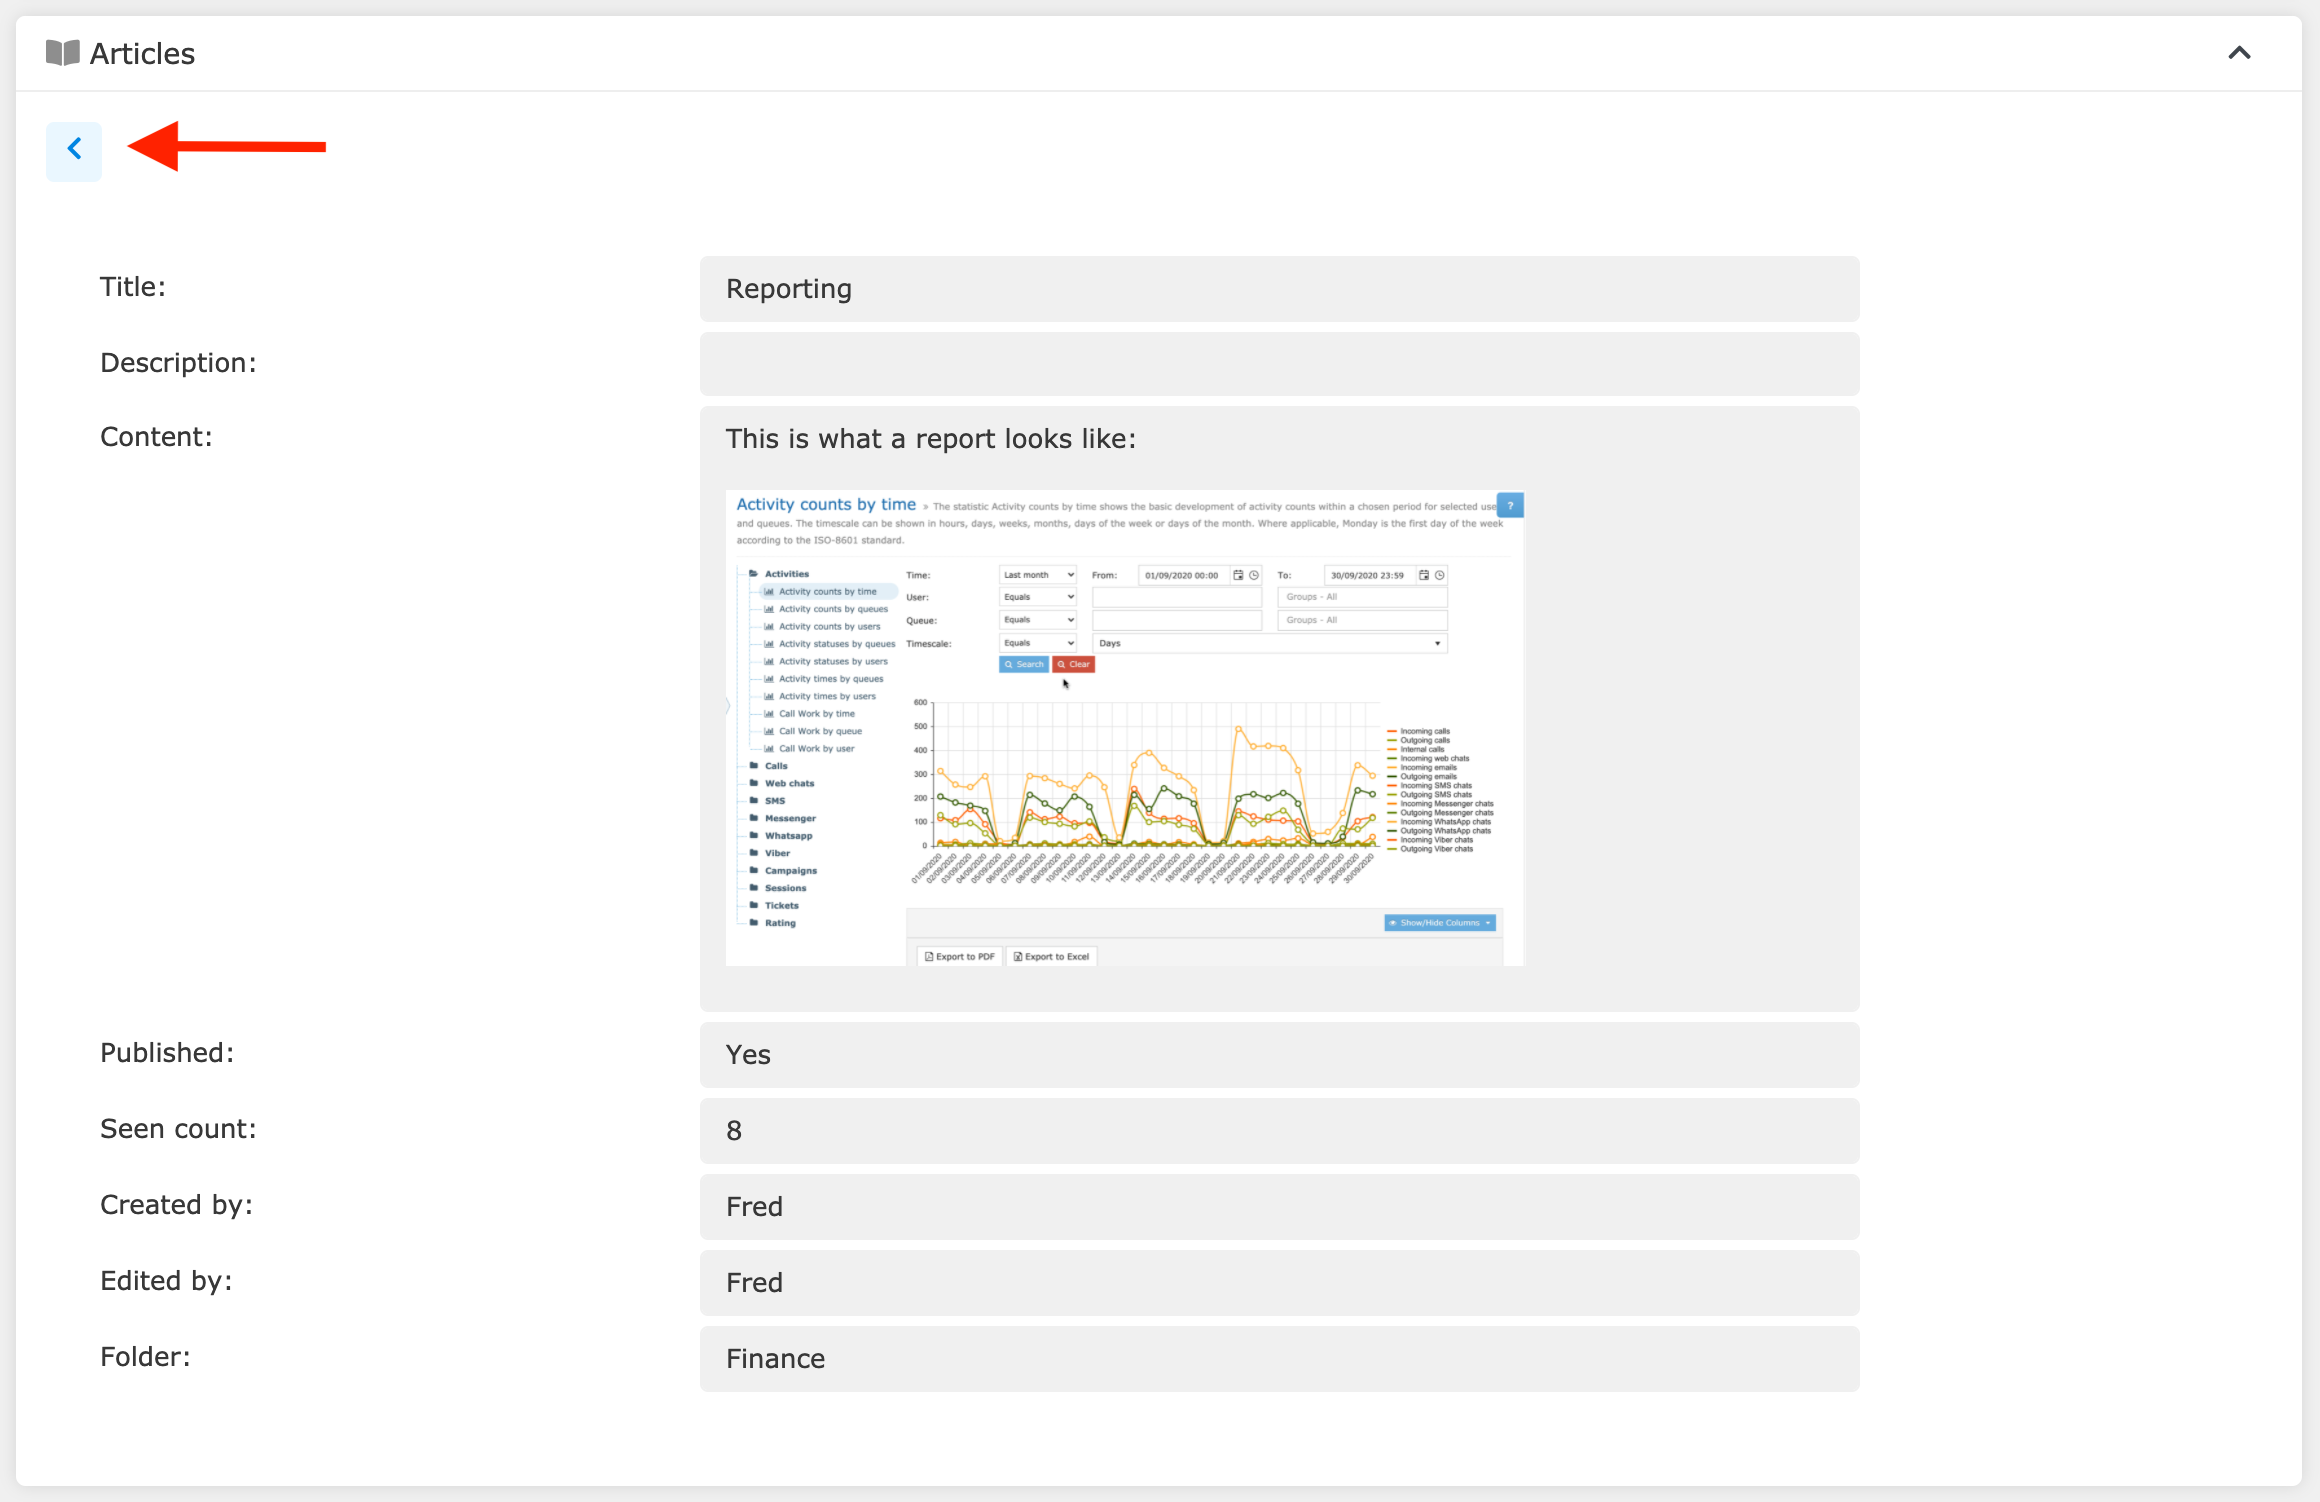
Click the Back button to return to the list of articles.
Page in iframe
The Page in iframe widget displays an external web page. Interact with the page just like you would normally. You can scroll using your mouse wheel or the controls on the right hand side.
