SMS
Send a New SMS
To send a new SMS, click the New SMS button at the top of the Main menu on the left side of your screen.
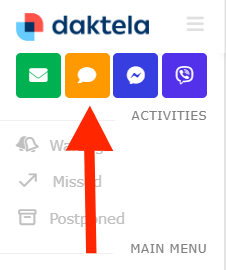
The Send SMS message window will open.
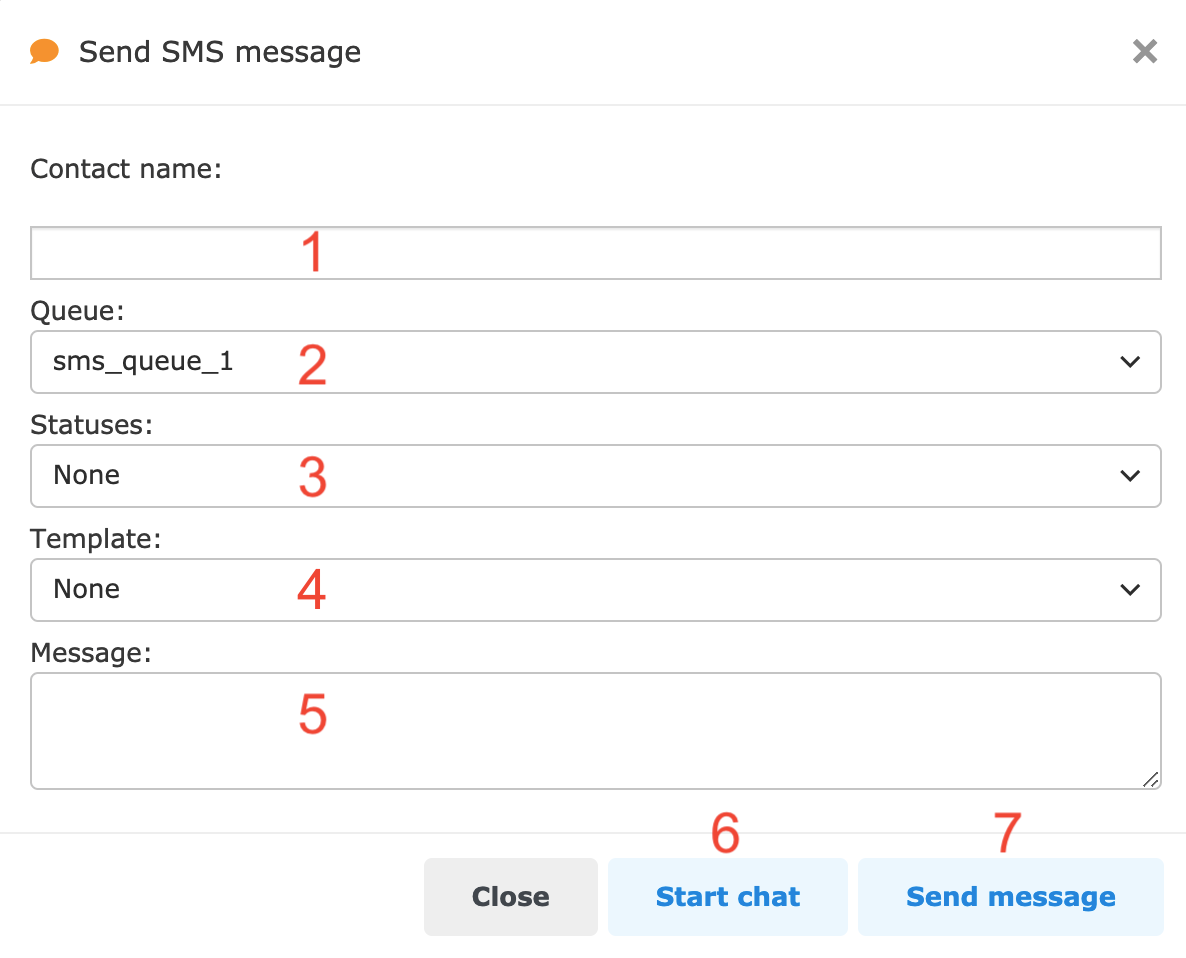
Enter a phone number or a contact's name.
Select the queue you want to use to send the SMS (only visible if you have more than one queue).
Select a status. You must select a status before sending the message (not if you start a chat).
Select a template to enter into the message.
Type an SMS message.
Start an SMS chat.
Send message and close the Send SMS window (if you see Statuses (3), you must select one before sending the SMS).
From the CRM Module
Open the CRM module in the main menu and go to Contacts on Accounts.
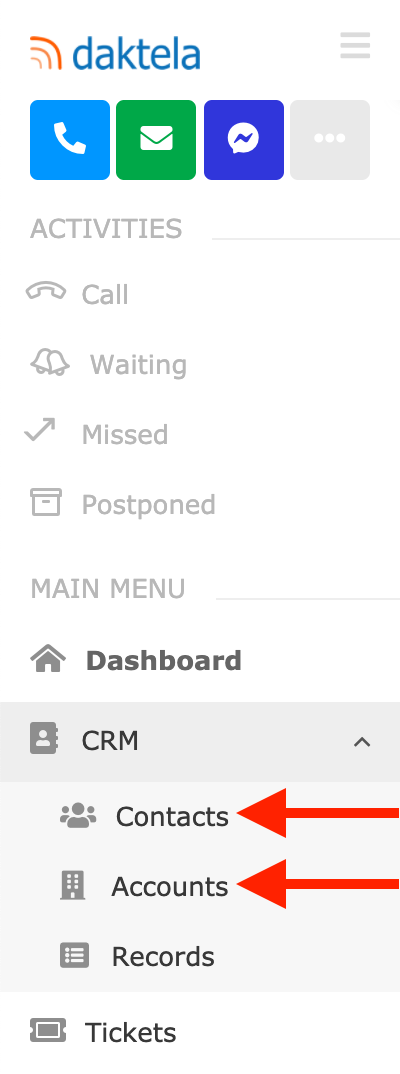
Find the Contact or Account you would like to send an SMS to and open the details. See CRM for detailed instructions.
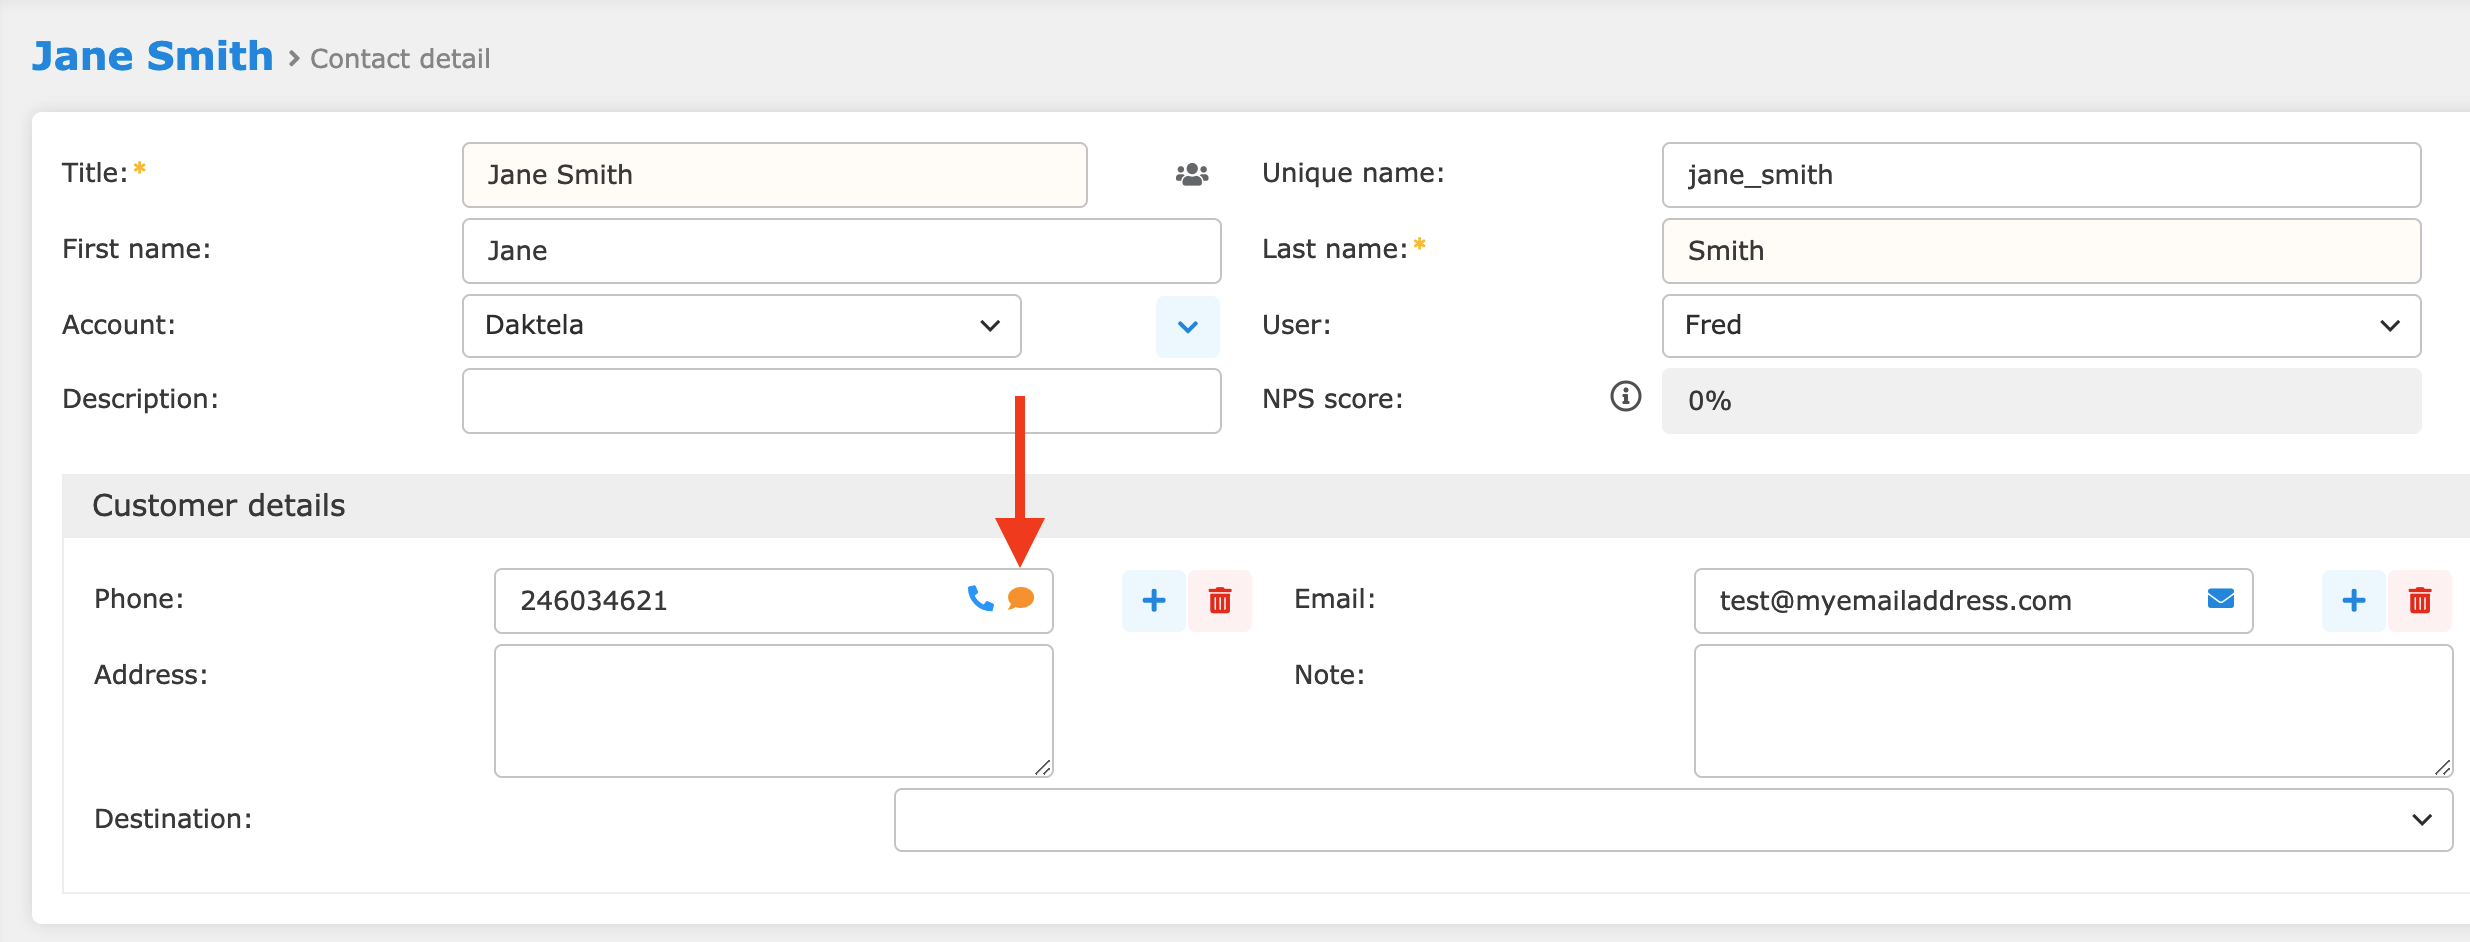
Click the SMS icon next to the Contact or Account phone number. The Send SMS message window will open.
From a Ticket
Open the Ticket module in the main menu.
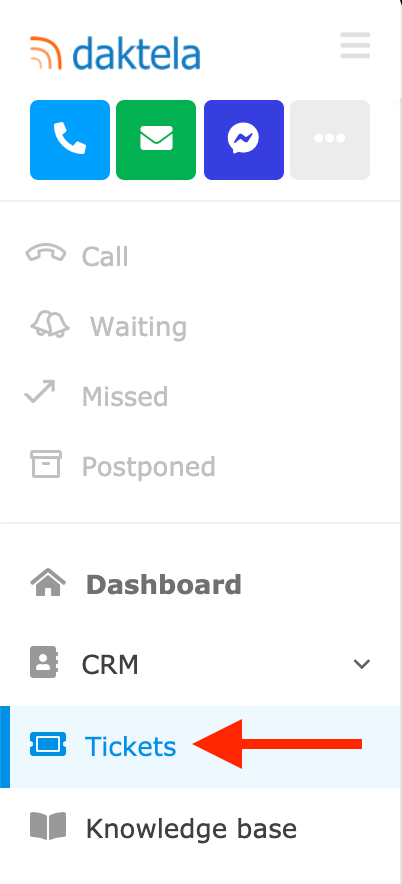
Open the ticket that you would like to send an SMS from. See Tickets for detailed instructions.
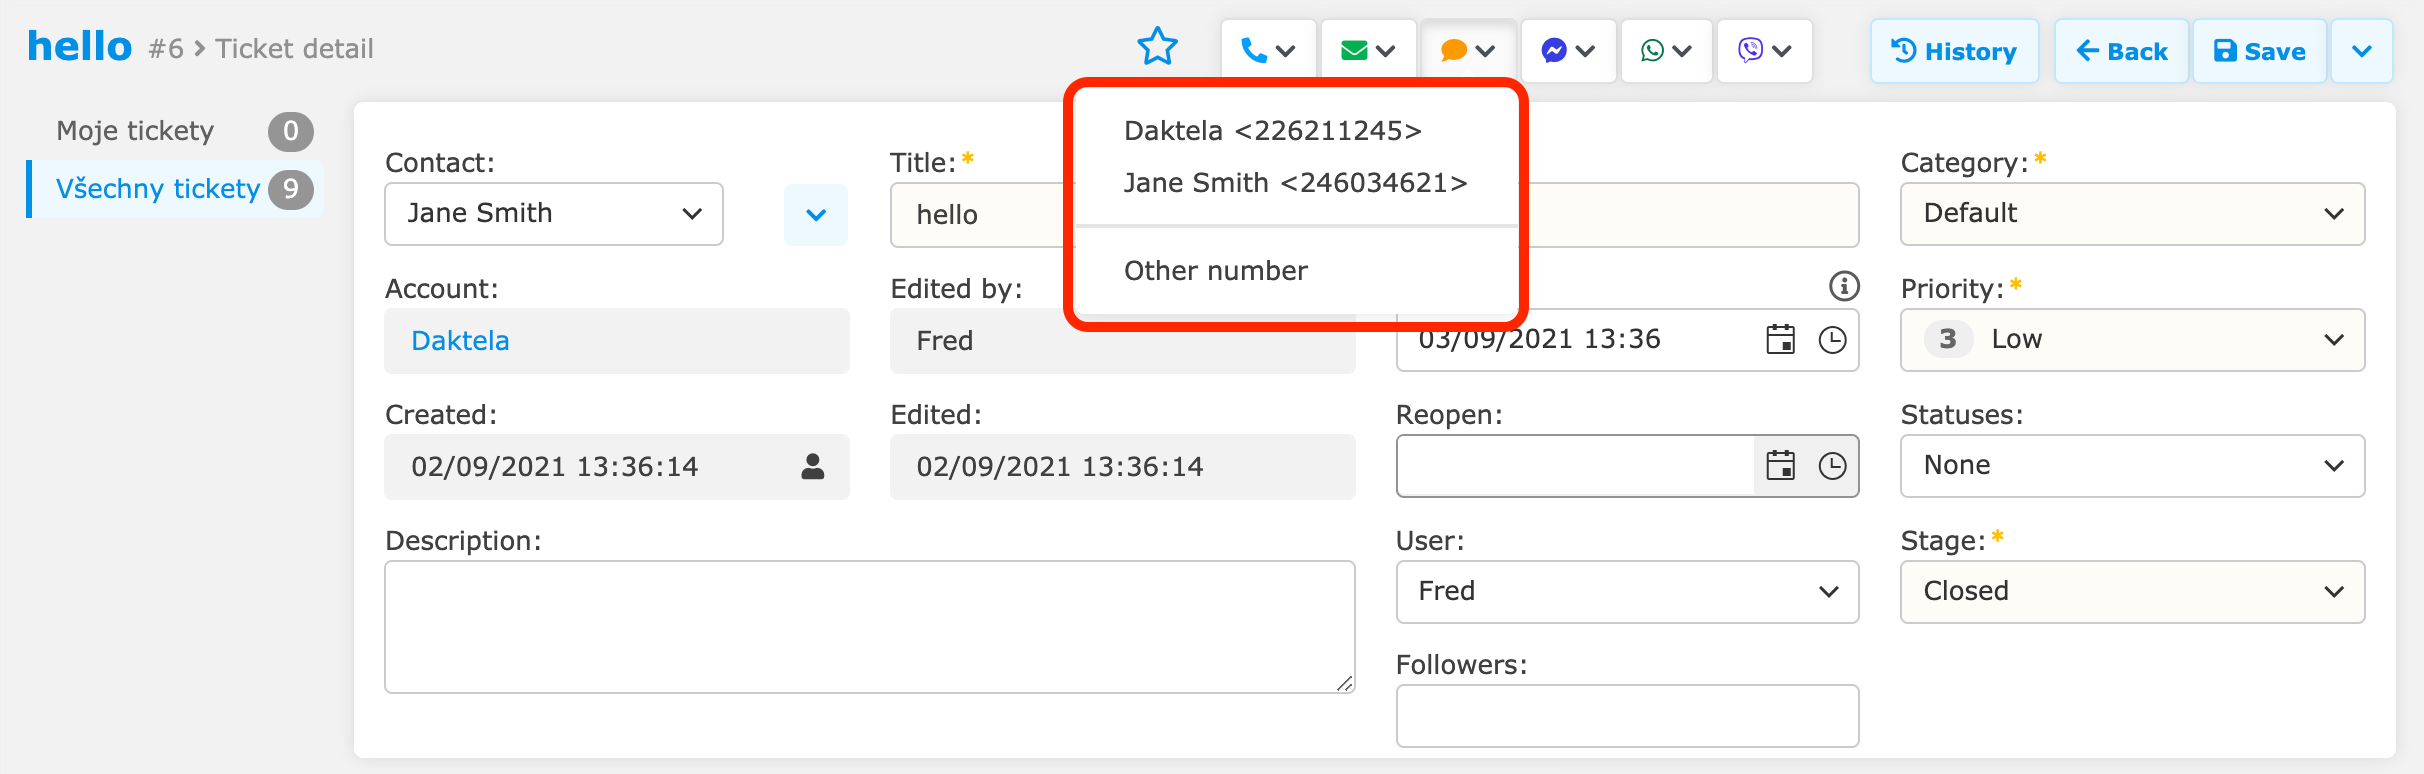
Click the yellow SMS button at the top of the ticket and choose the customer's number that you would like to send an SMS to, or choose Other number. The Send SMS message window will open.
If one of your past activities in the ticket contains a phone number, you can also send an SMS from one of those.

Click the SMS button. The Send SMS message window will open.
SMS Chat
Start a new SMS Chat in the Send SMS message window. A new tab with the SMS chat details will open in the top panel.
Click the SMS tab to see the SMS chat details. Click it again to return to the previous screen (e.g. the Dashboard).
The SMS chat detail screen may contain different widgets set up in different order. The SMS widget is the only mandatory one.
SMS Widget
The SMS widget header displays the Queue number, queue name and the customer's name or number.
The top part of the widget contains the chat history and chat controls.

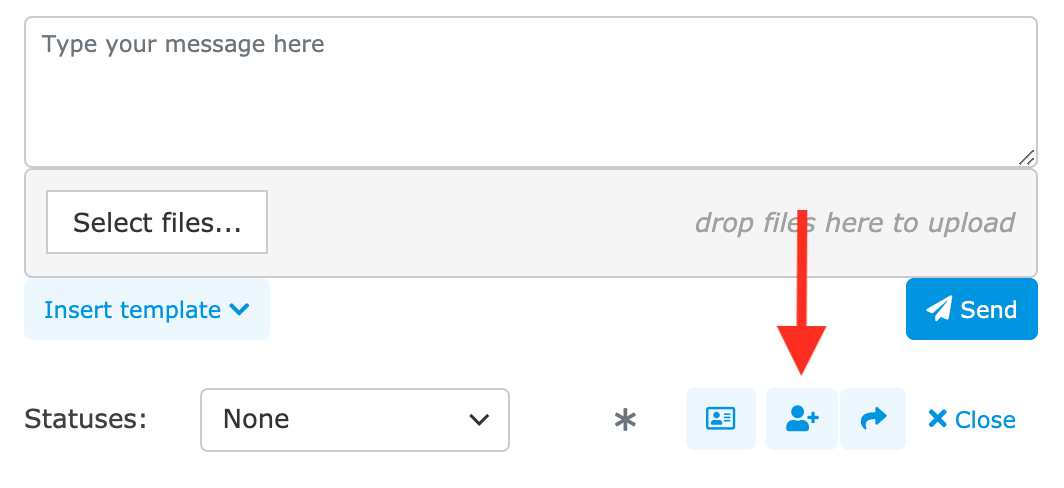
Type your message in the field. To send your message, click Send (5) or press Enter on your keyboard. Use Shift+Enter to start a new line.
Open a dropdown menu and select a template to insert.
Open a preview with emotikons and click on to insert.
Select files to send to the customer. Alternatively, drag and drop files into the grey area around the Select files button.
Send SMS chat message.
Load older messages from earlier SMS chats with this contact. Only appears if any history exists.
Only chats to the same number will load. A number with a prefix is considered different to a number without a prefix. 00 and + are considered to be the same.
The bottom part of the widget allows you to manage the SMS chat.

Select a status. You must select a status before closing the SMS chat.
Mark the SMS chat as important.
Open a URL (set up by your administrator).
Invite another agent to the SMS chat.
Transfer the webchat to another agent.
Postpone SMS chat. You can find it in your Postponed activities above the Main menu.
Close the SMS chat tab. You must select a status before closing the SMS chat.
If you are not in the activity widget you can get a toast notification to remind that you have an open activity. There are two option when you get a notification:
Notification will display after certain time from first message from the customer.
You get a notification for every new message in the chat.
Contact and Account Widgets
The Contact and Account widgets display CRM information about the customer and the company they are calling from.
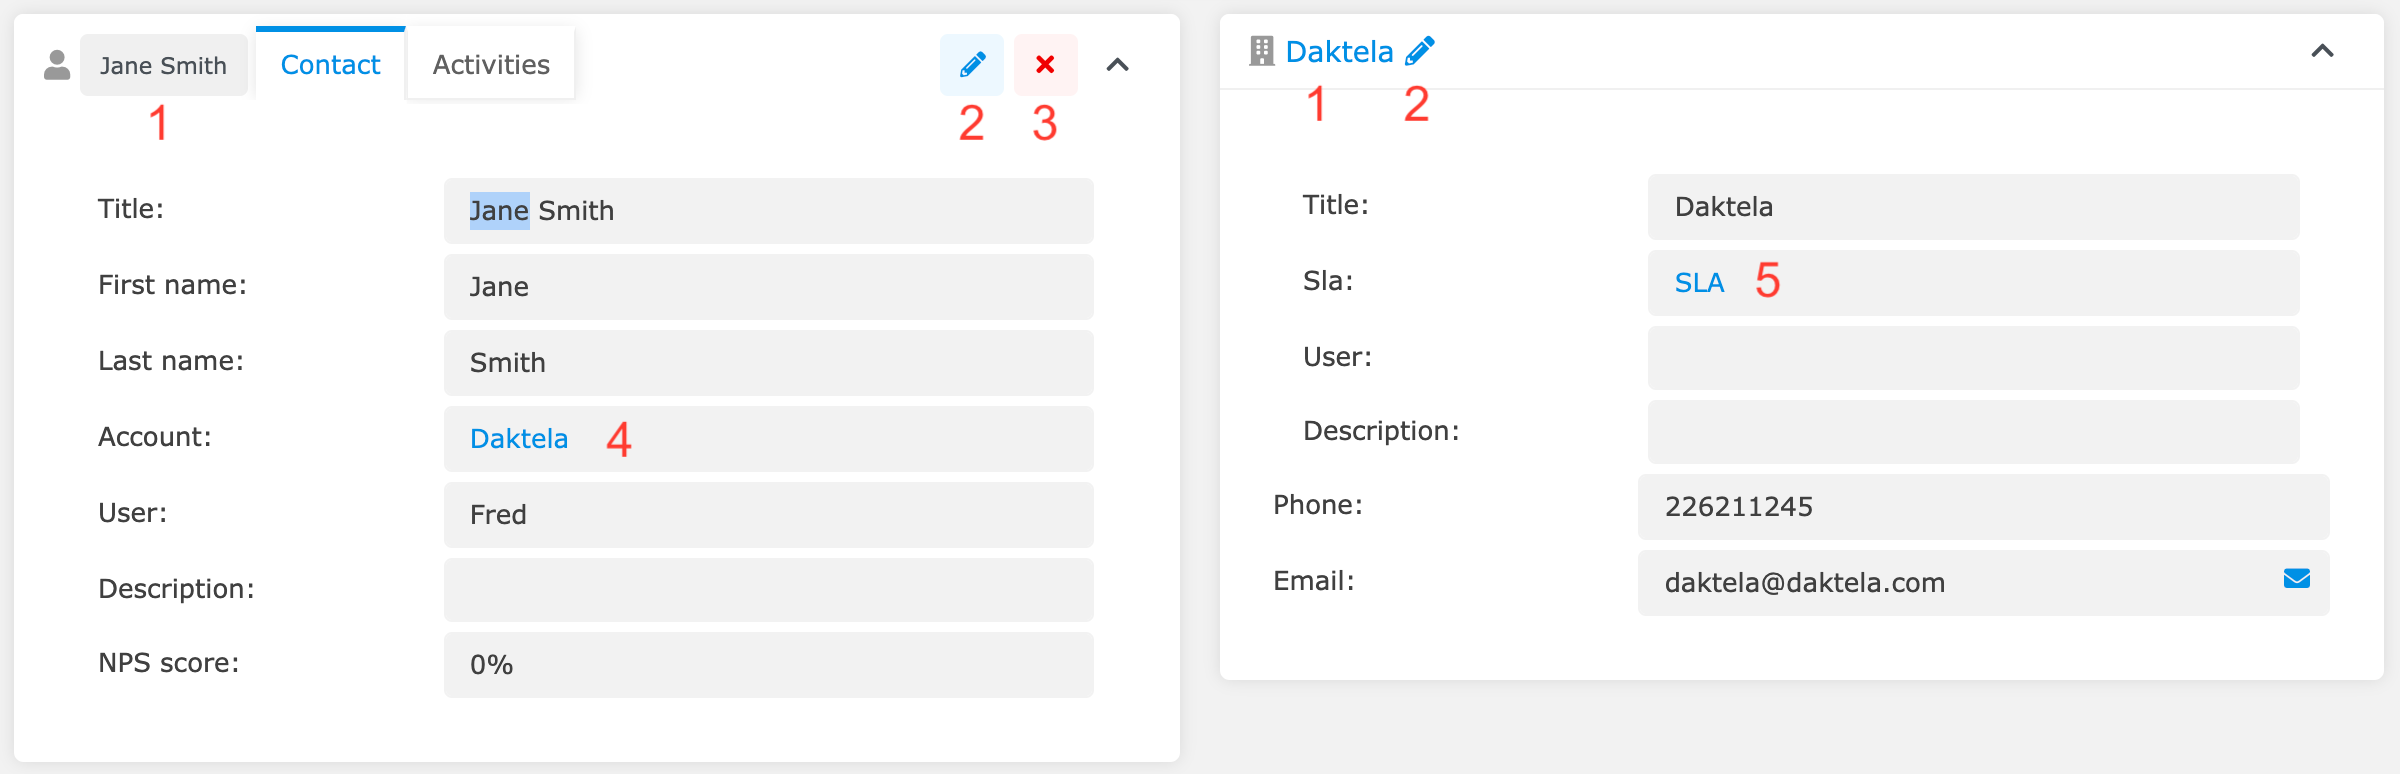
View the record in the CRM module. Click the activity tab in the top bar to return to the activity.
Edit the CRM record in the CRM module. Click the activity tab in the top bar to return to the activity.
Unpair the CRM contact from the activity.
Open the given CRM module info in the background. Click the Home button to view it.
If the phone number is associated with more than one contact, a list will appear at the bottom of the widget. Click the Link button to switch to the selected contact.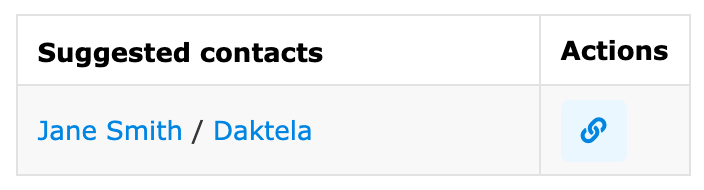
Open SLA settings in the background. Click the Home button to view them.
Activities Tab
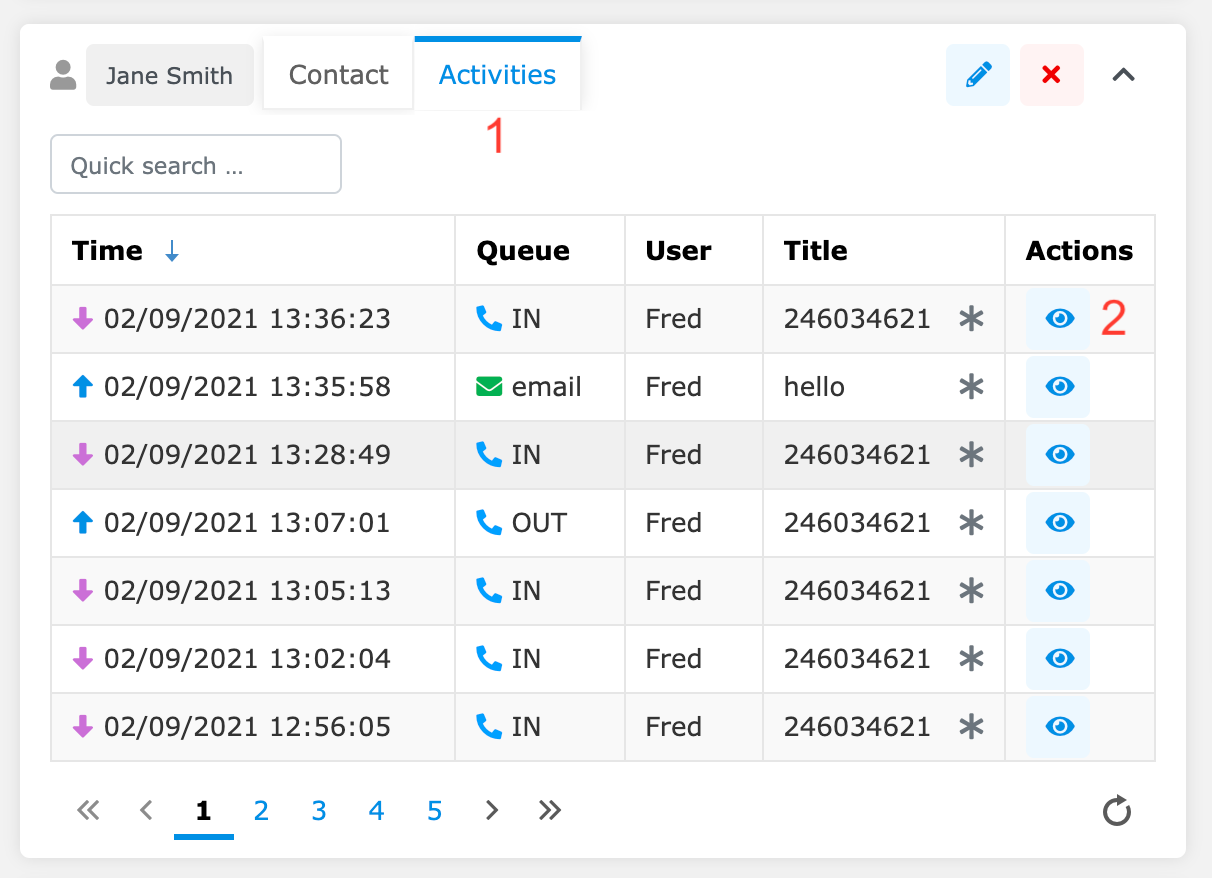
Click the Activities tab in the header to view the contact's past activities.
Open activity detail. See Activities for more detail.
New Contact
If the customer's phone number is not saved in the CRM module, the Contact widget will be open on the Activities tab.

Click Add new contact to open the CRM module and create a new entry. See CRM for more details.
Ticket Widget
Use this widget to assign an existing or new ticket to the call. If a ticket has already been assigned, the widget will display it.
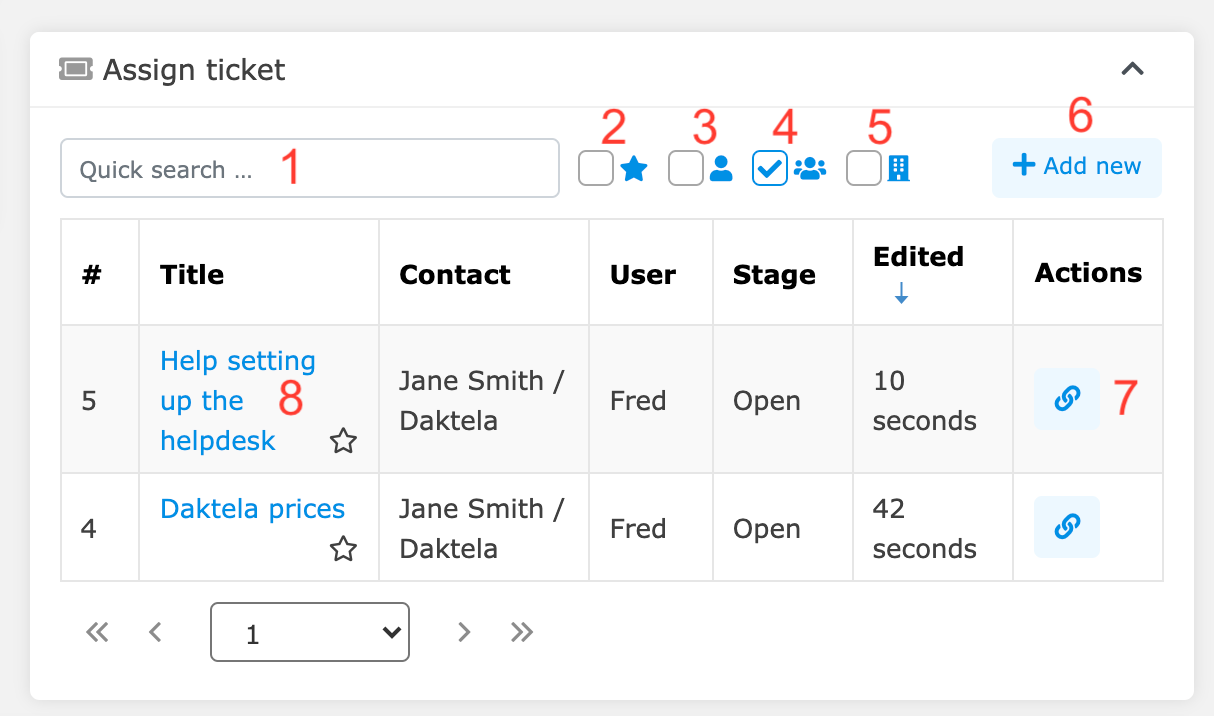
Search for a ticket.
Filter your favourite tickets.
Filter your tickets.
Filter the current contact's tickets.
Filter the current account's tickets.
Create a new ticket.
Open the ticket in the Ticket module. Click the activity tab to return to the call detail screen.
Customer journey – see the contact's history.
Assign the call to the ticket.
You can apply multiple filters to view only tickets relevant to your call.
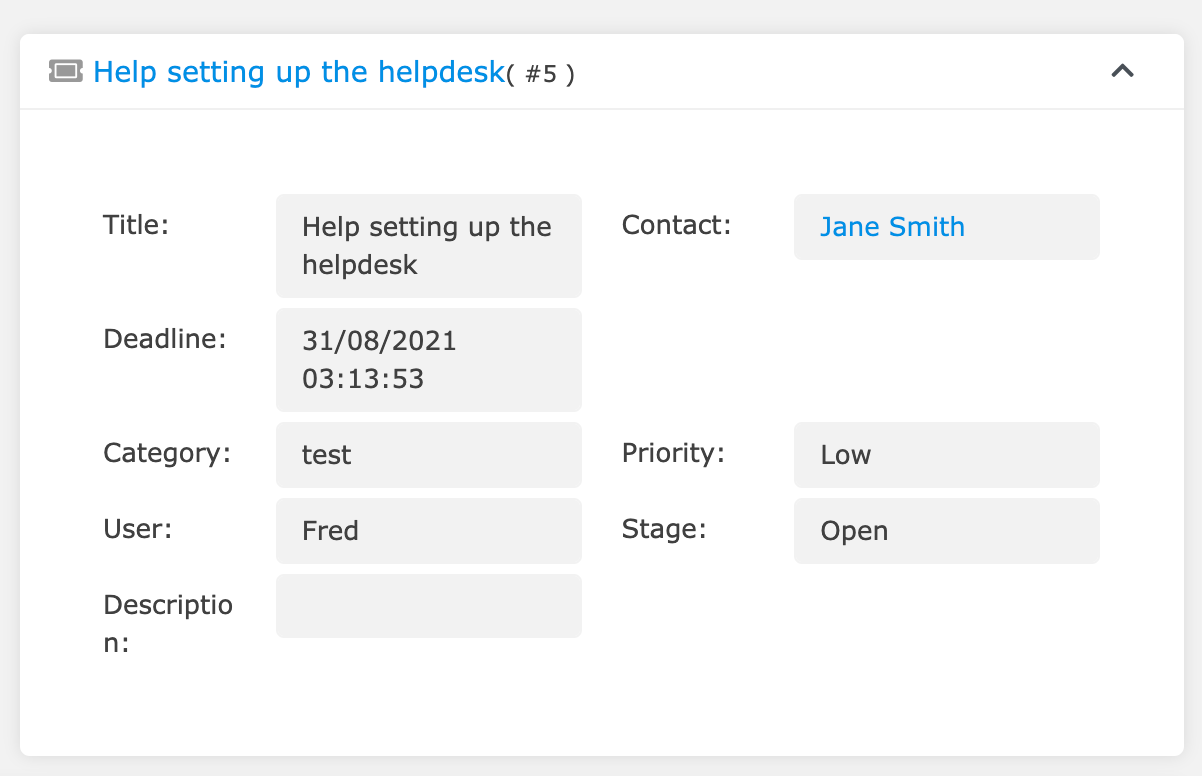
Once you assign a ticket to the call, the widget will display the ticket details.
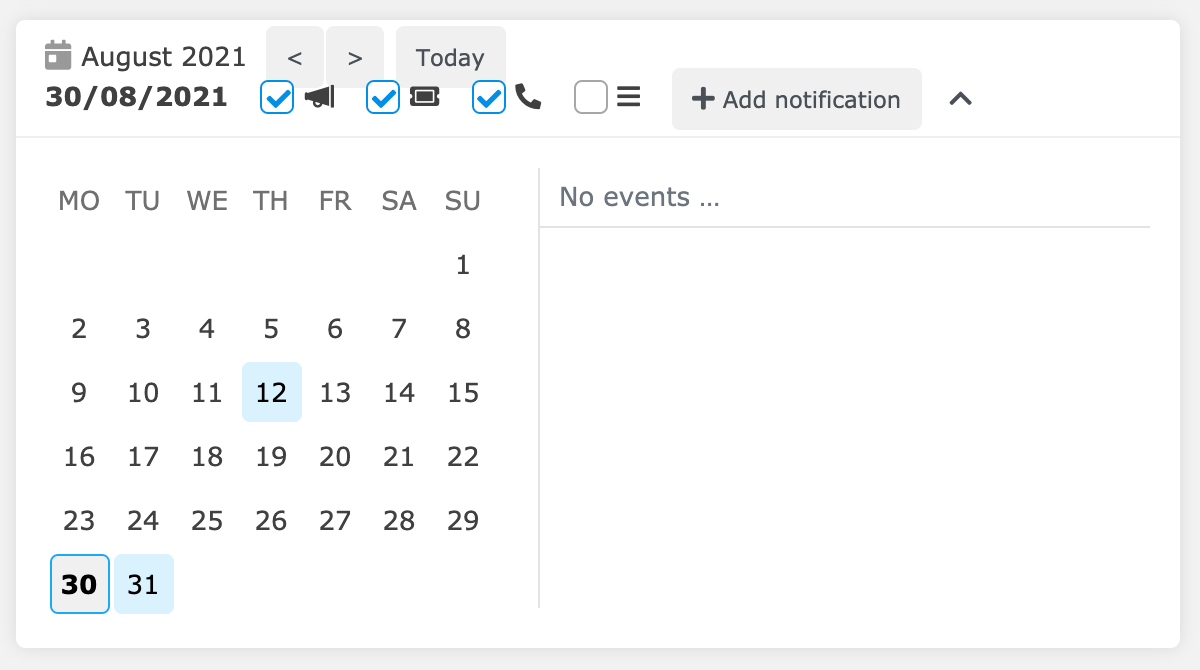
Calendar Widget
The Calendar widget displays your scheduled events. Days coloured blue contain events. The selected day is bold. See Dashboard for more details.
Co-browsing Widget
Use co-browsing to help customers navigate your website, software or the real world. Both sides can share their screen, video and sound.

Click Create video room to start. The video room will open in your Co-browsing widget.
You can invite customers by:
sharing the entire URL of your new room. Your URL is https://yourdomain.daktela.com/external/conference/#Roomnumber – see screenshot below. They will connect directly to your room by simply pasting the URL into their browser or clicking the link you send them.
sharing your general conference URL (yourdomain.daktela.com/external/conference) and your room number. See the screenshot below
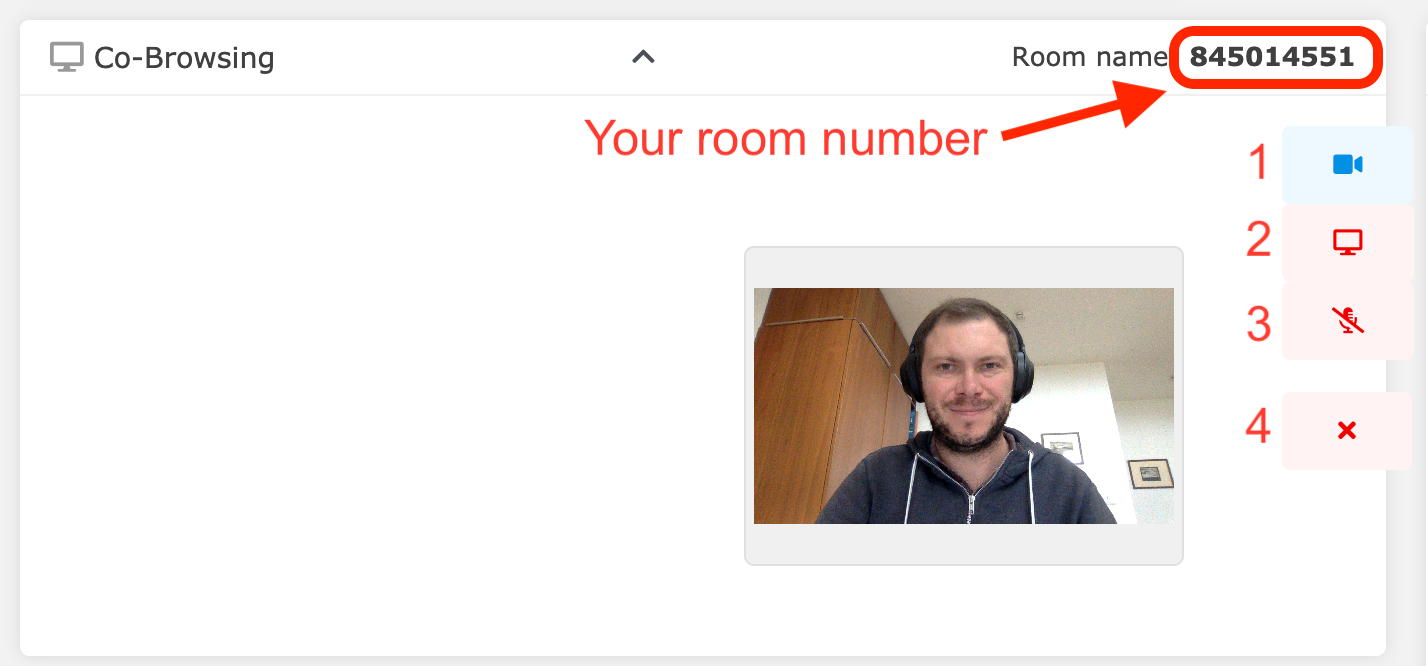
Turn camera on/off.
Turn screen sharing on/off.
Turn microphone on/off.
Disconnect from the video room.
The customer's video room has similar controls.
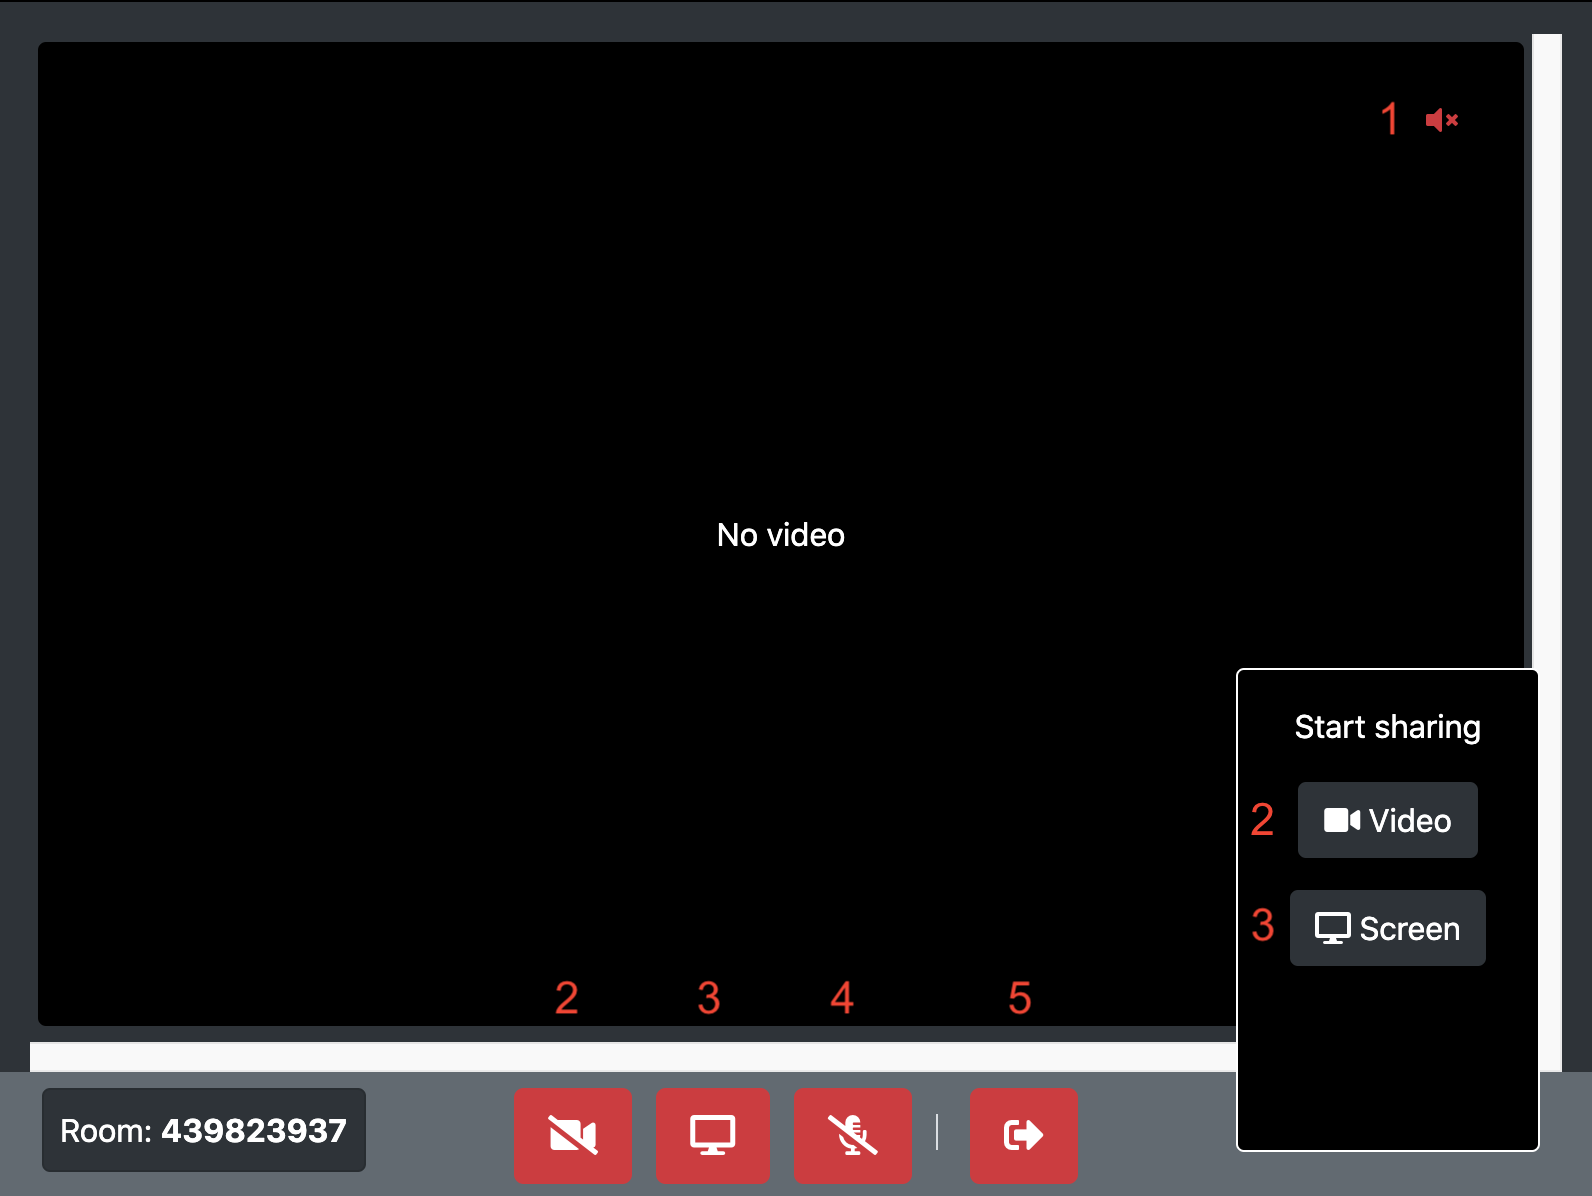
Unmute agent.
Turn camera on/off.
Turn screen sharing on/off.
Turn microphone on/off.
Leave conference room.
Articles Widget
The Articles widget displays a list of your available articles – these can contain info that can help you in your work.
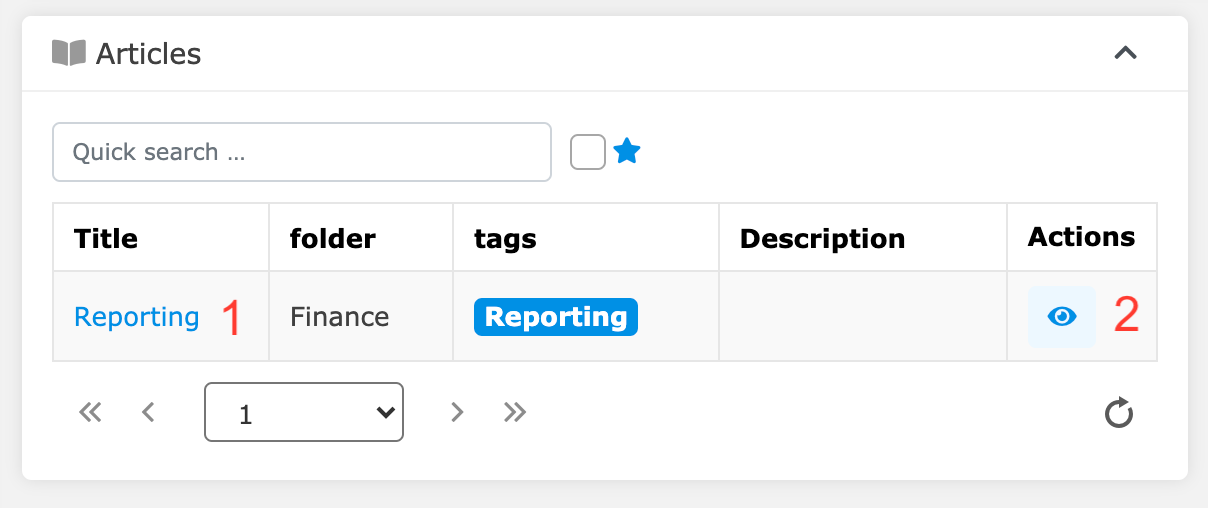
Open the article in the Knowledge Base module.
Read the article in the Articles widget.
This is what an article open in the Articles widget looks like:
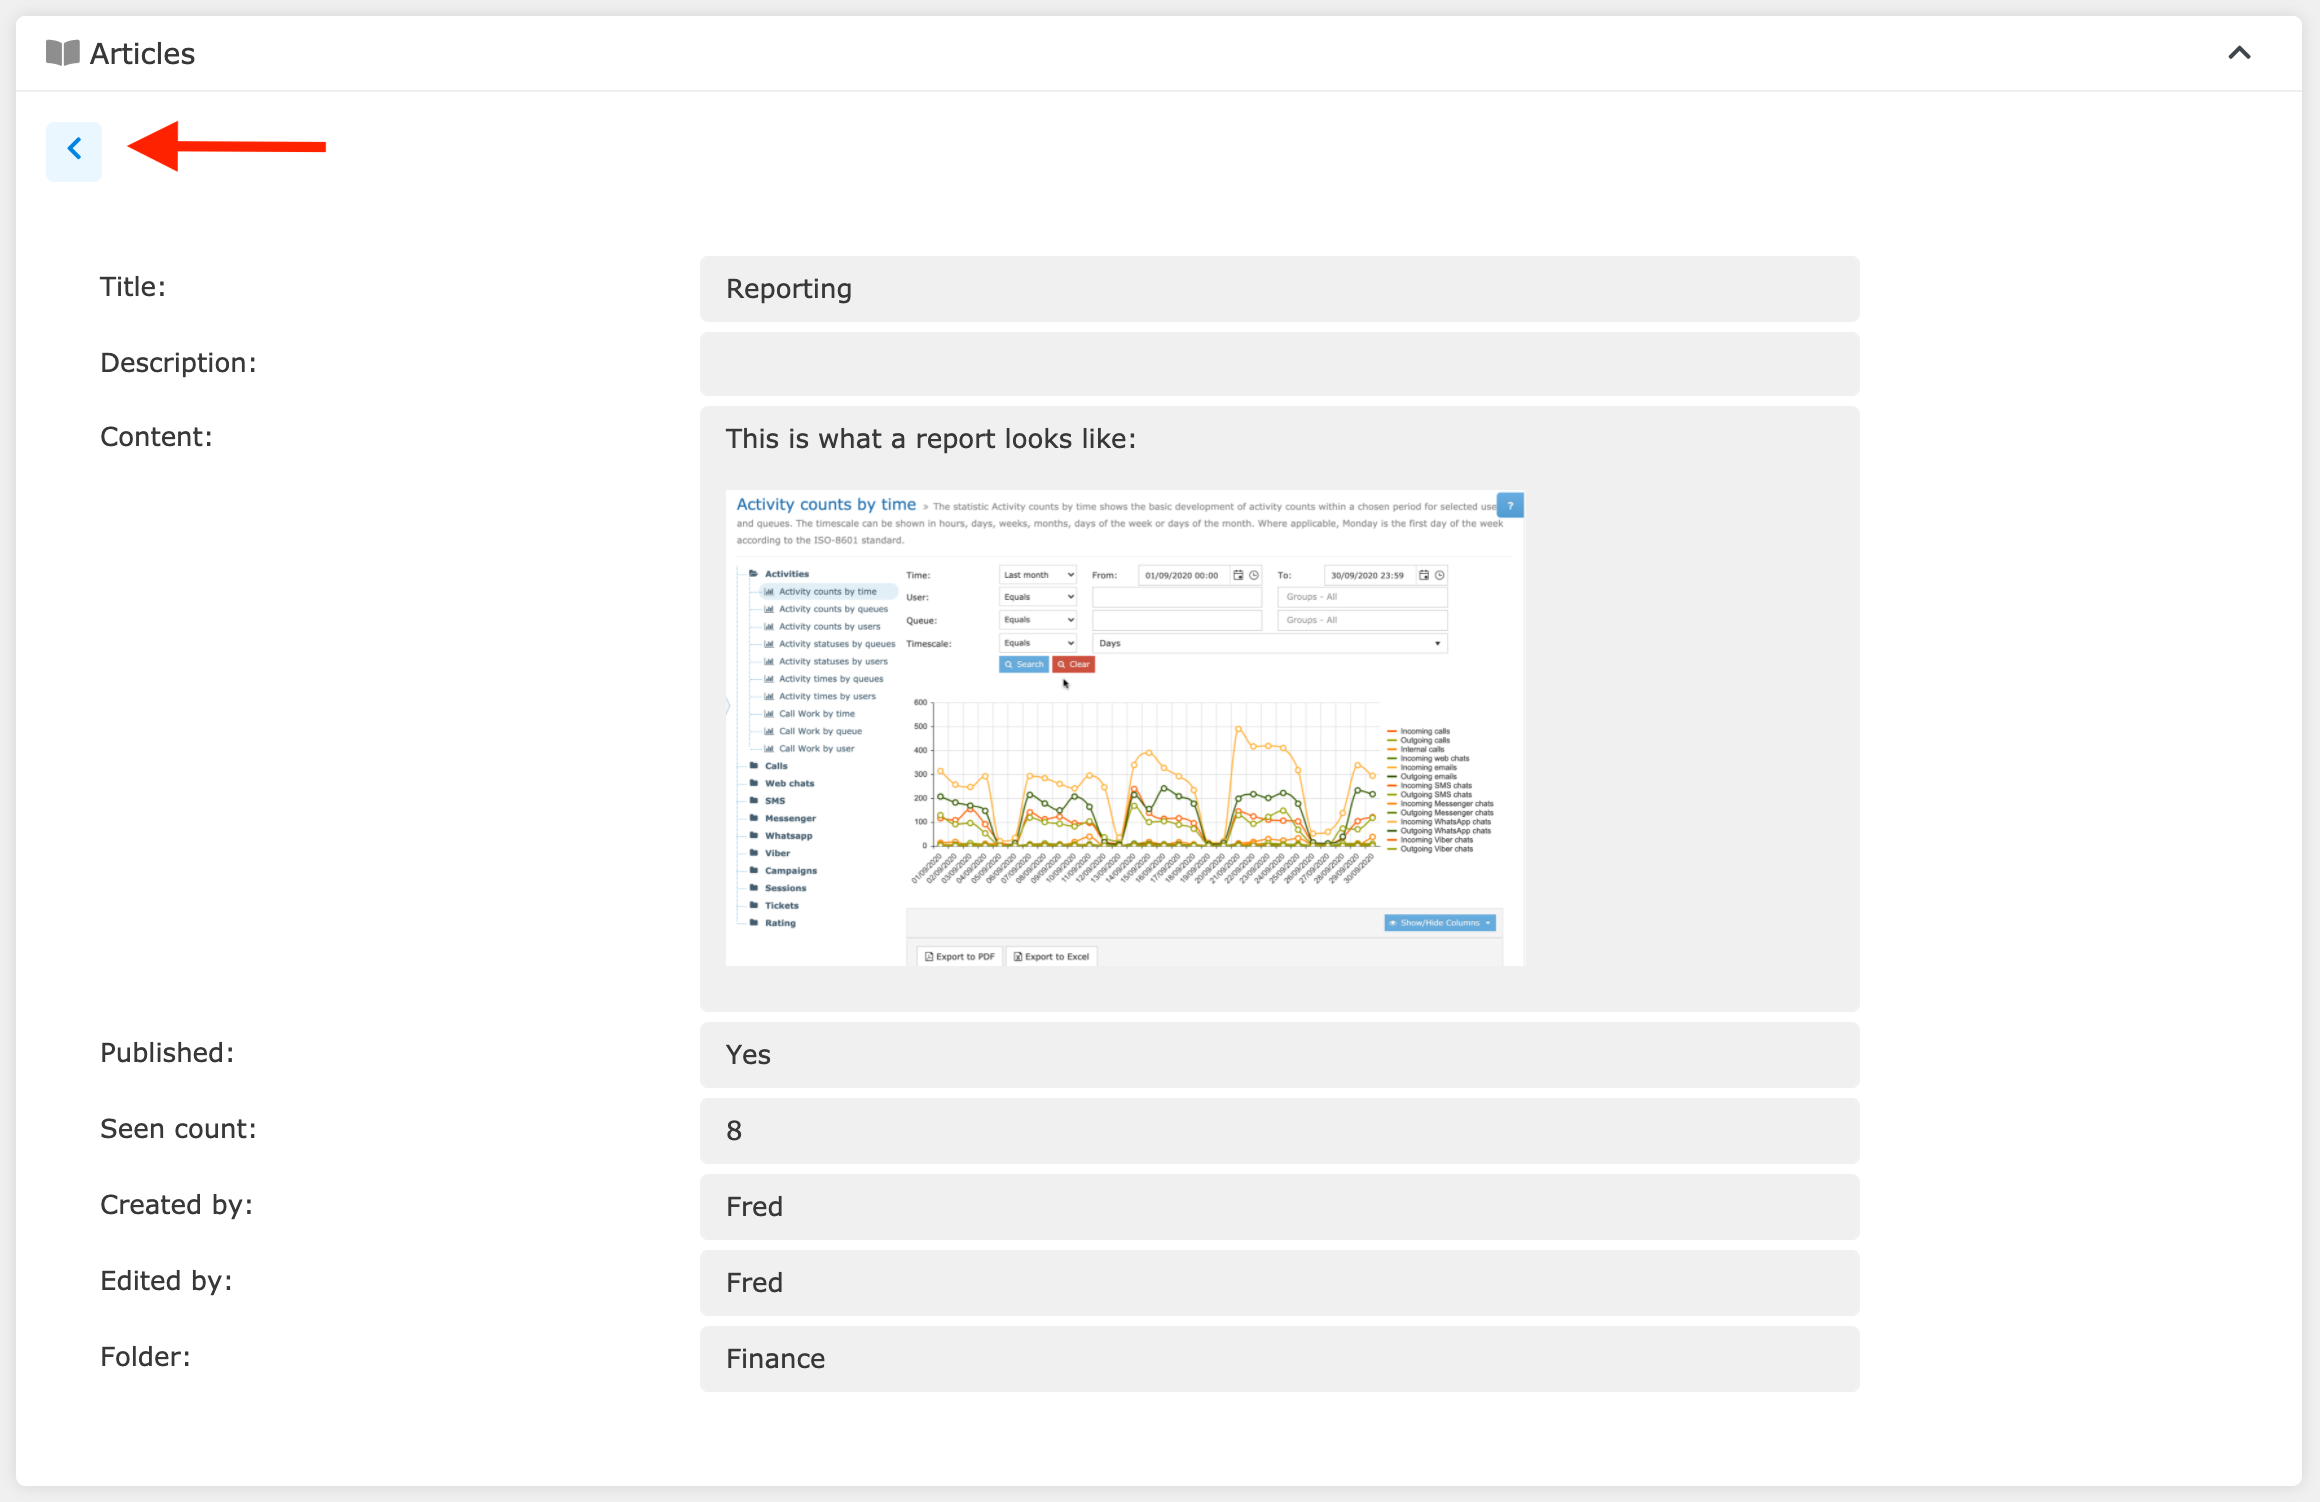
Click the Back button to return to the list of articles.
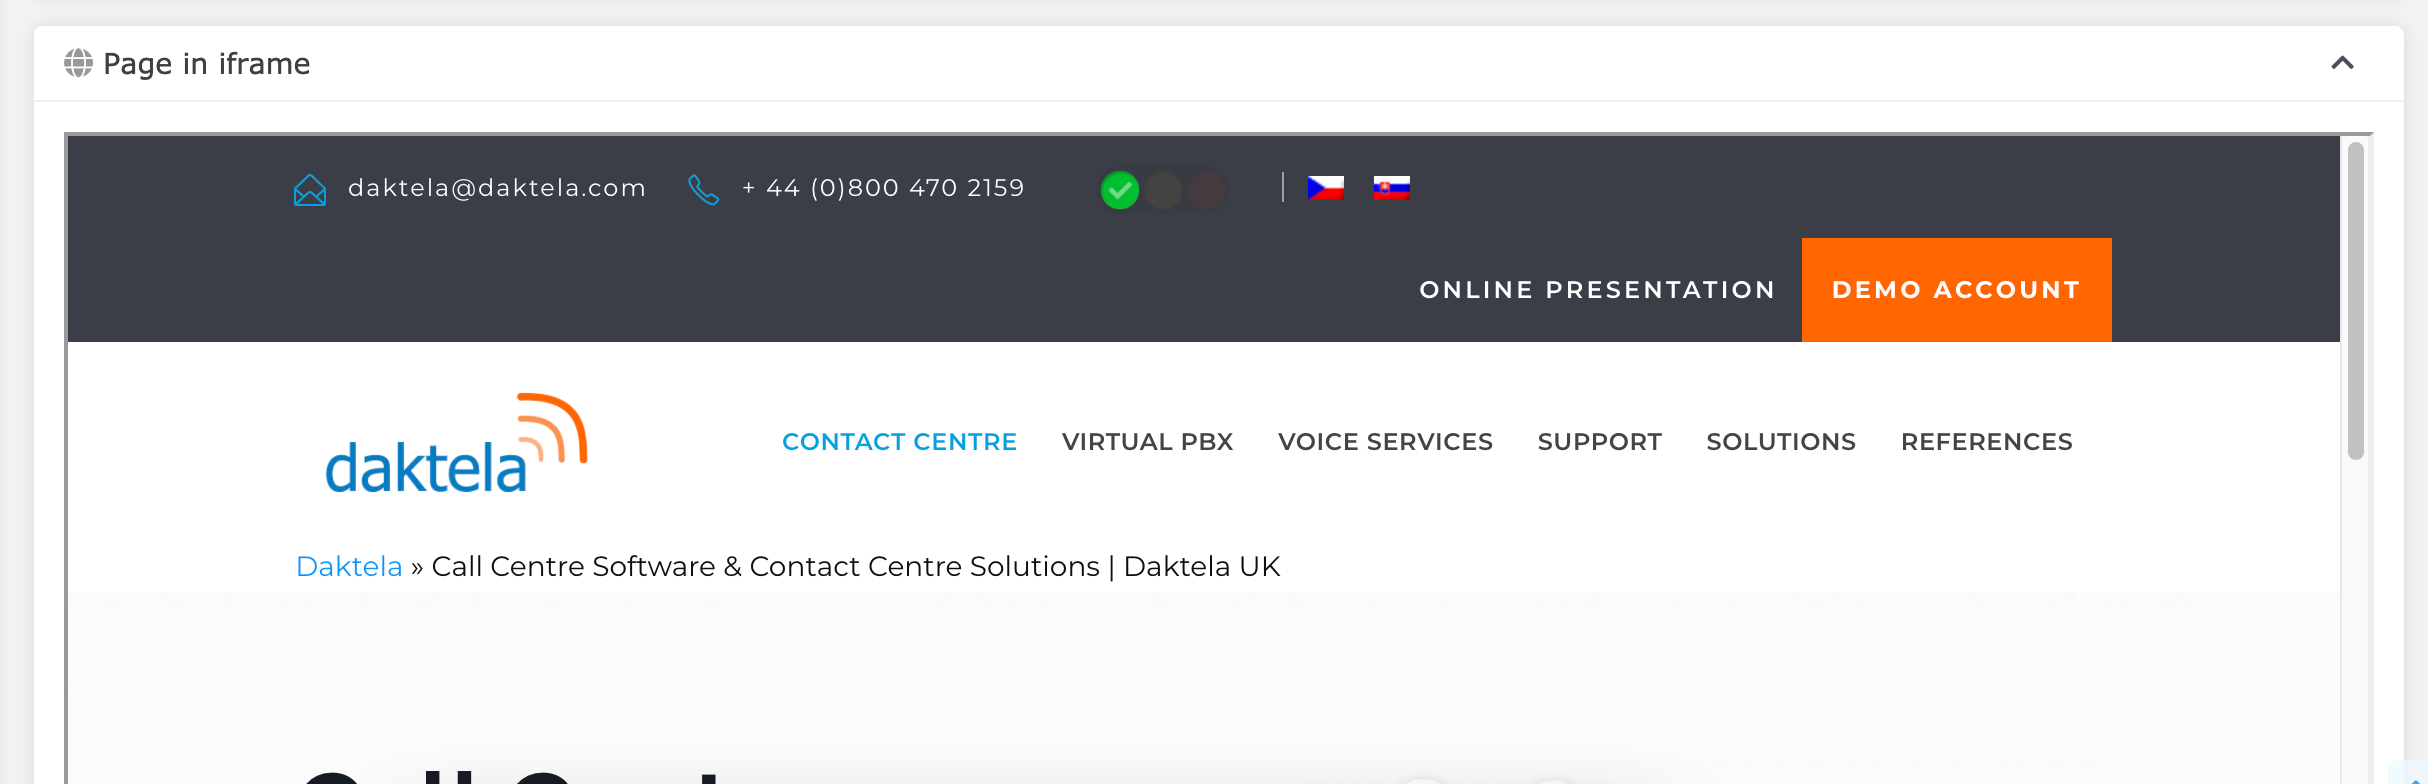
Page in iframe
The Page in iframe widget displays an external web page. Interact with the page just like you would normally. You can scroll using your mouse wheel or the controls on the right hand side.
Transfer an SMS Chat
To transfer an SMS chat, go to the SMS widget in the SMS chat tab.
Click the Transfer button. This will open the Transfer activity window.
Select where to transfer the web chat. You can choose a specific person or a queue. Click Transfer.
Your SMS chat will end and the customer will be transferred.
Invite Another Agent to an SMS Chat
To invite another agent to an SMS chat, go to the SMS widget in the SMS chat tab.
Click the Invite button. This will open the Invite to activity window.
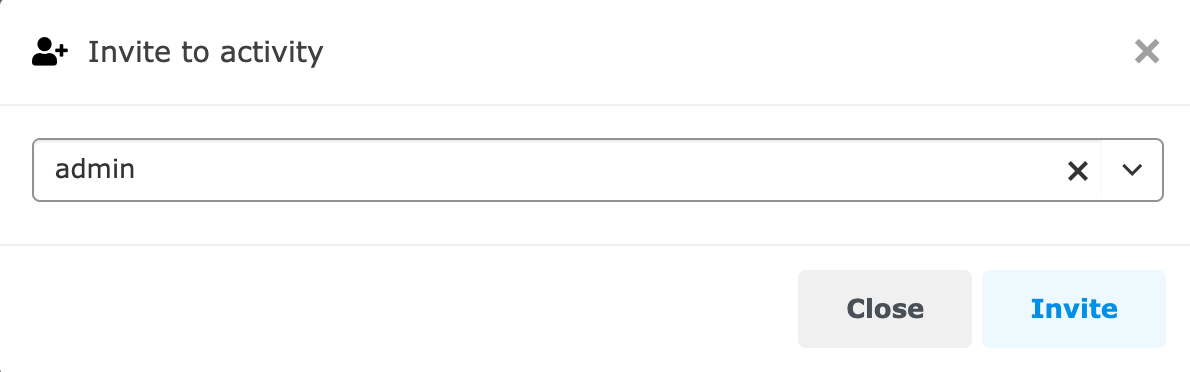
Select who to invite to the SMS chat. You can choose a specific person or a queue. Click Invite.
You and the agent you have invited will now both be chatting to the customer.
The customer will see a notification that another agent has joined the chat but will not be able to tell which agent has sent which messages.
When one of the agents closes the chat, the customer will see a notification but will continue to chat to the other agent.