Users are the most important element of your contact center. By creating a user, you create an individual access to the Daktela application for a specific person or for API access.
In this module, you can customize each user according to your internal needs. A user in the Daktela application is defined by a combination of user type, user access, and user rights.
Create and Edit Daktela Users
If you are an administrator with access to Users module and its sub-modules, you can navigate to Settings - Users - Users - List of Users. There is a list of users that you can edit or create new ones.
-
Before you start creating users, it is necessary to have their user accesses, user rights, and desired licenses ready. You cannot create a user without these being prepared.
-
We also recommend using the "clone" feature, as it not only fills in the same rights and access but also adds the user to all the relations that the cloned user is part of.
Available User Settings
Description of available settings in user detail. Note that not all listed fields are available for all user types.
|
Field |
Description |
License |
|---|---|---|
|
Title |
A real user name, can be specified with diacritics. This name and the emoji next to it will be visible for other users across the app. |
|
|
Login name |
Unique name of a user. This will also serve as a login name for logging in to the app. IMPORTANT: This unique name can not be changed after user creation. |
|
|
Description |
Field for your internal notes. |
|
|
Call steering description |
If you are using the Call Steering function for incoming calls, this will help identify the targeted user. |
|
|
Type |
User type defines user behaviour and license consumption. |
See user types article, since it explains license consumption of every user type. |
|
Access |
Defines access to modules and sub-modules in the app, as well as the general actions that the user can perform. |
User access can also influence some license consumption. |
|
Rights |
Defines the content that the user can operate with within modules they can access. |
User rights are the primary factor in license consumption. |
|
Verify type |
By default, users login to the via their password. Alternatively, you can enable some Authentication Integrations to use secure SSO login. |
|
|
Password |
Choose a password for the user. |
|
|
Authentication email |
If enabled in user rights, users can request a password reset from the login screen, provided they have their email filled in this field. |
|
|
Notification email |
Email for various email notifications. Such as Ticket changes if enabled on a category. |
|
|
Time zone |
Select your time zone or select Automatic to use your system time zone – if we can't detect your time zone, the main server time zone will be used. |
|
|
Alias |
This alias can be used in a webchat if enabled in the webchat connector. The customer will then see this alias instead of "Operator". |
|
|
User picture |
Picture that will be used on user avatar. Other users are not able to see this picture. It can be used in a webchat if enabled in the webchat connector. The customer will then see this user picture, insted of default operator icon. |
|
|
Signature |
A custom email signature. Use the formatting editor, which supports HTML tags. You can use individual signatures for each user, or you can use a shared signature in the email queue settings. |
|
|
Forwarding number |
If filled, all calls targeted to this user will be redirected to this number unconditionally. |
|
|
When to record calls automatically |
Select if and when this user's calls should be recorded automatically. Note that these settings can be defined on user and queue level and if they are set differently, if one of these is set to record, then the call will be recorded.
|
If enabled, user consumes a call recording license. |
|
Allow call recording start and stop |
Select if the user can control when calls are recorded. If you select Do not record in When to record calls automatically above but turn this setting on, the user will be able to start call recording manually.
|
|
|
Static login |
If enabled, the user is allways logged in and ready. |
|
|
Outgoing identification |
Enter the numbers that are presented to the called party for calls from this user. If you want to use multiple numbers, separate them with a comma. The numbers are then selected randomly for each call. Leave empty to use default numbers.
|
|
|
Extension |
An extension is an internal number that can be linked with several SIP devices and external numbers. Call this user internally by dialing this extension number. |
|
|
Devices |
Select a call device for this user. If not assigned, the user can still dynamically choose an available device when they log in. |
|
|
Ringing times |
Select when incoming calls should ring on individual devices. For outgoing calls, all devices will ring immediately. |
|
|
Target |
If the user does not answer a direct call (not an activity from a queue), it will then be transferred to the desired target. |
|
Deactivated Users
Deactivating
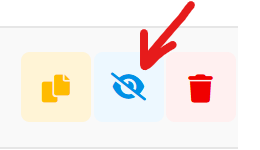
When you do not want a user to be an active user anymore, you can deactivate them using the deactivate button from the users grid.

We strongly recommend using the deactivate button instead of the delete button. You can still view the user's data from the past across the app and recover the user when needed. With deleted users, you lose everything associated with that user.
Restoring
If you want to restore a user, check the "deactivated" checkbox in the users list, and you will be able to see the deactivated users. Simply open their details, fill in the mandatory fields, and save it. The user will then become active again.
License Consumption per User
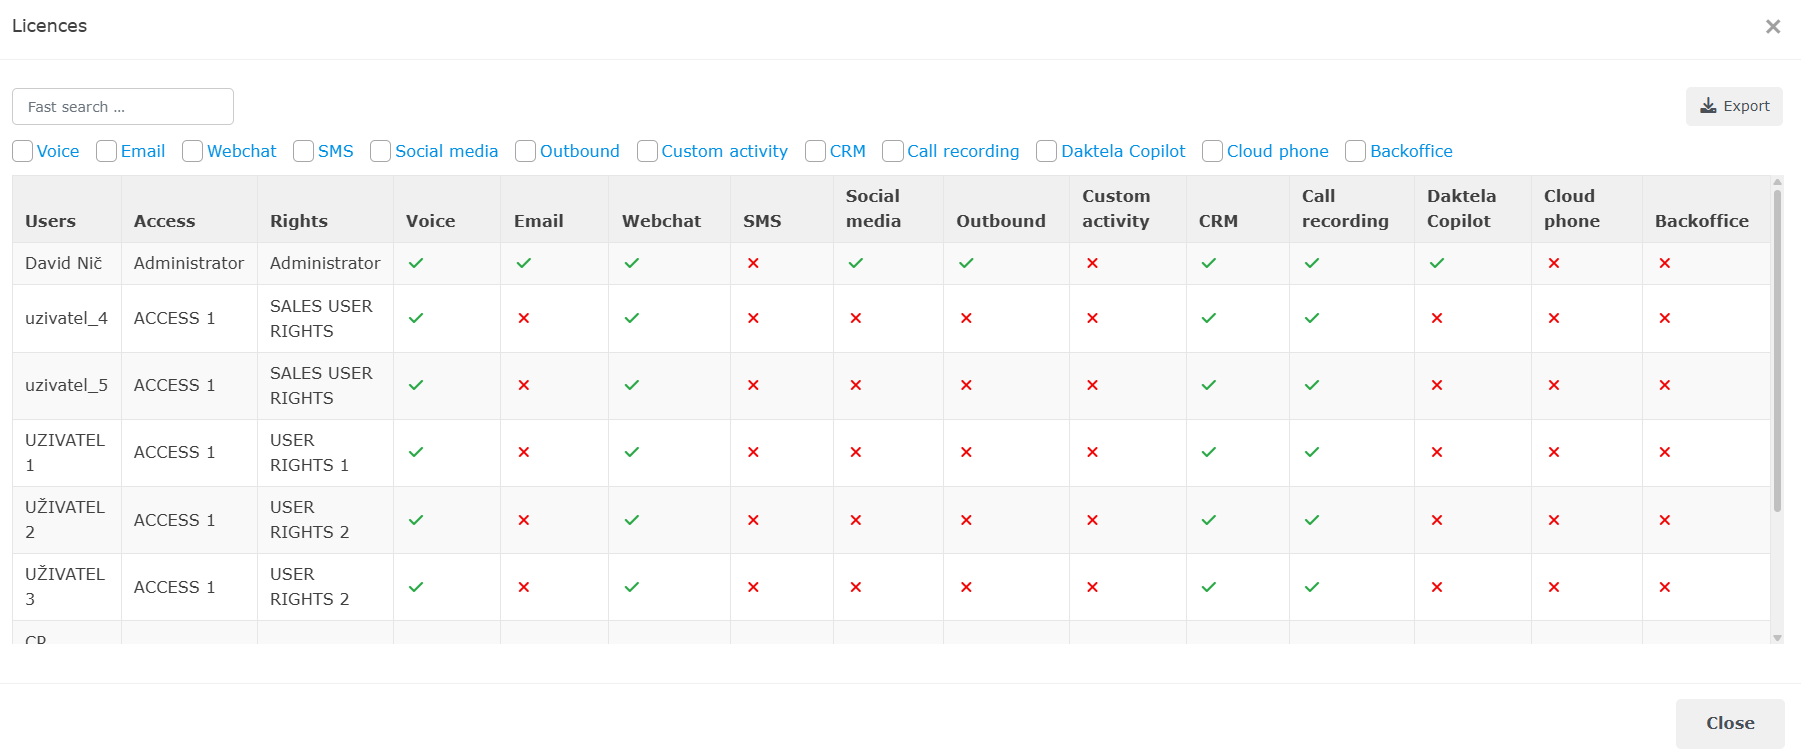
To see license consumption per every license type and per every user, you need user access to Licensing module. There click “Licenses Usage” button on the top right corner.
You will then be able to see users and the licenses they consume.

If a user is not present in this list, that means the user is not consuming any license.
