Dynamics 365
- Register an Application
- Add a Client Secret to Your Application
- Create an Application User
- Set up the Daktela Integration
- Enter Your Dynamics 365 Details Into Daktela
- Map Your CRM Fields
Warning
If you also you the Azure AD authentication integration, we recommend registering 2 separate applications.
Register an Application
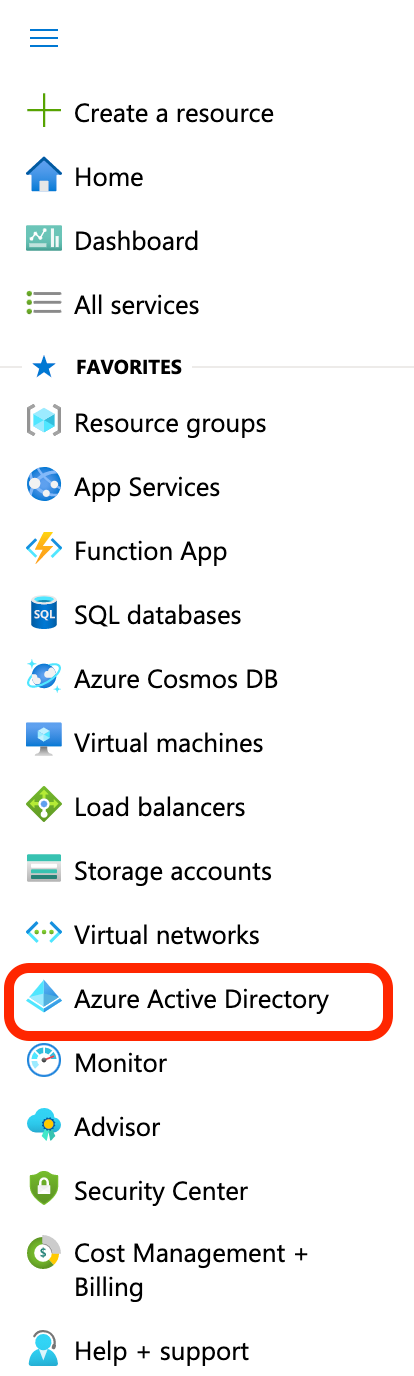
Log in athttps://portal.azure.com/as an admin user. Open the menu on the left and go to Azure Active Directory:
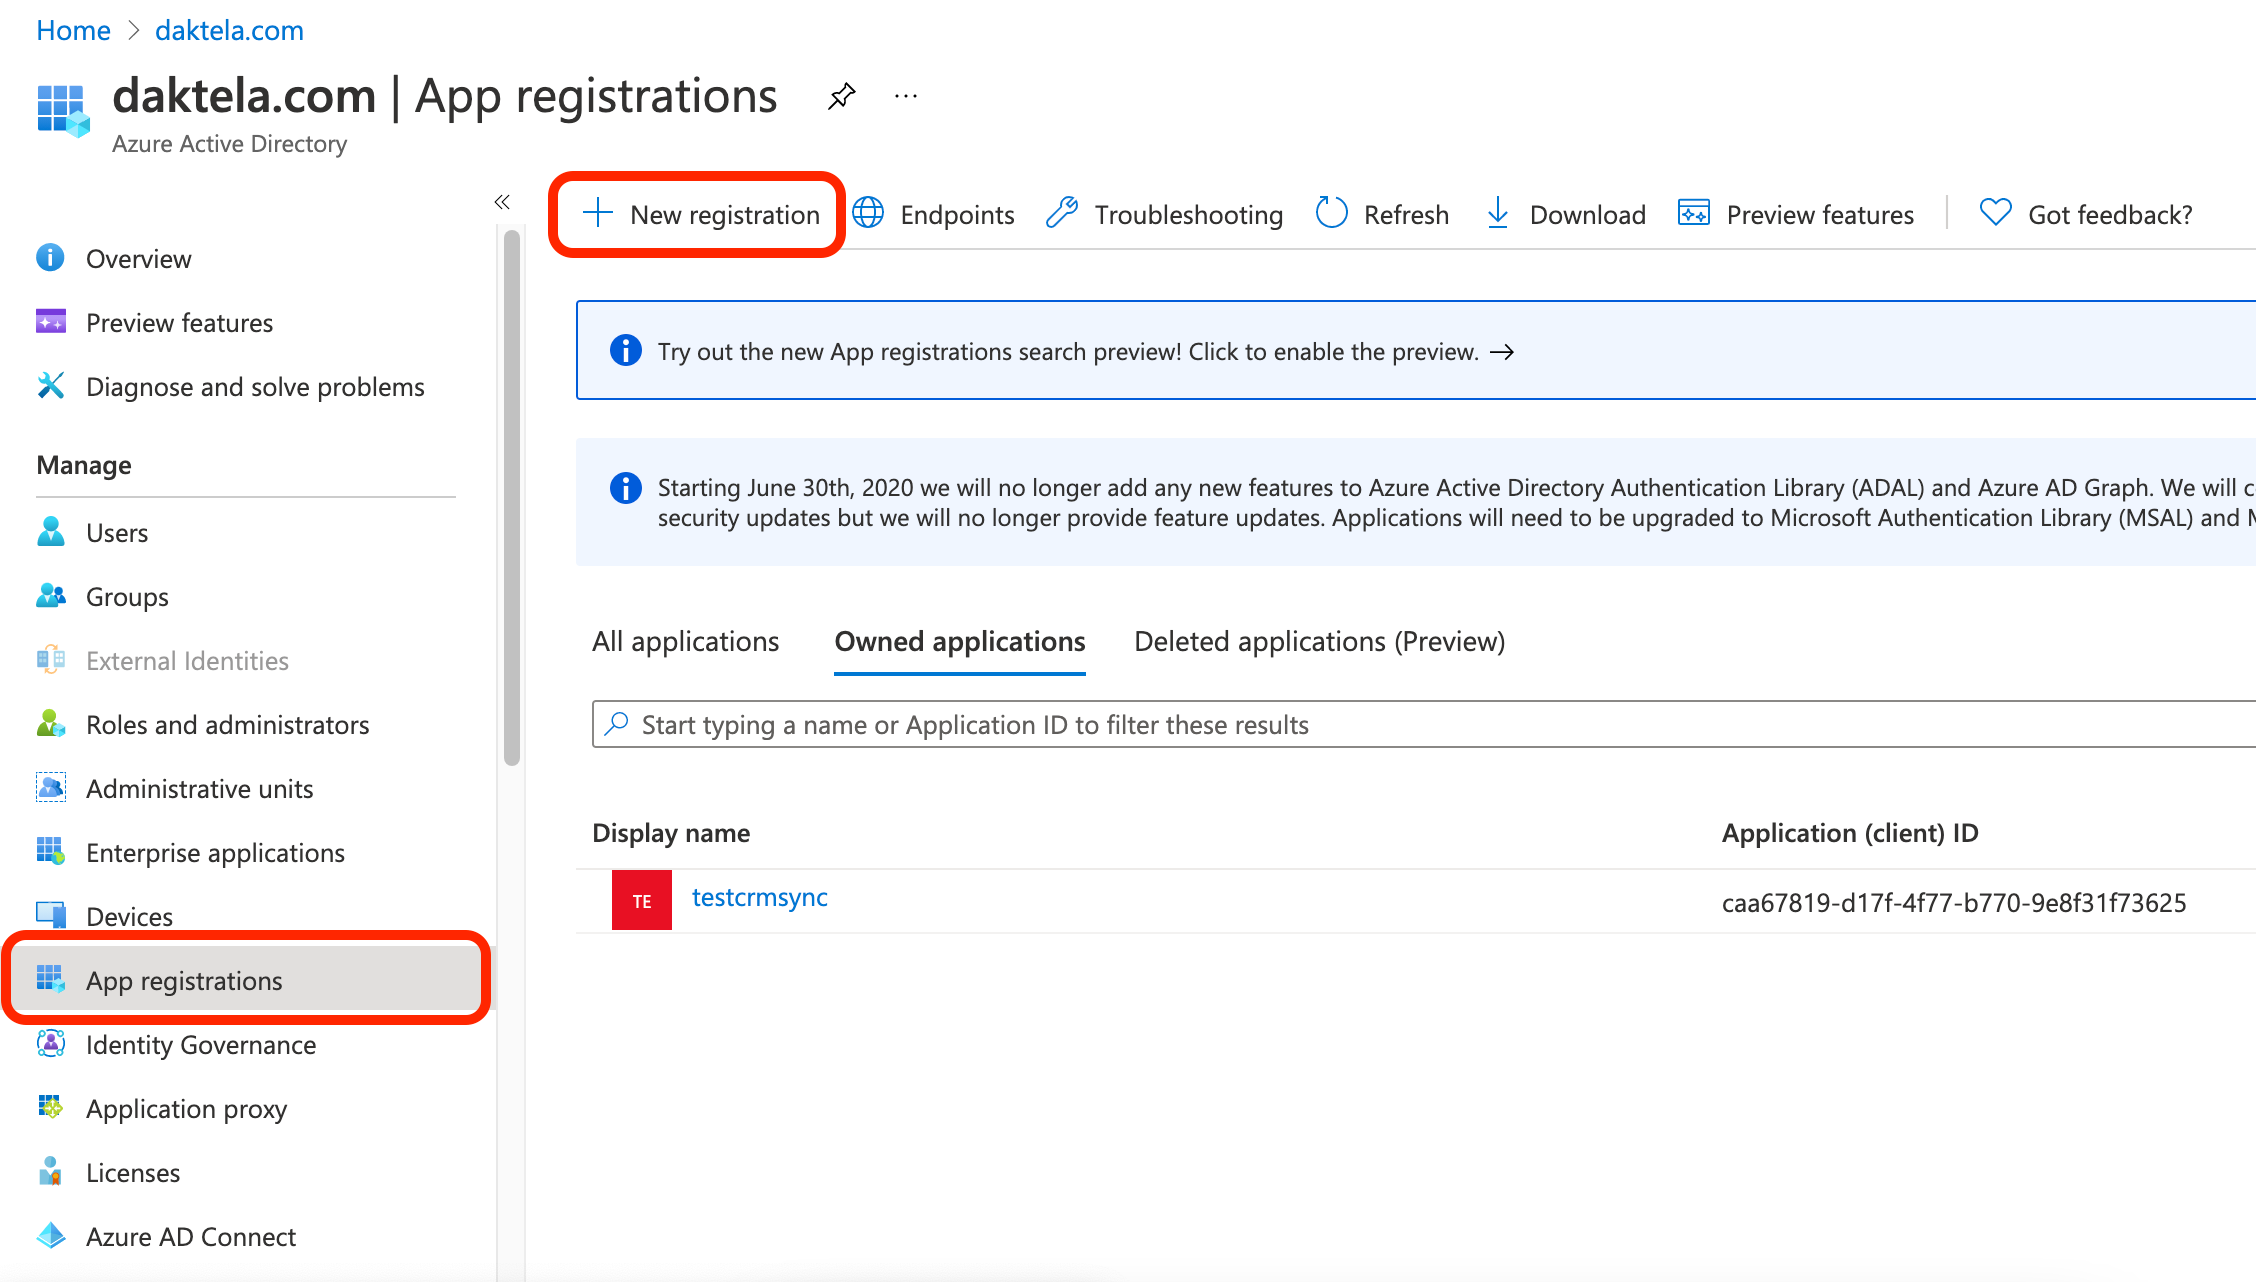
 Open App registrations from the menu, then click New registration:
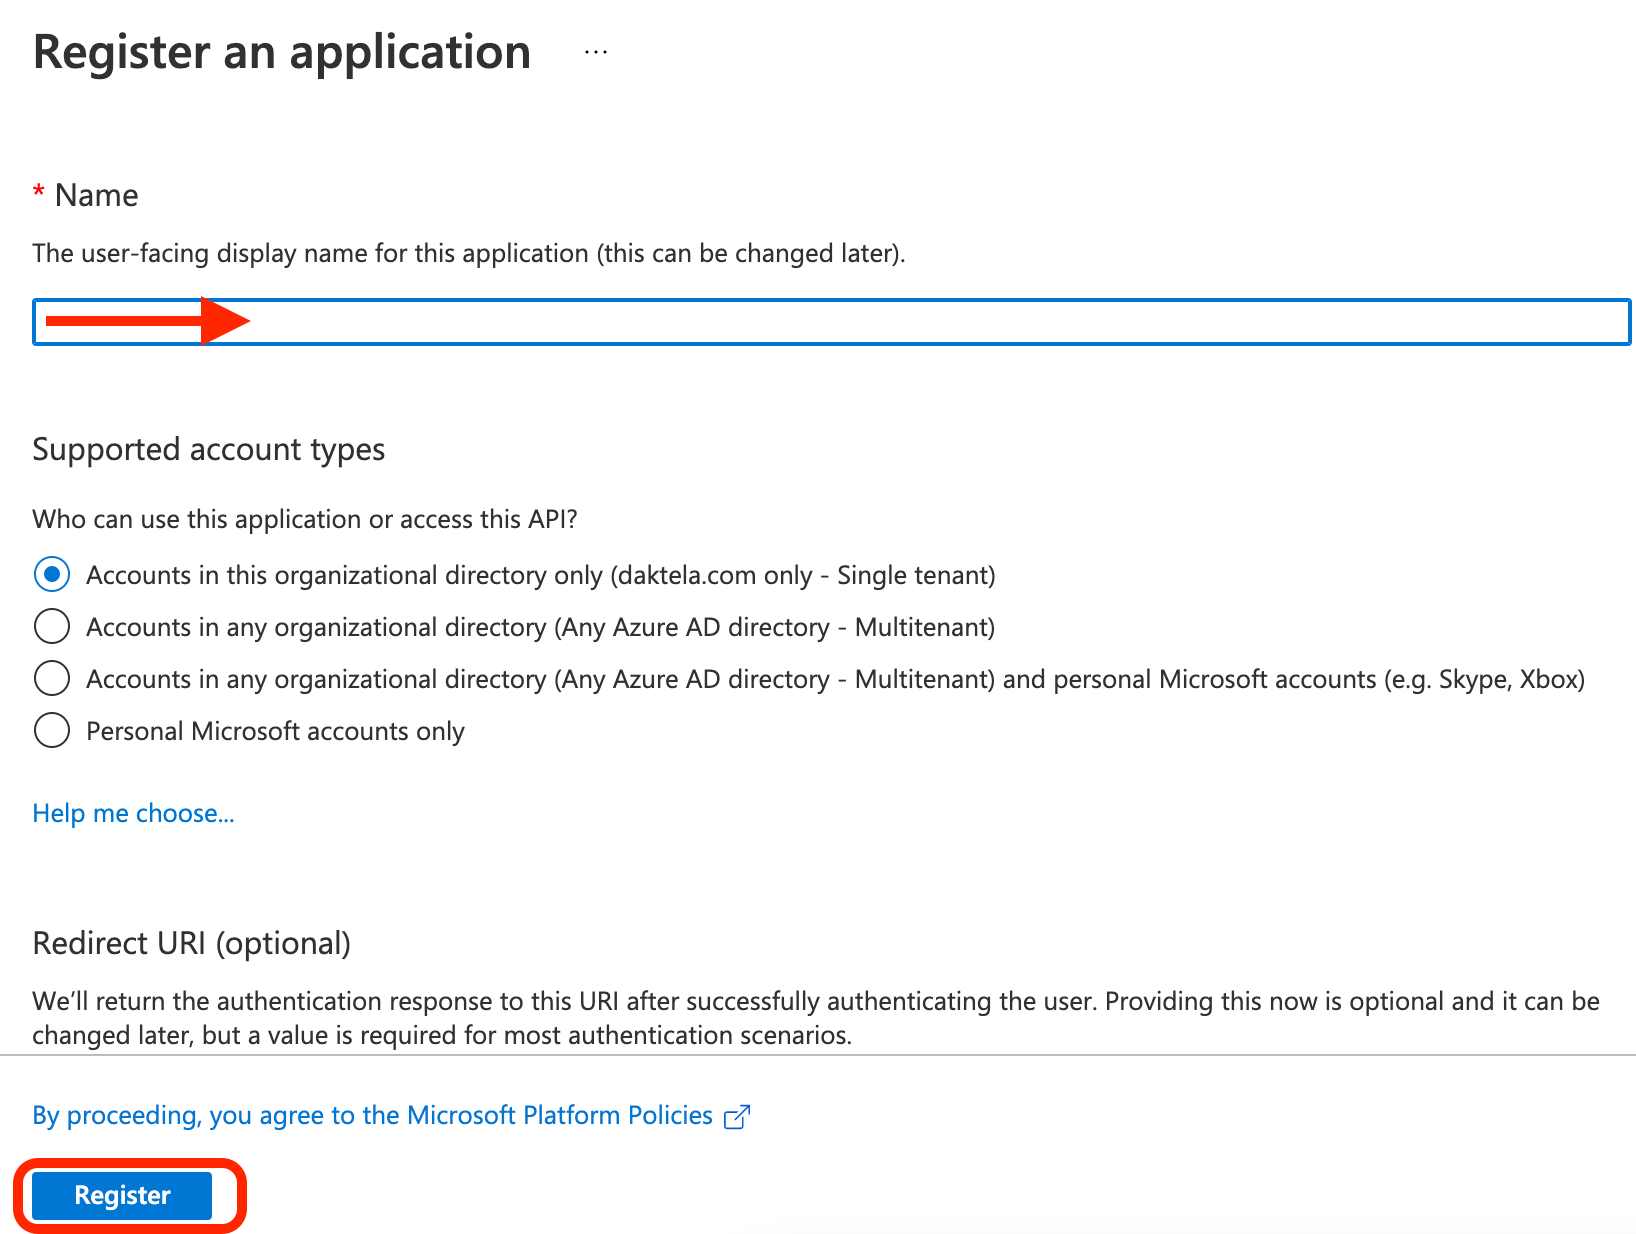
 Enter a name for your application, e.g. Daktela integration, and click Register:
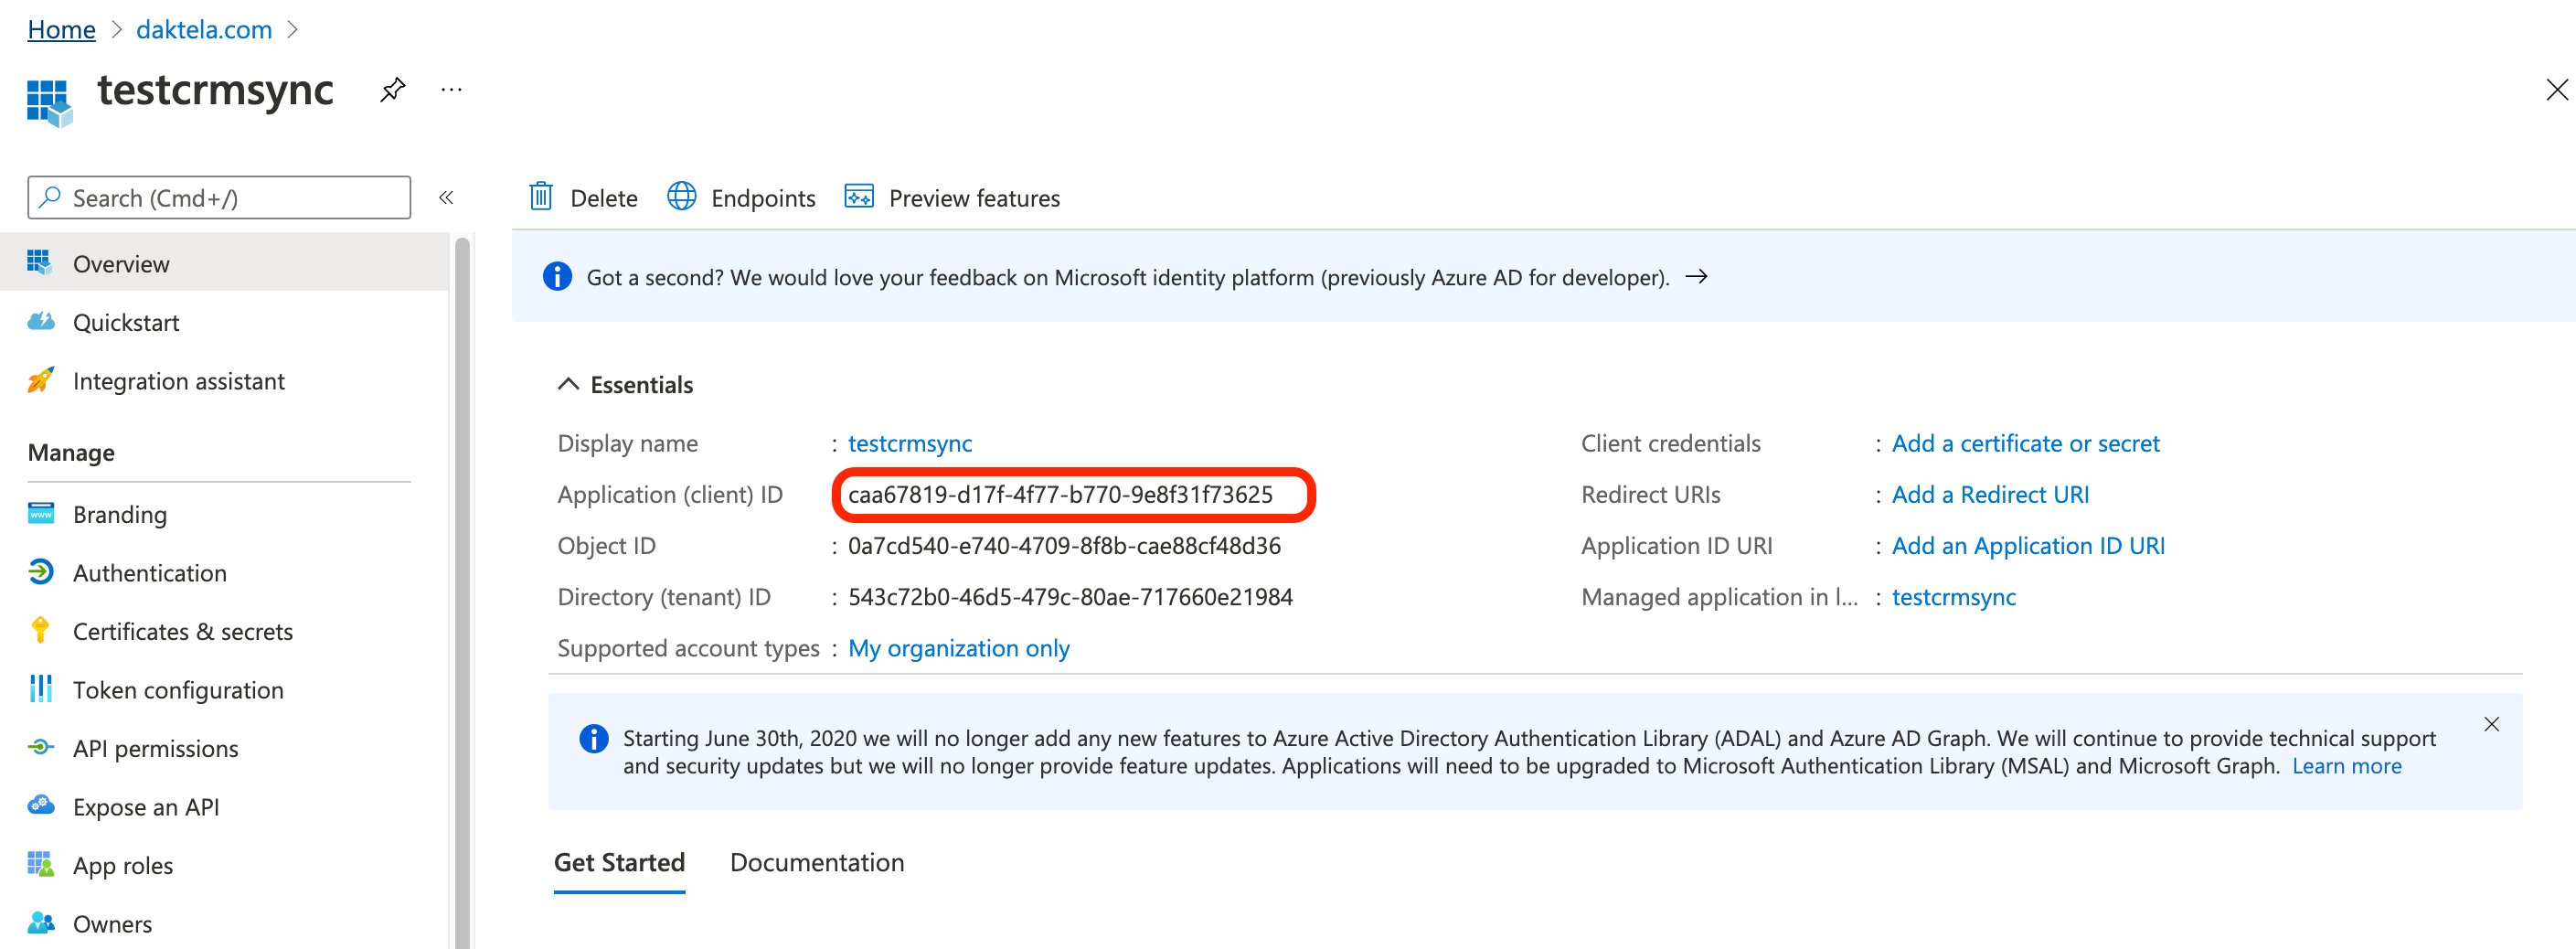
 Copy the Application (client) IDand paste it into the Application ID field in the Daktela integration – see last step.
Add a Client Secret to Your Application
In the detail of the app you created in the previous step, go to Certificates & secrets in the menu on the left, then click New client secret under Client secrets:
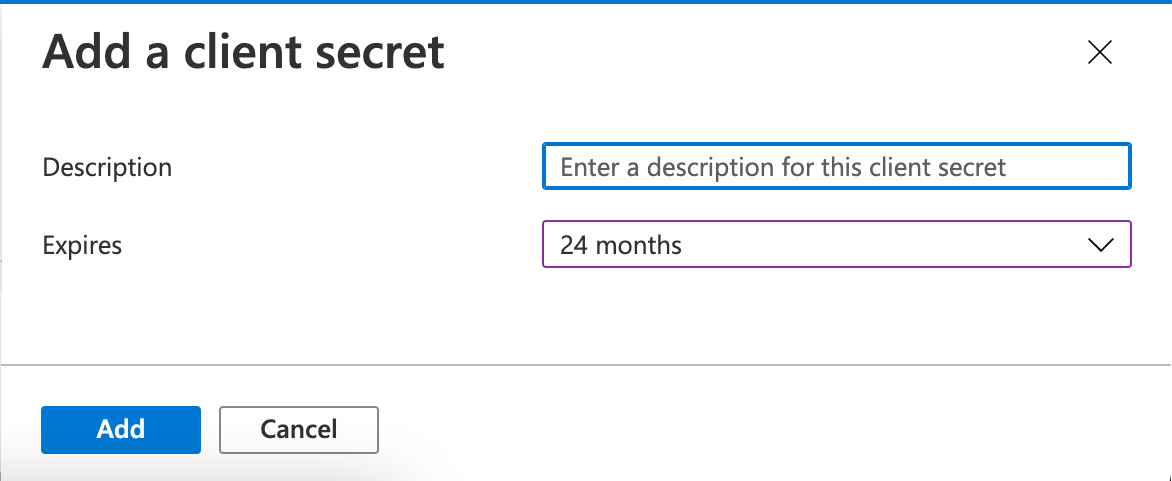
 Enter a short description and select the longest expiration option, then click Add:
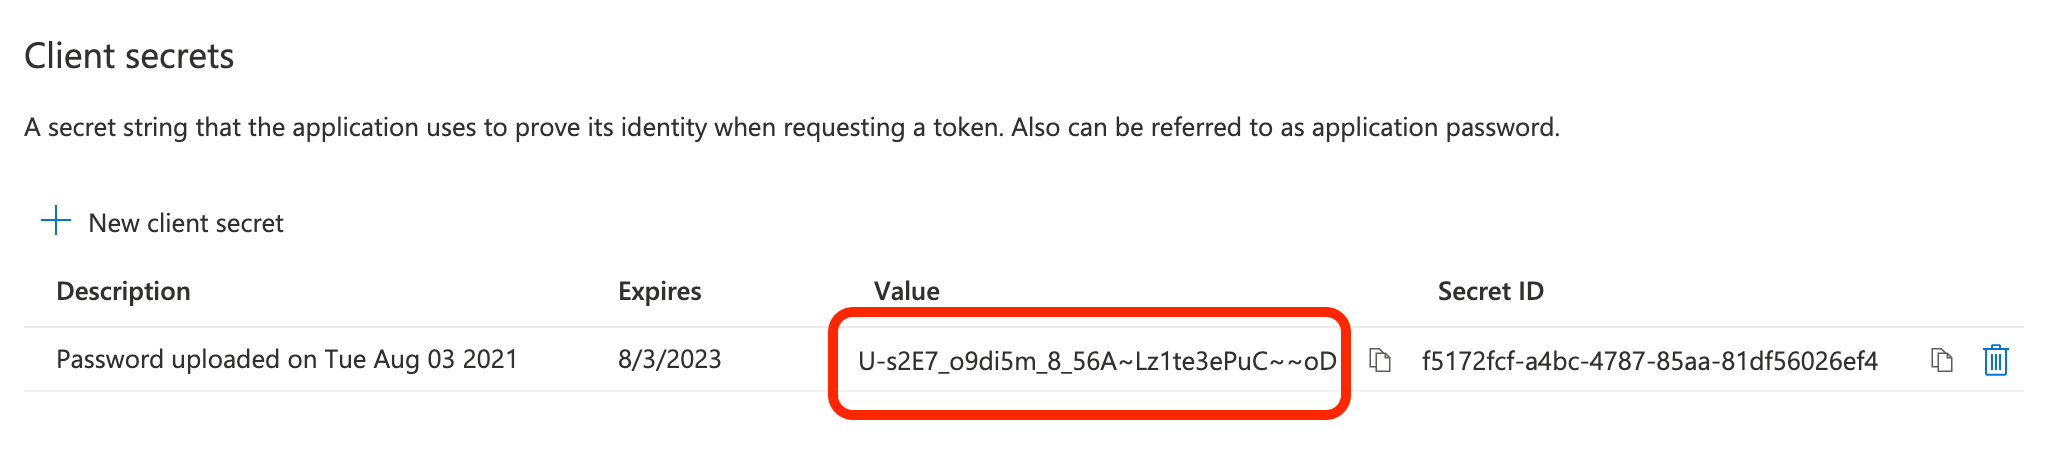
 Copy your secret Value and paste it into the Application secret field in the Daktela integration – see last step.
Create an Application User
Go to your Dynamics 365 URL and log in as an admin user. Go to Settings → Security → Users and use the dropdown menu to switch to Application Users. Create a new Application User.Enter the Application ID from the first step above into the Application ID field. Click on Manage Roles in the user details and add a role with corresponding contact access (e.g. "System Administrator").
Set up the Daktela Integration
Enter Your Dynamics 365 Details Into Daktela
In Daktela, go to Manage → Integrations and click Configure under Dynamics 365. Select into whichCRM Databaseyou want to synchronise your data. Enter your Dynamics 365 URL into the Instance URIfield. Enter yourApplication IDfrom the first step into the Application IDfield. Enter the Client secret Value from the second step into the Application secret field. Click Authorise.
Map Your CRM Fields
A list of your Daktela CRM fields will open. Select the Dynamics 365 field you want to synchronise with each field in Daktela. Click Activate.